Description

The basis of cake - custard biscuit that never falls off. Easy to prepare. The cake was prepared as a gift for mother in law birthday.
Ingredients
-
Flour
110 g
-
Potato starch
60 g
-
Powdered sugar
150 g
-
Chicken egg
4 piece
-
Salt
-
Vanilla
2 g
-
Milk
1 cup
-
Toffee
150 g
-
Butter
130 g
-
Sugar
80 g
-
Lemon peel
2 tsp
-
Condensed milk
3 Tbsp
-
Mastic
-
Dark chocolate
100 g
-
White chocolate
100 g
-
Milk
2 Tbsp
-
Hazelnuts
60 g
Cooking
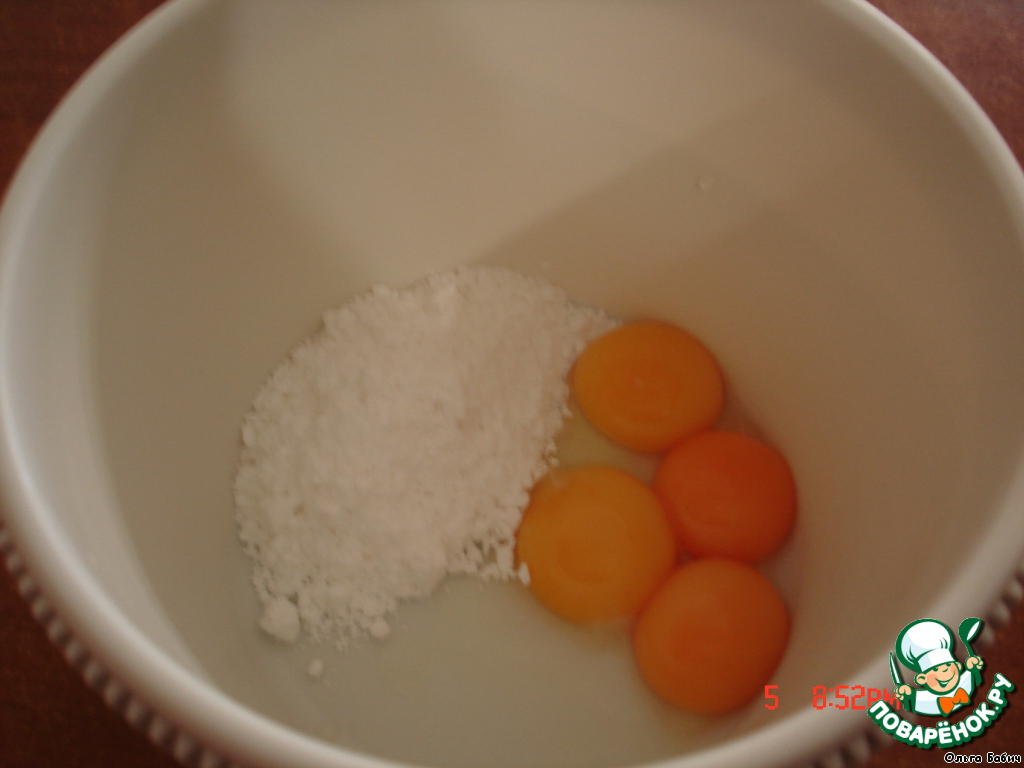
Separate the whites from the yolks. Beat the egg yolks with powdered sugar (about 7-10 minutes). Beat the whites with the salt until stable peaks.
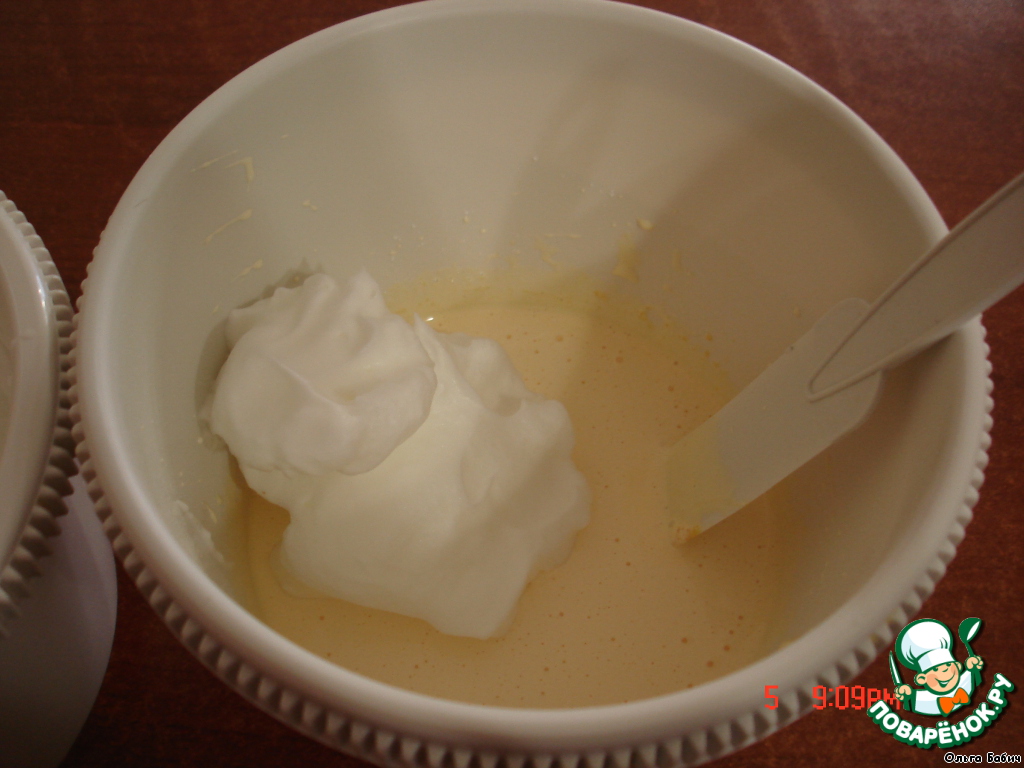
To combine whites with yolks in 2 hours.
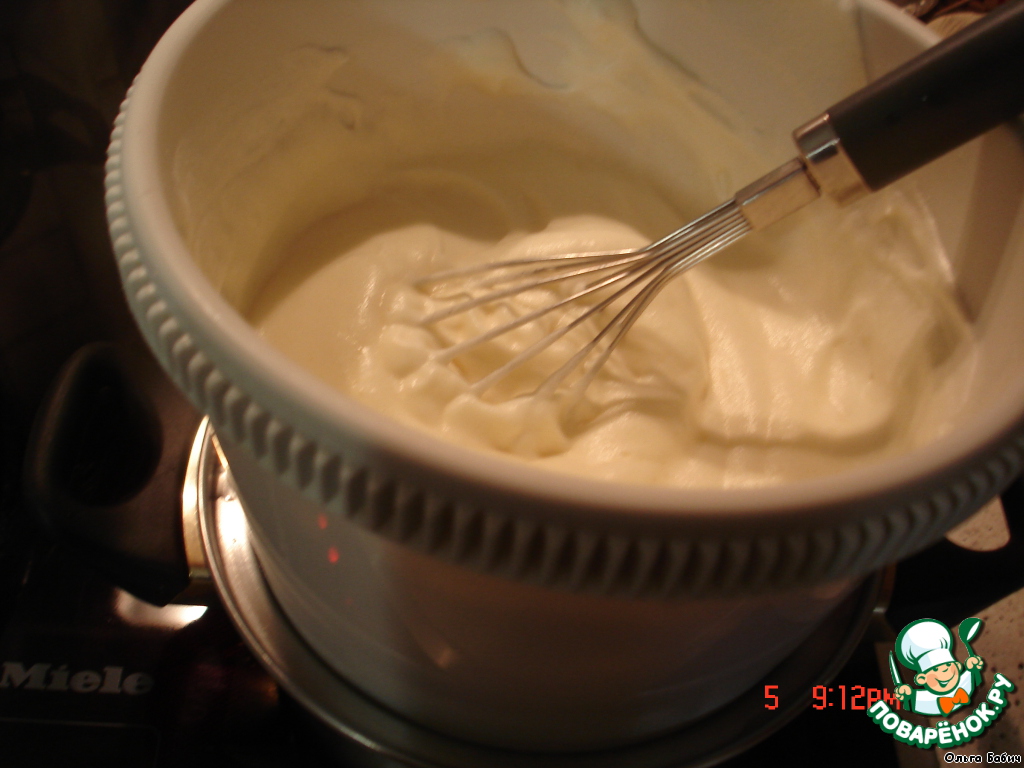
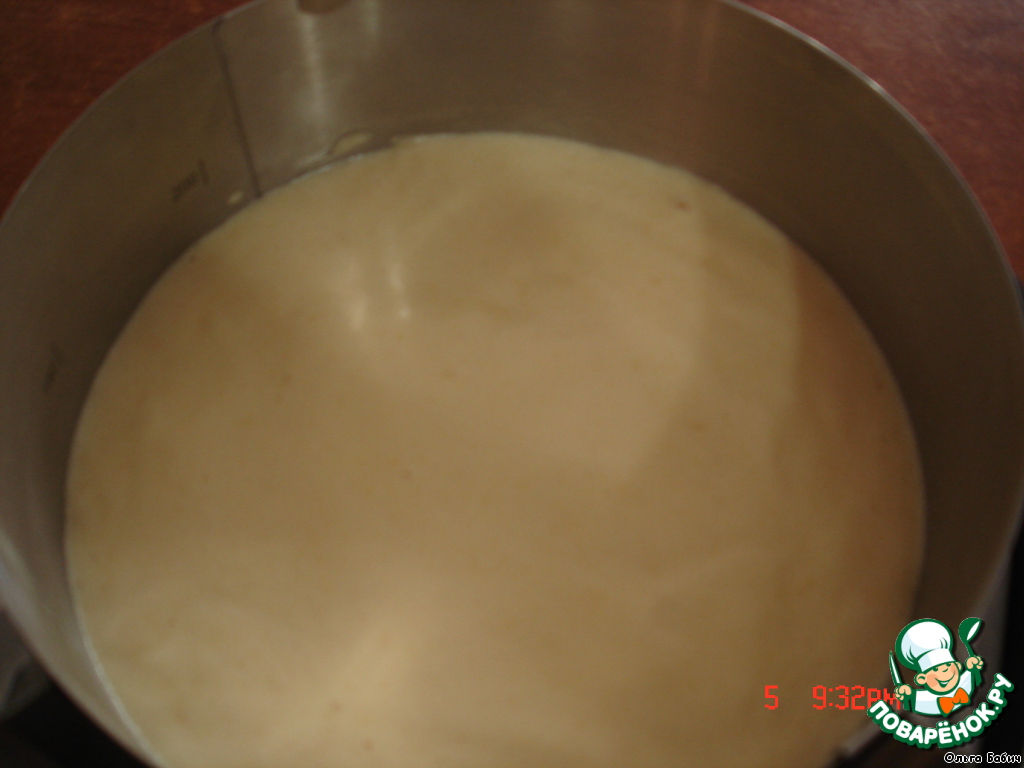
The resulting mass is put in a water bath. Whisk until thick. As soon as the temperature increases to 45 deg., remove from the heat. To put it in cold water, continuing to whisk, allow to cool.
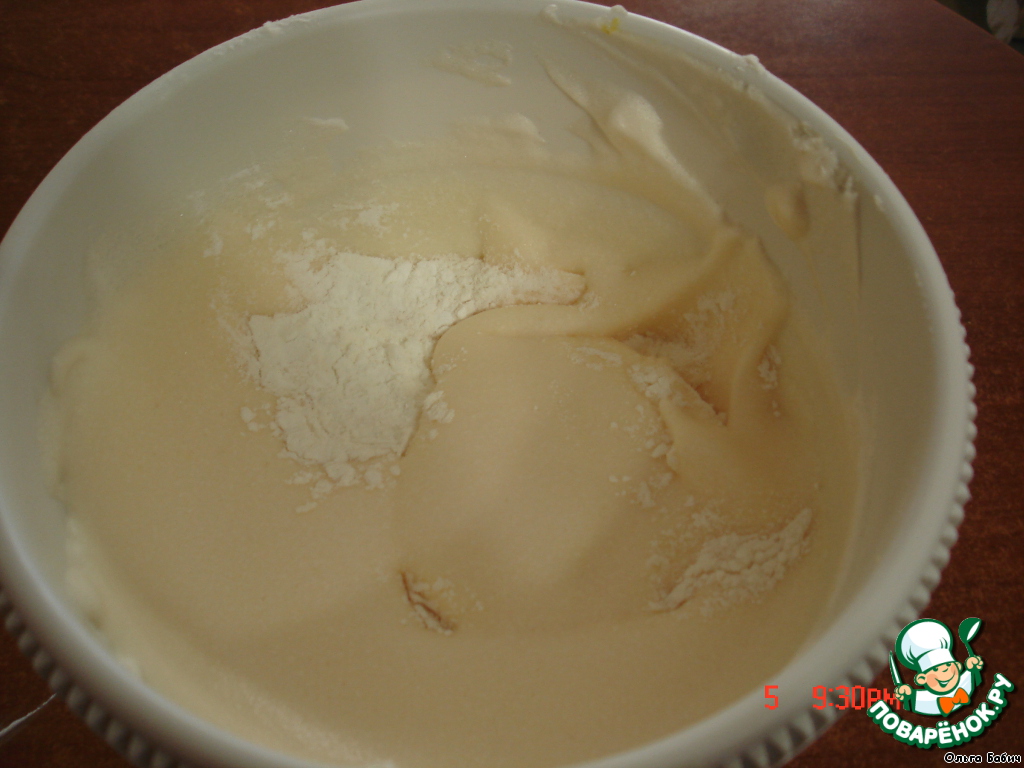
Add in 2 doses flour mixed with starch and vanilla.
Form 20 cm in diameter brush with oil (the bottom!!!) We spread the resulting mass is put into a pre heated oven. Bake at 180 deg. 30 min. (it took me less time)
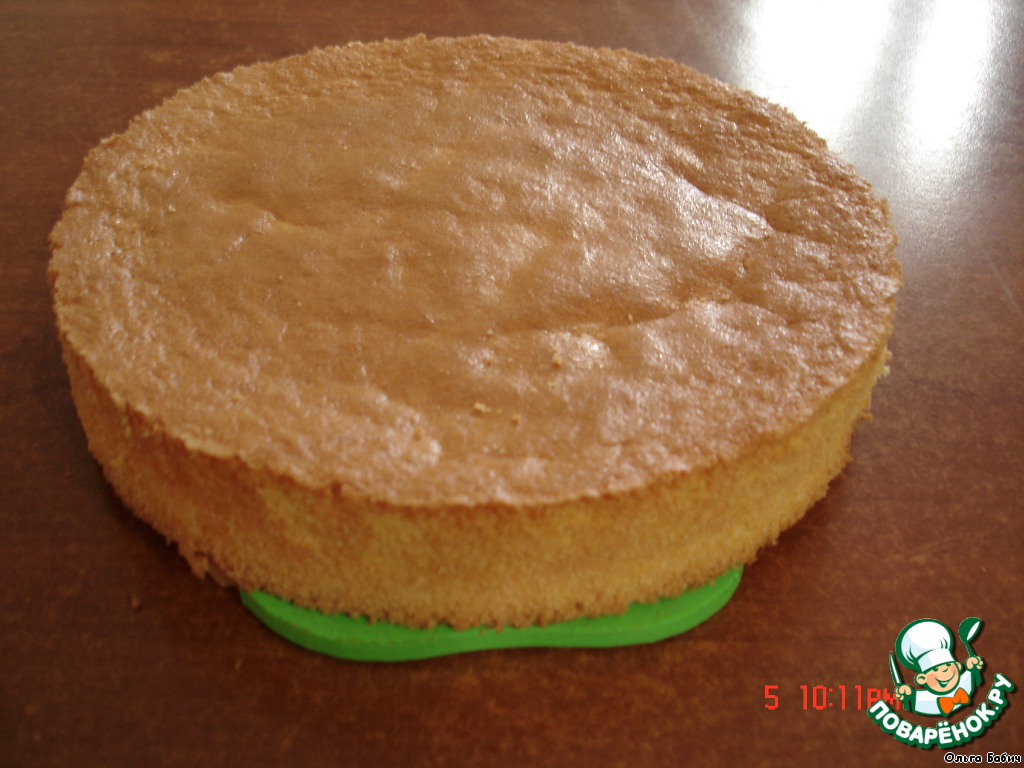
The finished cake to cool.
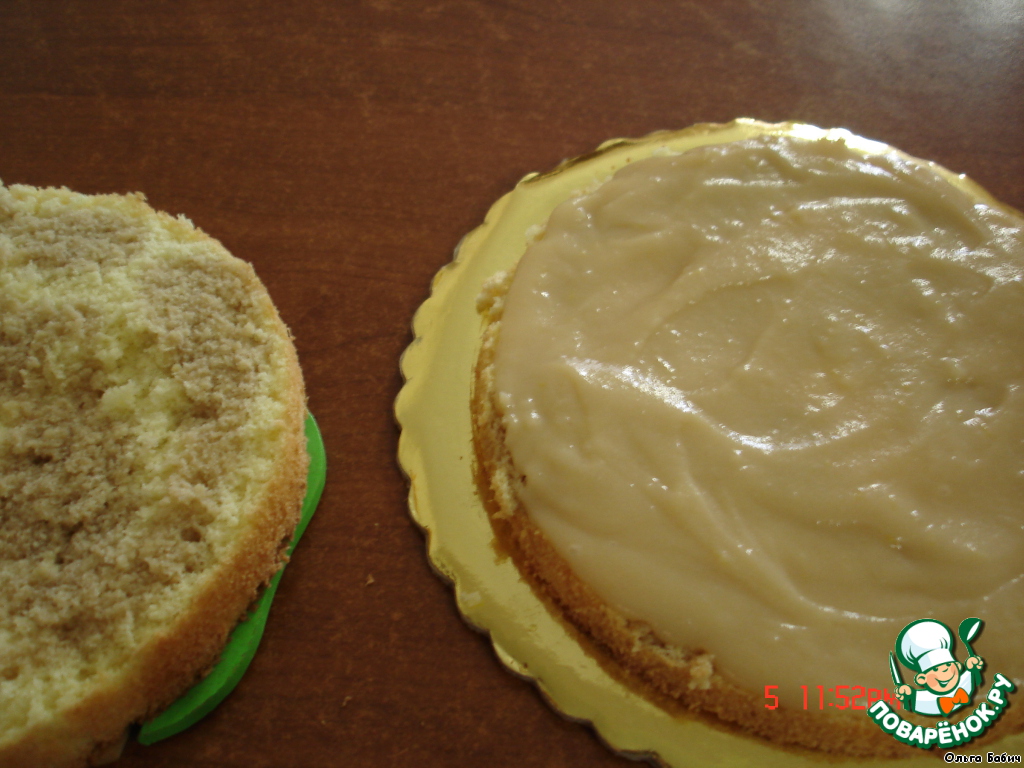
To cut horizontally, to impregnate with a syrup. I will not insist, syrup choose to taste, just advise, do with coffee, you will not regret!!! (1 incomplete Stakic boiled water - 1 tsp instant coffee and 1 tsp sugar.
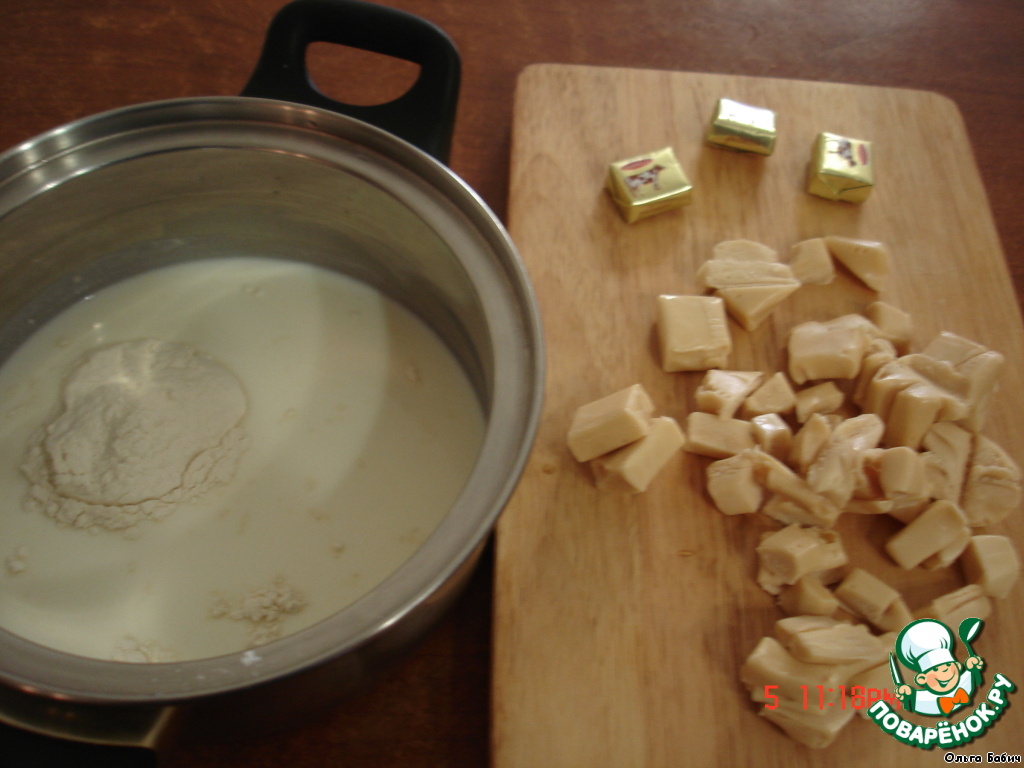
For the cream: mix the milk with the flour, sugar and vanilla, add the chopped toffee (toffee we have this color, so don't worry) boil. Stirring constantly, bring to thickening. Add at the end 50 g of butter.

To the cream add the lemon zest. Allow to cool.
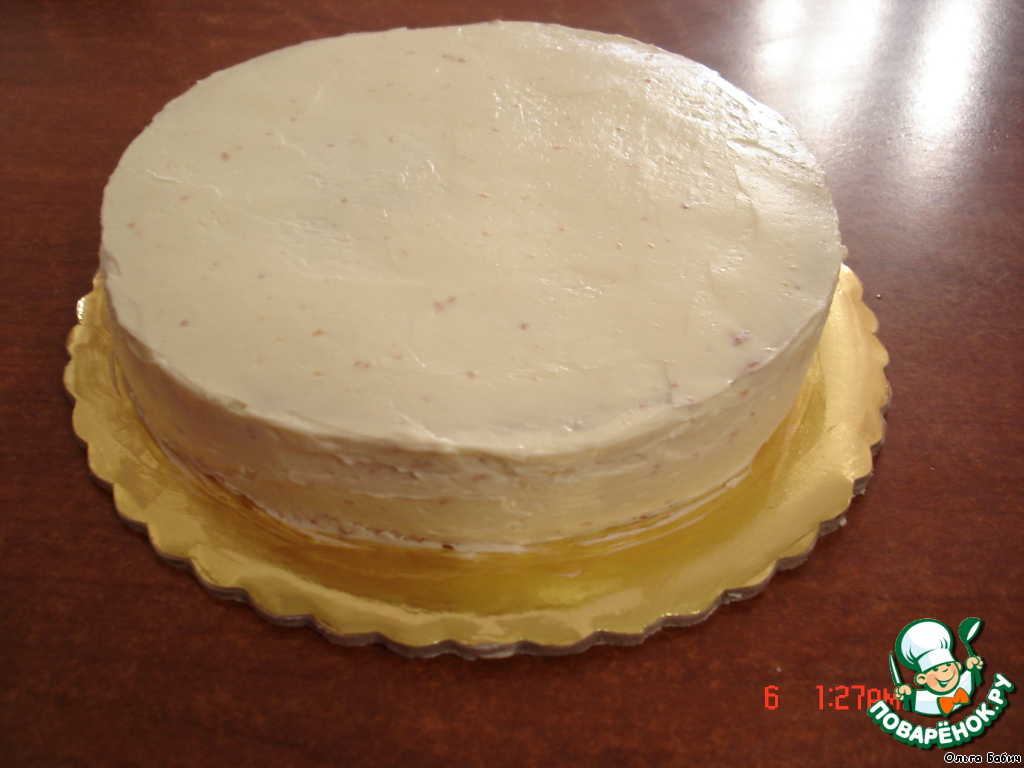
Fluff the lower crust, as pictured above, cover with 2nd cake layer. Put the cake in the fridge while we beat the 2nd cream under mastic. Beat the butter hot, continuing to whisk, gradually enter condensed milk. This cream to coat the whole cake. Put in the fridge while we prepare the decorations for the cake.
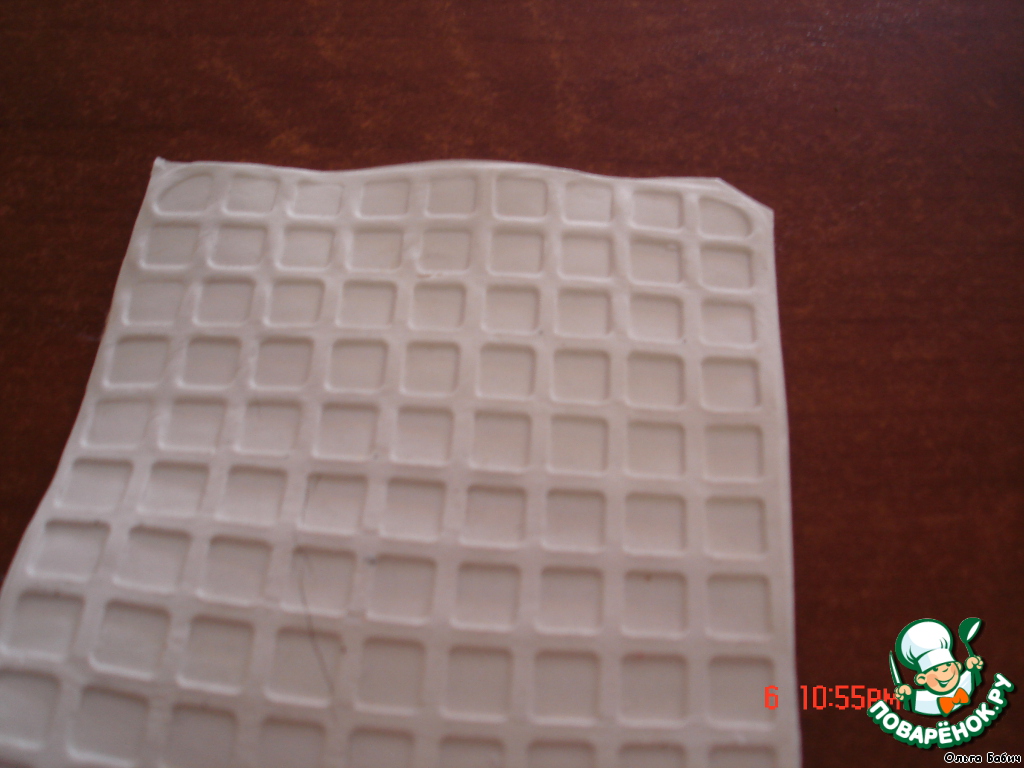
For a basket-basket, we need the mold, but at me such was not. I removed the print with the usual waffle makers. That's what happened.
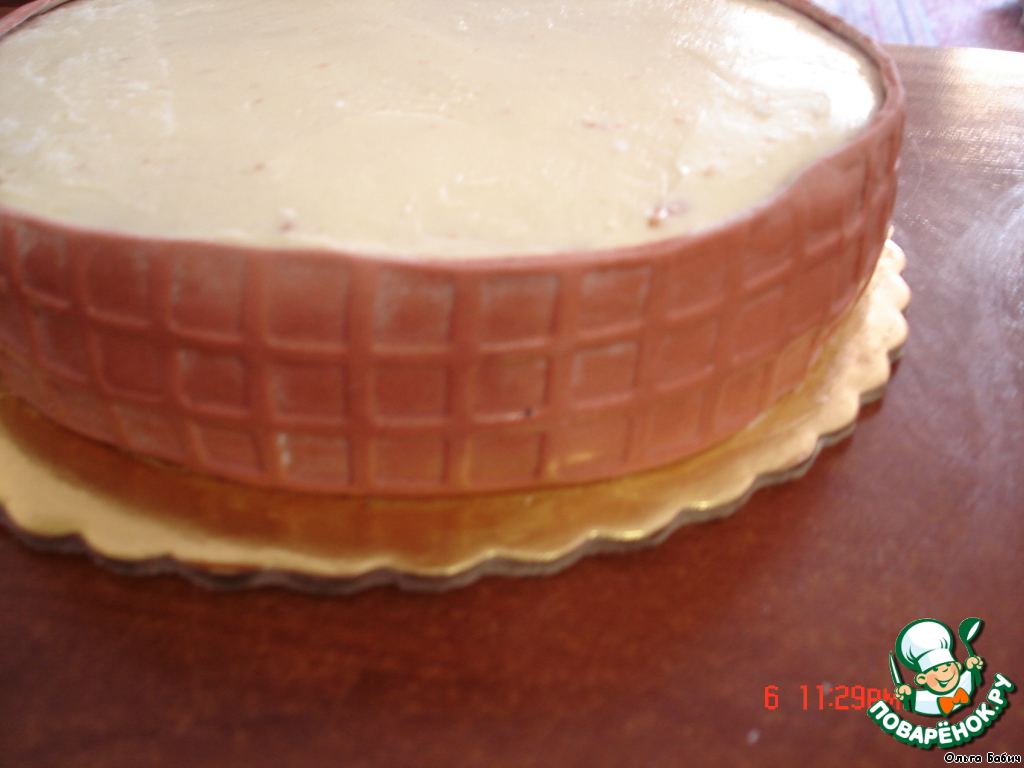
Continue unrolling the mastic was applied to the stamp for printing image (pre-shot size the height of the basket)
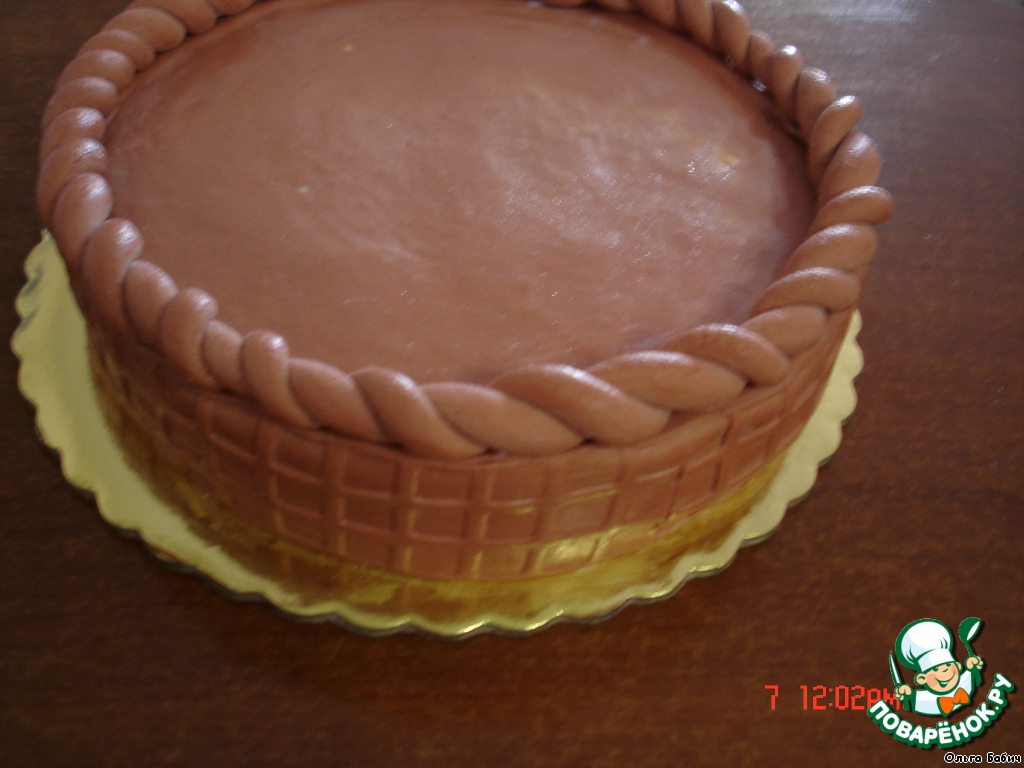
When the side was ready, I covered the top with a thin layer of putty, roll out a circle the size. Wove a harness, using some water stuck to the cake base.
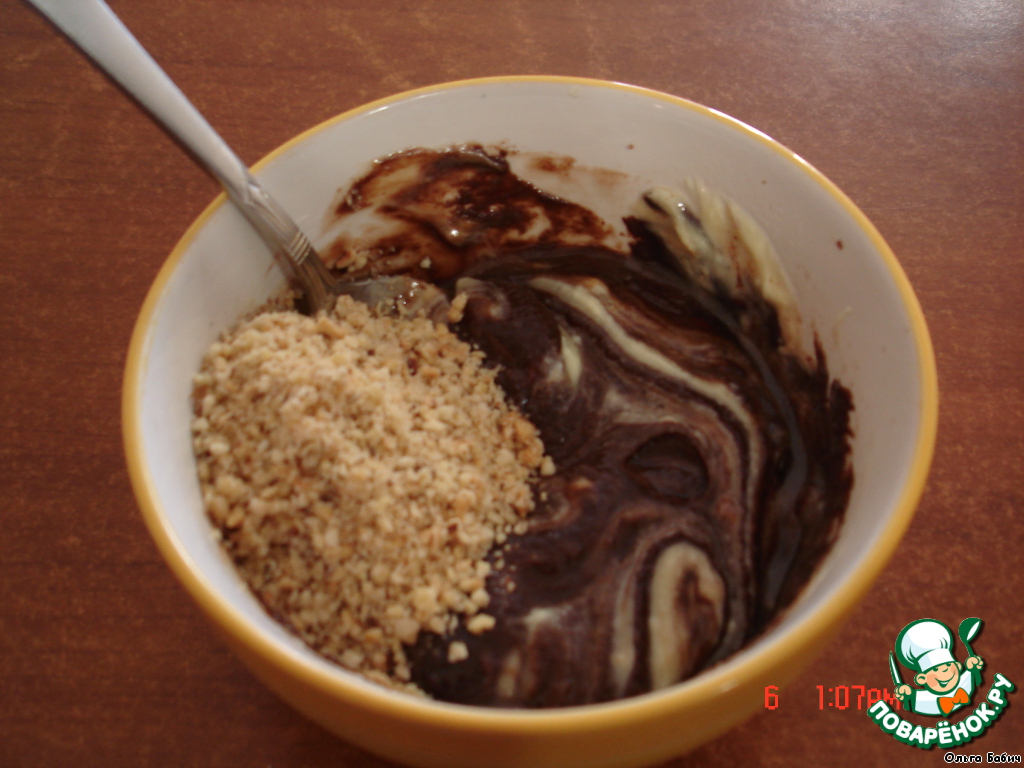
For making candy "thread": mix chocolate (white and dark), add milk and melt in a water bath or in a microwave oven. Add the ground nuts. Mix well. To put the mass in holodilnik for a few minutes (don't overdo, or you will fall asleep!!!)
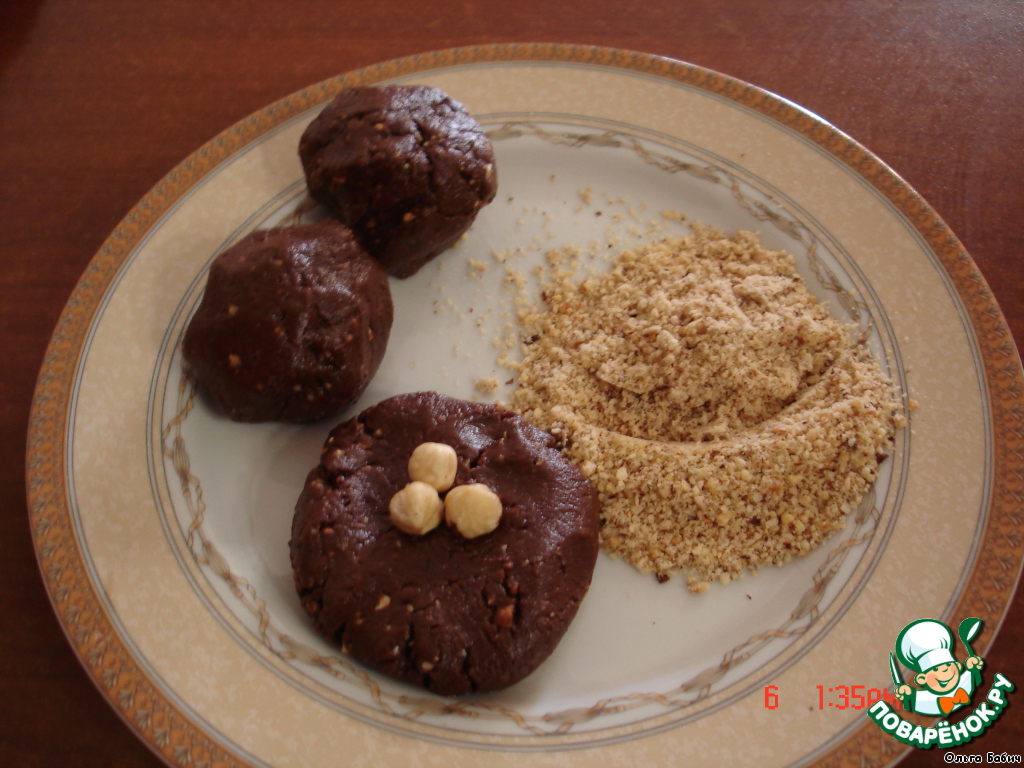
From chocolate to make a cake of small size, in the middle, put the nuts, candied fruit (here a matter of taste). Shape into a ball, lightly sprinkle with ground nuts. Put in the cold.
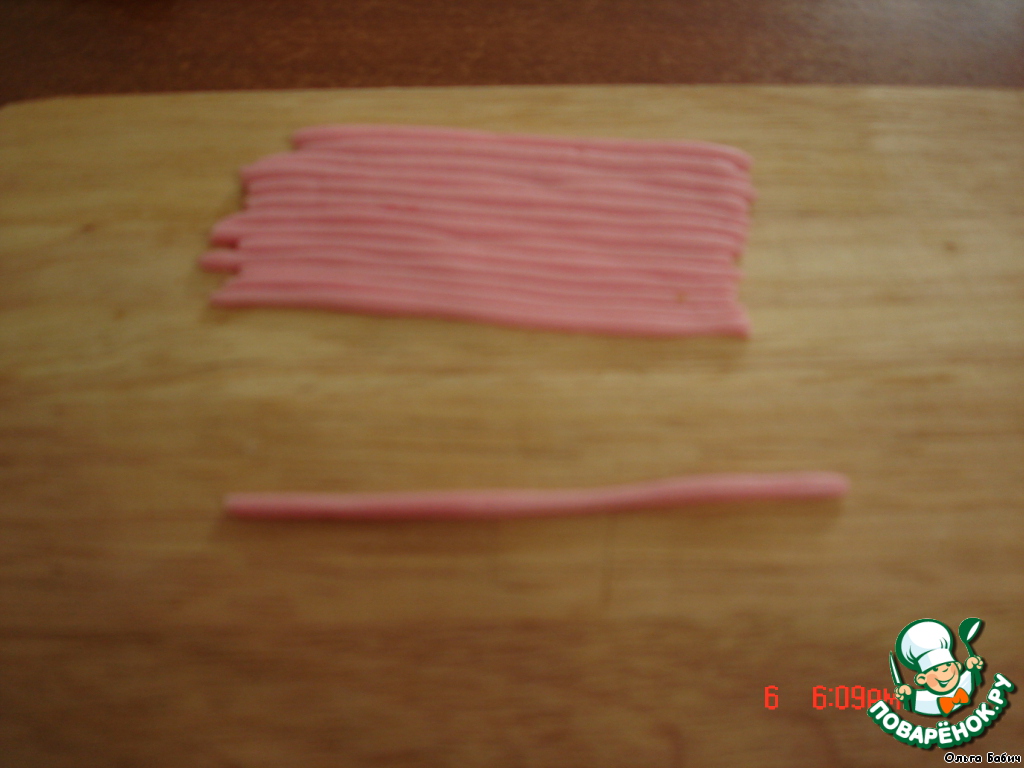
Do of mastic flagella, connect them using some water. In order for the flagella was smooth, roll them with a ruler! Think straightforward process. Hands as a tourniquet, then put it on the top line and roll out.
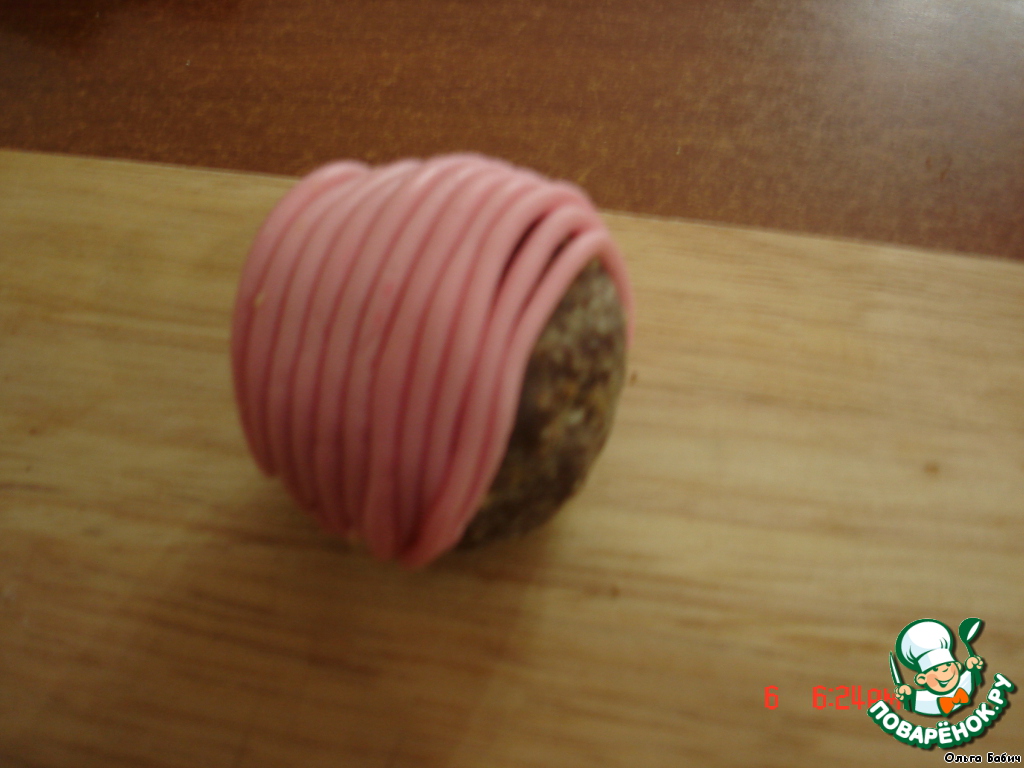
Covered chocolate ball.

Here he is ready. The same is done with other chocolates, changing the colour of the postmark.
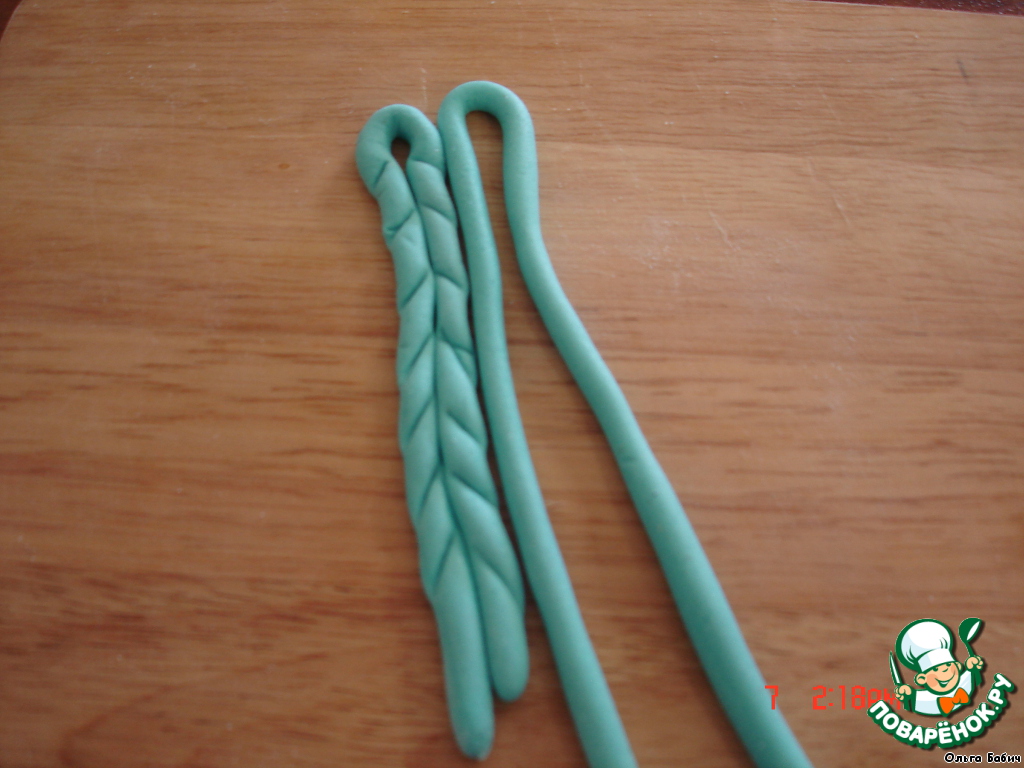
Crochet: do the flagellum, fold it in half, thus making a loop. Make small incisions on opposite sides of the flagellum. Again, connect them with some water (to slightly moisten).
Put all cooked on the cake
Leave a comment or a recipe review
Leave comments can only registered users.
Register, or Login if you are already registered.