Description

After my family tried the cheese in my version-for children it has become a cherished delicacy, and for my husband-favorite type of cheese (he loves cheese)! Now on store cheese in my household watching with disgust and distrust. This cheese, I proudly serve on holidays, knowing that in five minutes will not remain a single piece and will need to cut more! This cheese is my pride! It was appreciated by all-both home and visitors! So feel free to share your recipe!
Ingredients
-
Cheese
1 kg
-
Milk
1 l
-
Butter
200 g
-
Chicken egg
2 piece
-
Salt
0.75 Tbsp
-
Soda
1 tsp
Cooking
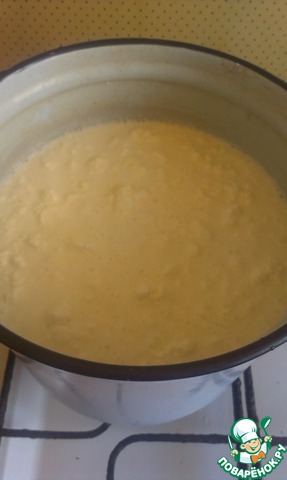
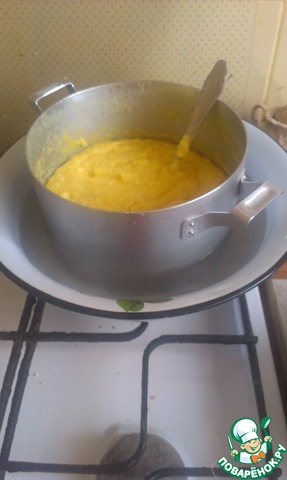
I was making cheese from a larger number of ingredients, so I have large pots. The number of ingredients in the recipe, you will need three-liter and-liter pots. In a three-liter saucepan, dilute the curd in the milk and put on fire, bring to a boil, stirring occasionally.
You need to ensure that the serum is fully separated from the milk as in the picture.
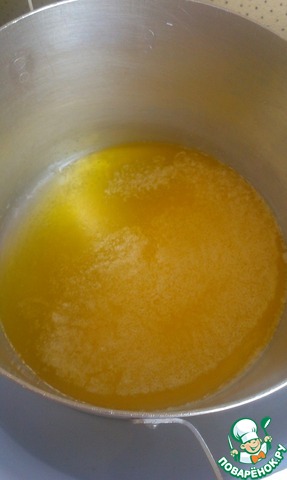
Meanwhile, nearby on a water bath melt the butter.
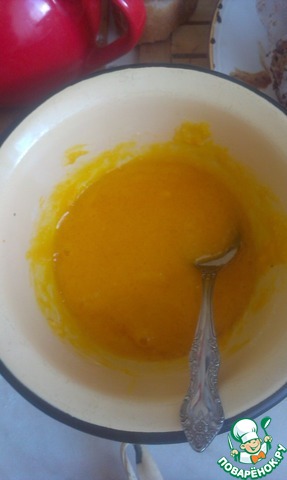
In a separate bowl, mix yolks, baking soda and salt.
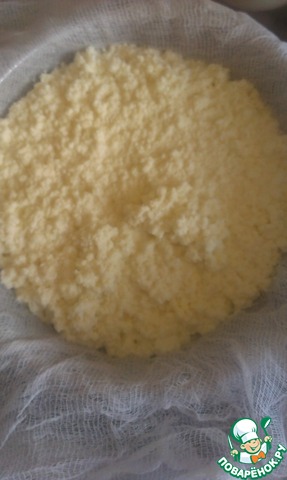
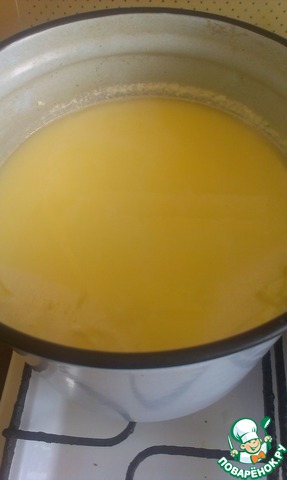
As soon as the milk-cheese mixture begins to boil, turn off and drain it in a colander with cheesecloth, folded in half.
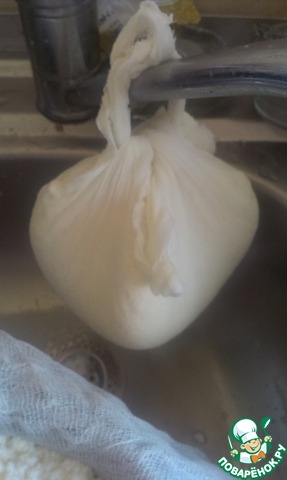
Hang the curd and allow to drain the main flow of whey, until the moment when it begins to drip. It takes literally half a minute.
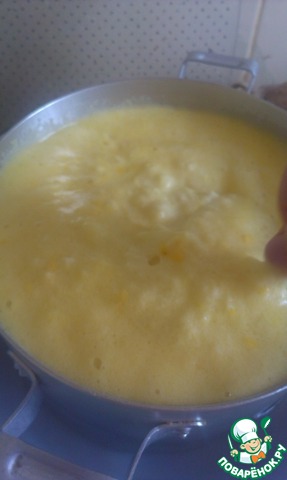
Meanwhile, mix the contents of the separate bowl (what with the yolks) with melted butter in a saucepan on a water bath. The main serum glass, add digested curd in the pan in a water bath and vigorously begin to interfere. Here's the beauty of it-a mixture of doubles, foams, and we all quickly stir.
Gradually, the foam collapses and begins to form a cheese mass. We already cook with cheese!)) Periodically stir, cook for ten minutes.
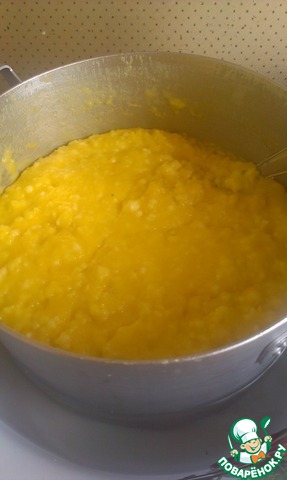
When curd will start well behind the edges of the pan, the cheese can be passed to the form.
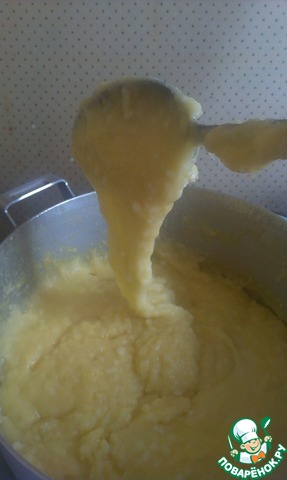
That's such a viscous mixture is obtained.
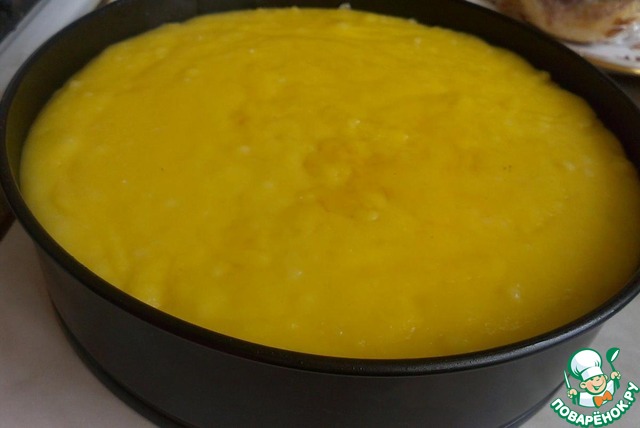
I used a conventional split mold, greased with vegetable oil is very convenient. The proportions in the recipe need a form with a diameter of 18 - 20cm. Allow to cool cheese in the form. Then hide it (right on the form!) in the fridge for four hours.
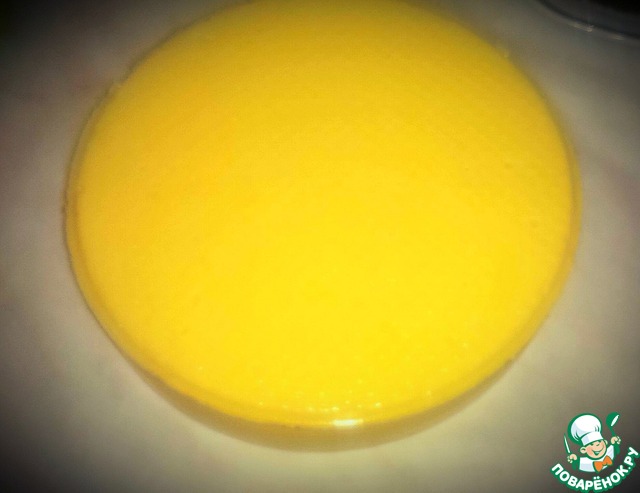
After four hours take out the cheese from the mold, wrap it in parchment paper to absorb excess fat.
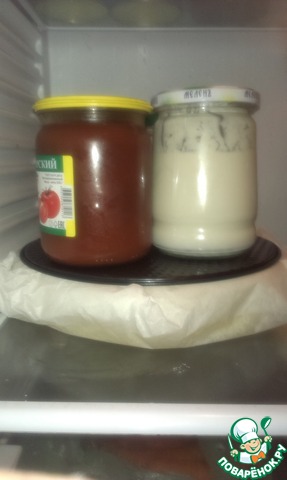
Hide the cheese back in the fridge under pressure for 12 hours. After 12 hours remove the yoke and leave the cheese in the fridge to rest and gain strength for the day. If you want more than cheese, it must be cut into four equal parts, wrap each in parchment and leave for a day. If it is not cut, and the whole leave for a day-it will be more soft and supple.
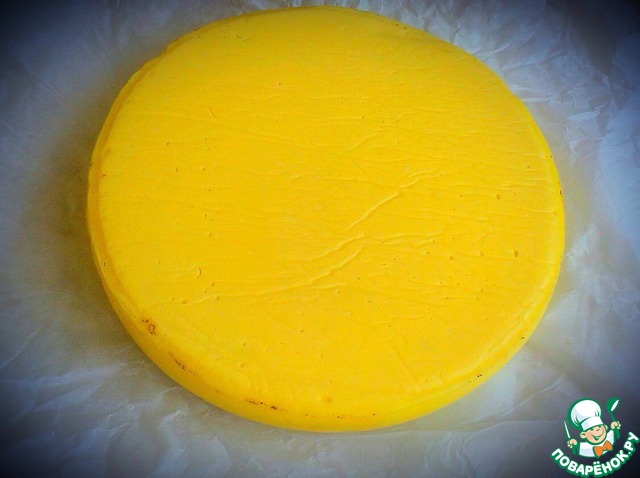
Here a while stay our cheese in the refrigerator, take out and unfold the... Cheese has gained strength and is ready! If you're itching to reveal early cheese-can do it, BUT it will be very soft and will not have time to ripen! Therefore, we strongly suggest to endure, and the cheese will delight you with its taste and quality!
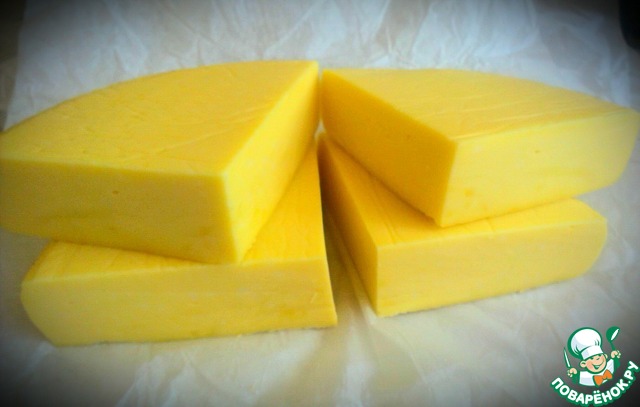
Incredibly delicious, fragrant and supple... It can be thinly cut and beautifully presented!
Bon appetit!))


Leave a comment or a recipe review
Leave comments can only registered users.
Register, or Login if you are already registered.