Description
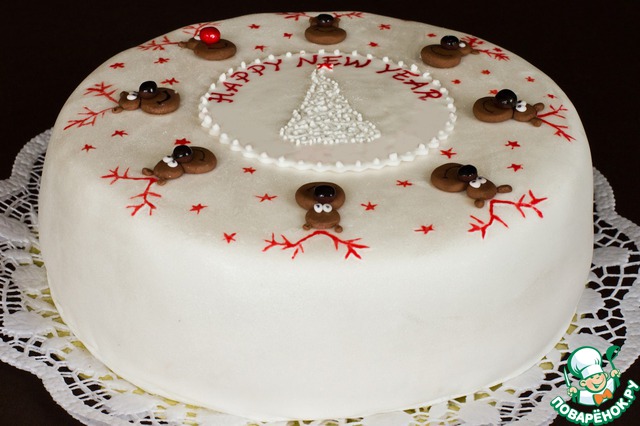
My dear cooks! Since the end of the world was canceled, I want to congratulate you with this event with this cake! Yay! Preparing for the New, 2013!
Ingredients
-
Chicken egg
4 piece
-
Sugar
150 g
-
Flour
130 g
-
Cocoa powder
4 Tbsp
-
Leavening agent
1 tsp
-
Butter
300 g
-
Condensed milk
300 g
-
Juice
500 ml
-
Syrup fruit
50 ml
-
Gelatin
5 piece
-
Mastic
500 g
Cooking
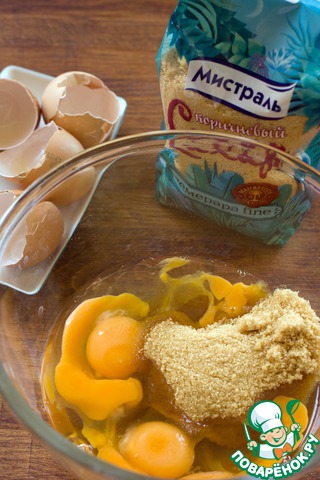
Girls recipe for the cake is very simple - sponge cake, classic cream butter and condensed milk and Jell-o cherry juice. If you need to get a dark sponge cake, then take 130 grams of flour and 4 tbsp cocoa without sugar. Same for light sponge cake, remove cocoa and increase up to 150 gr of normal flour. Jelly can be made from cherry juice, and packaged juice, and syrup from the cherries in their own juice. The latter option will be the most delicious. But the decoration I saw on a foreign site. Since the new year and Christmas holidays coming up, I decided to show you the option of cake decorating under the Christmas tree. Maybe someone will want to please family or guests with this elegant dessert. So, let's start. In the bowl of a fairly large volume to drive the eggs and add brown sugar.
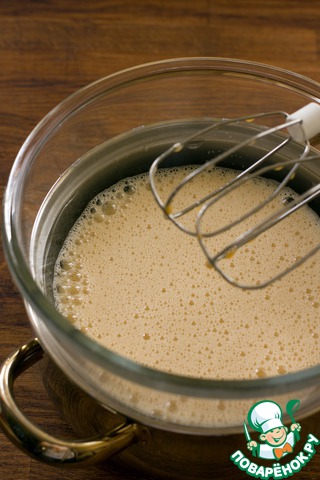
To prepare water bath – pour in a pan of hot water and put on fire. From the top to hoist the bowl of eggs and sugar. Whisk the eggs with the sugar until, until the mixture is smooth and sugar is completely dissolved.
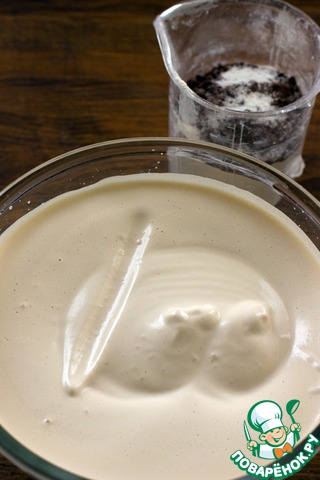
Remove the bowl from the water bath and whisk all the mixer now on high speed, about a minute 5-8-10. A very important point! Whisk need until, until the surface will not remain like this for a steady groove, if you hold it with a finger.
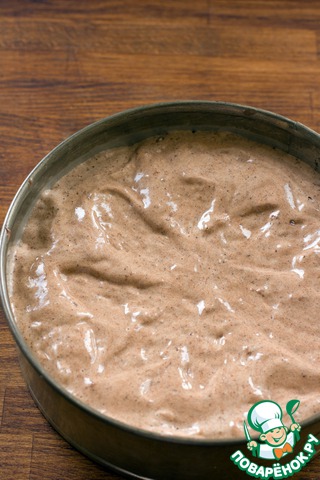
Sift our with air and foam weight of the flour, cocoa and baking powder, stir with a spatula from the top down, folding movements, trying not to disturb the structure of the air biscuit. Pour into the form. I usually shape no oil. I'll explain later why. If you often formed a cap on the finished biscuits, it is possible to slightly move the dough from the center to the edge. Bake at 180-190 With about 30 to 40 minutes. The duration of baking depends on your oven. If the cake gets too brown, then cover it with foil, but try not to open the oven before 30 minutes so that the cake is not a donkey. Willingness to check so – gently push the centre of the biscuit with your finger, it needs to return to the scene like a sponge. This means that the sponge is ready, if there is a hole, so you have to hold it in the oven.
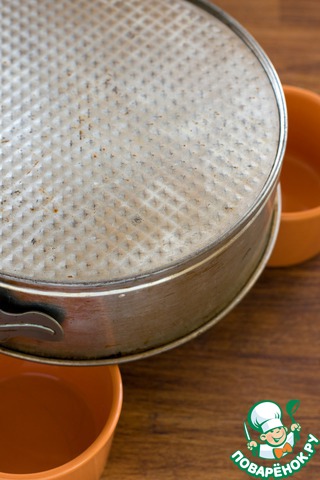
Ready-made sponge cake, I immediately turn and put upside down on three cups. It's insurance just in case that it is not a donkey. Believe that the law of gravity will not allow to do such nasty things with my biscuit. Waiting for complete cooling. Because the form I have not greased, the cake will not fall out of it, would hold hands and feet.)))
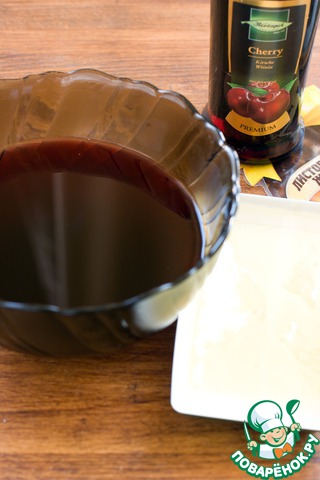
While cake cools, prepare the jello. Soak the sheet gelatin in cherry juice or juice add syrup (for richer flavor and color), or even liquor (if the cake will eat the adults). The cooled sponge cake extracted from the mold, laid it in cling film, mix the warmed juice with dissolved gelatin, mix thoroughly and pour into the form. Put them in the cold until fully cured. It will be the middle layer of our cake.
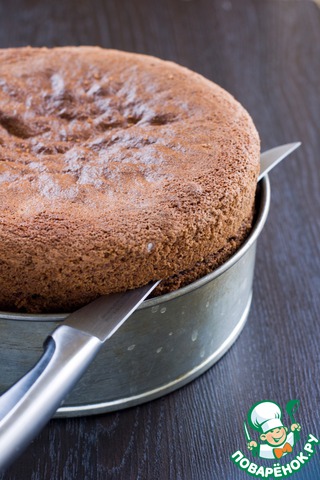
When the jelly hardens, cut the cake into two equal parts. This can be done with a few plates of small diameter. Make a 3-4-5 stack of plates and put inside of your split form. On the pile will raise the cake. Removing or enclosing plates can be cut cake into 2 or three parts, having long, sharp knife around the edge of the form. This method of cutting the cake I picked up from Natasha natapit. Thank You, Natus!
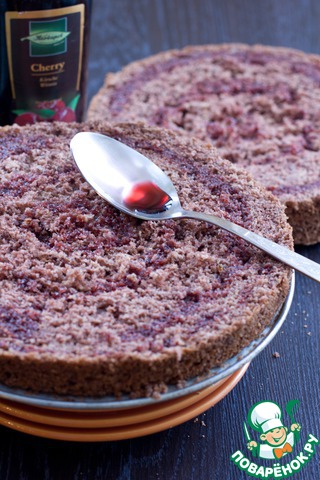
Beat softened butter with condensed milk, cakes liberally sprinkled with syrup or liquor.
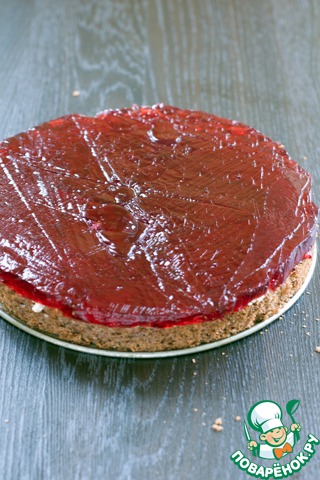
The bottom cake fluff cream, put a cherry jelly, then brush the lower part of the upper Korzh cream and put on top of jelly.
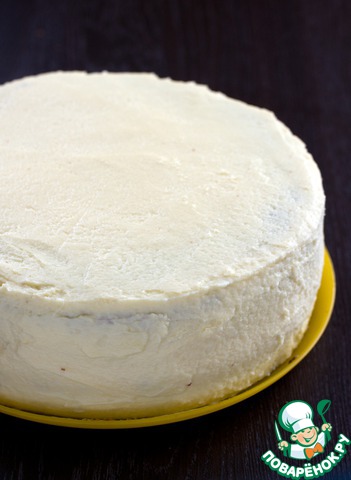
The sides and top of cake to align with the remaining butter cream. Not be lazy well to equalize the cake because the fondant will see all your flaws if you let them.
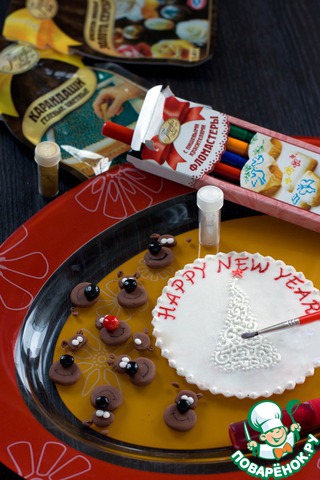
Decoration in the form of eight of Santa's reindeer I made in advance. Everything is simple – dashed balls of putty of different sizes, flattened, turned the reindeer's muzzle. Mastic tinted food coloring and cocoa for brown. Noses colored gel dyes, gleamed, seven brown and one red for Rudolph). Eyes – white putty, eyeballs painted with edible food markers and gel pencil, like the inscription. The Christmas tree in the center of mastic circle of icing. The very Christmas tree covered in silver edible dust.
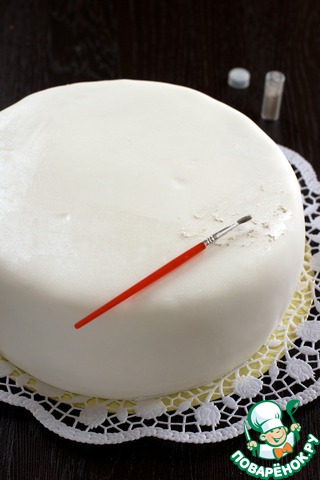
Roll out fondant circle to cover the cake, cover with silver edible dust. In the center put a slightly dampening the surface with water, a circle with a tree and inscription, the edges to place a deer head. UV, it's all!)))

The cake is very delicious! Cake tender, very porous, with a light cherry flavor, cream classics, nothing tastier and simpler yet, and Jell-o give this cake a delicate touch, it's not just delicious, but also looks very nice in the cut. I must confess to making the cake was much easier and faster than decorating it. Tiny details, placed them with a toothpick, but the cake turned out very elegant! White with a silver sheen, elegant sparkling Christmas tree in the center (photo, unfortunately, does not transmit this light).
Leave a comment or a recipe review
Leave comments can only registered users.
Register, or Login if you are already registered.