Description
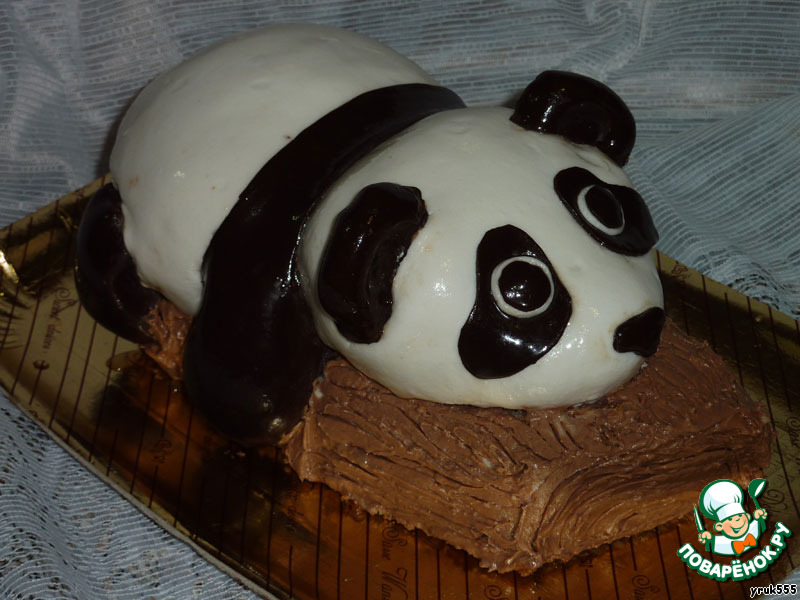
Delicious cake covered with fondant fashionable now. Work troublesome and interesting. And the result justified all expectations! To prepare this cake you need time and place in the refrigerator.
Ingredients
-
The cake
3 piece
-
Condensed milk
1 can
-
Butter
200 g
-
Cocoa powder
3 Tbsp
-
Peanuts
150 g
-
Cheese
200 g
-
Cream
200 ml
-
Gelatin
1 Tbsp
-
Water
3 Tbsp
-
Mastic
-
Ice cream
6 Tbsp
Cooking
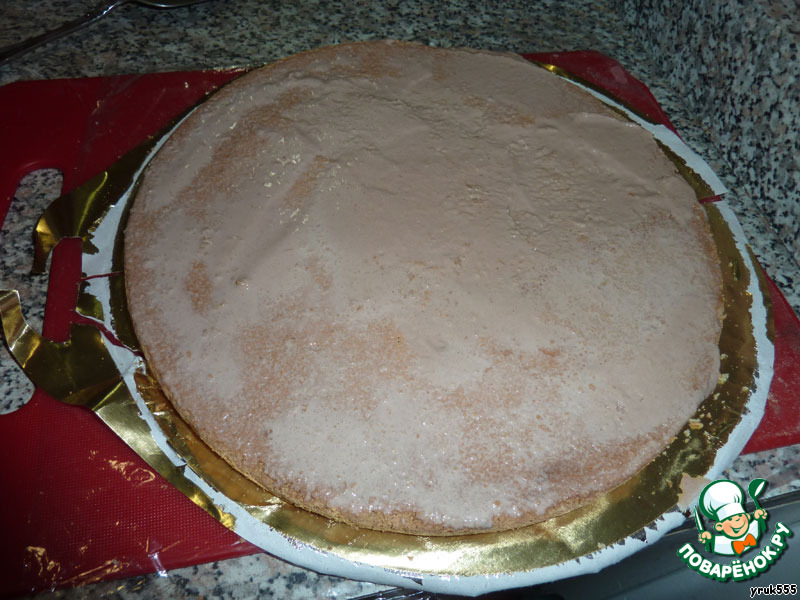
Recipes for biscuits a lot, so do not write. In the end, you can take the ready cake. So, take a biscuit with a diameter of 28 see his Coat of melted ice cream with a nutty flavor. It will be lower tier.
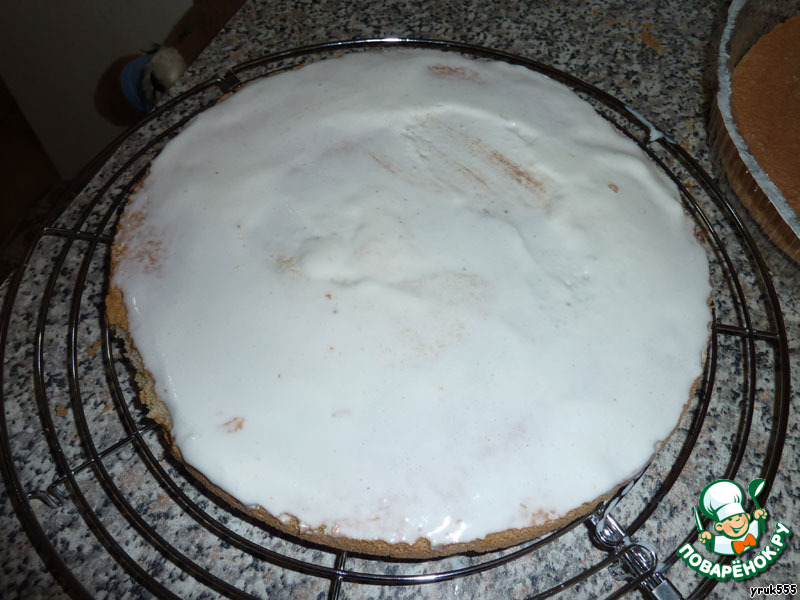
The second coat biscuit vanilla ice cream. Third leave without impregnation. Leave our biscuits to soak.
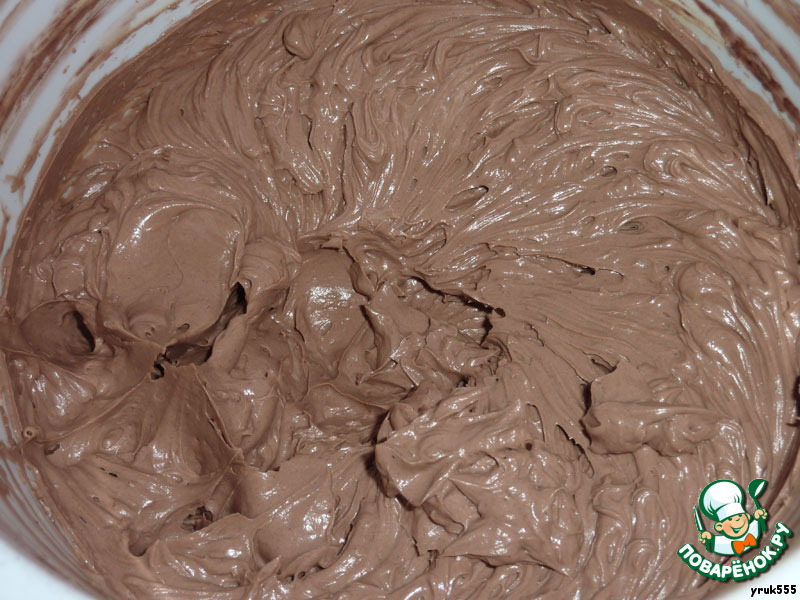
Make cream 1. To do this, beat the butter, then continuing to whisk, gradually introduce condensed milk and cocoa.
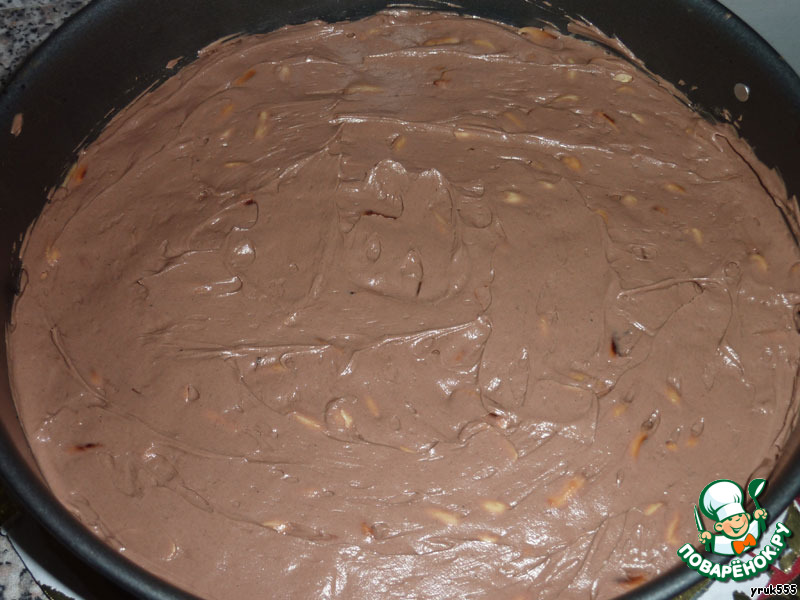
We put on our lower tier of the split mold. Coat with cream. On top add roasted peanuts (or other nuts, you nuts to pre-grind) and cover it with cream. At this stage, must remain 1/3 of the cream. We'll need that. Put our not-soaked cake. In a jar from condensed milk to add a little boiling water (about 0.5 Cup or less), rinse it and soak our biscuit. To remove the cake in the fridge.
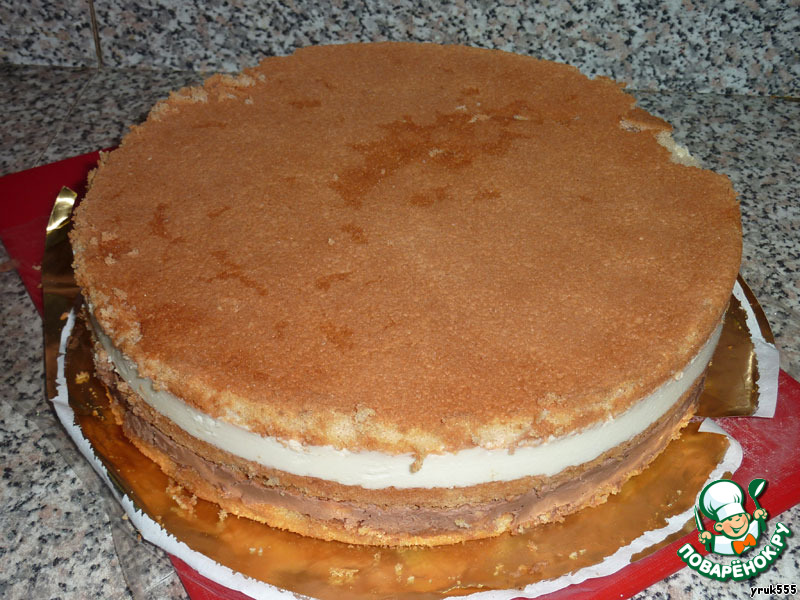
Prepare the cream 2. Soak gelatine to swell. Cream to whip, to dobaviti cheese (gradually 1 spoon). Gelatin heated to dissolve and enter into the cream. Mix well. Pour the cream on the cake. Cover with remaining sponge cake and put in a refrigerator for 2-3 hours. Here this turns the cake (diemert - 28 cm height - 6 cm weight - 2 kg). By the way, the sugar in the cream 2 to add not need! Cake and so will turn out sweet enough.
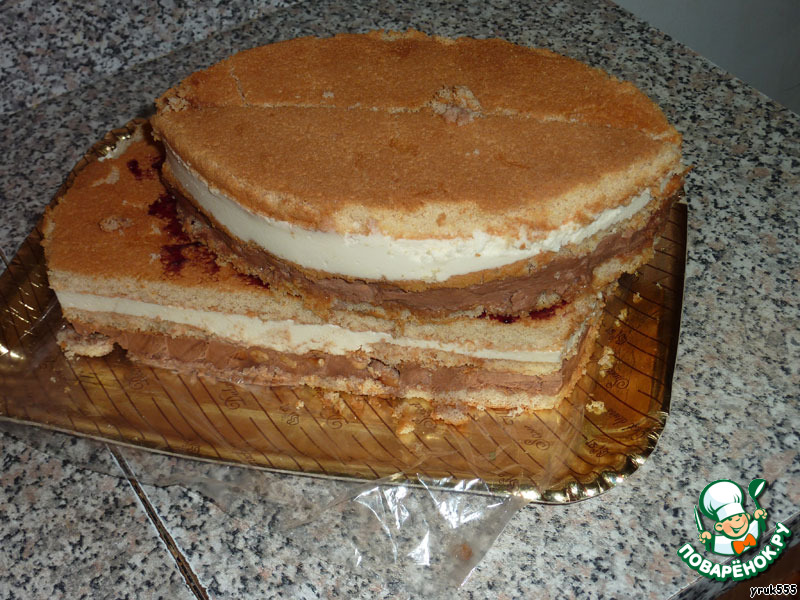
Start to make a Panda. Cut the cake into 3 parts. Here we need to note that after assembling the cake to carry to be quite difficult. Therefore I propose to collect it in the bowl in which you plan to bring to the table. And the dish is left clean, the cake you need to put baking paper or foil. For easier subsequent retrieval need to cut it in half so that the cut ran along the side of the cake. Then you will be just to pull in different directions. The middle part is lubricated in any jam for bonding layers. The extreme part is placed on top in the middle, like the picture, slightly shifting back.
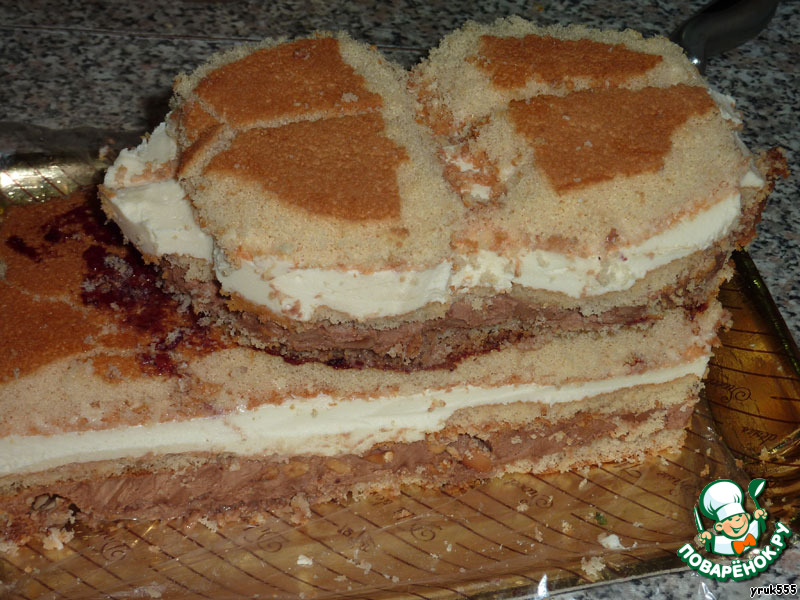
The lower part will simulate a tree. Top - Panda. Let's get Panda. Rounded "head" and "ass" pandas top and sides. Rear leave the tail sticking out, the front is a small ledge to the muzzle.
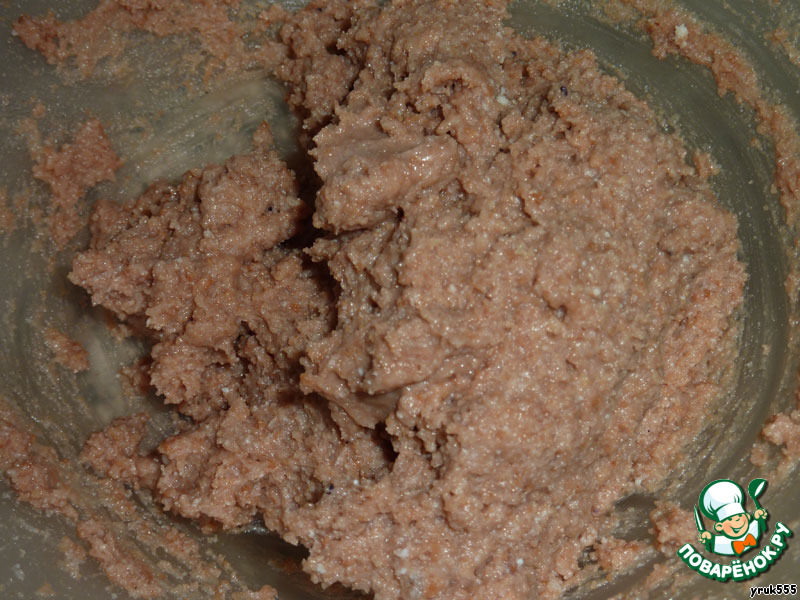
Carefully collected in a bowl all the trim and tithe. Grind it with the blender or grinder.
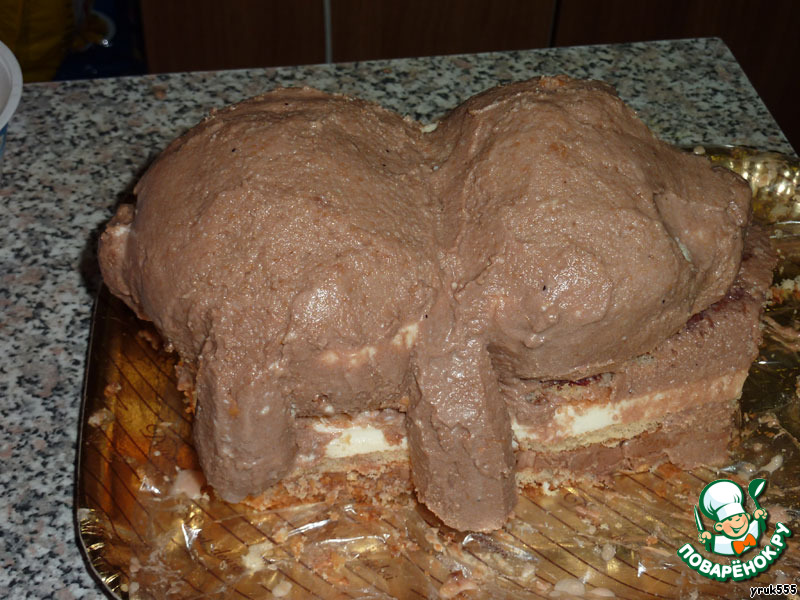
Dampening hands with water begin to mold the resulting mass. Our goal is to cover the frame bears, giving it the desired shape, sculpt and attach the legs.
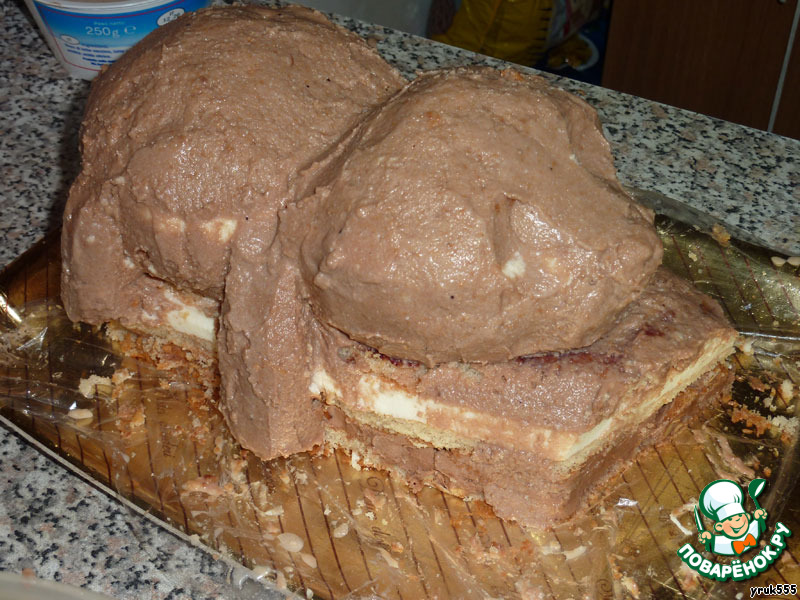
Make small holes for the eyes. Put the cake in the fridge for 40 minutes or in the freezer for 10 minutes.
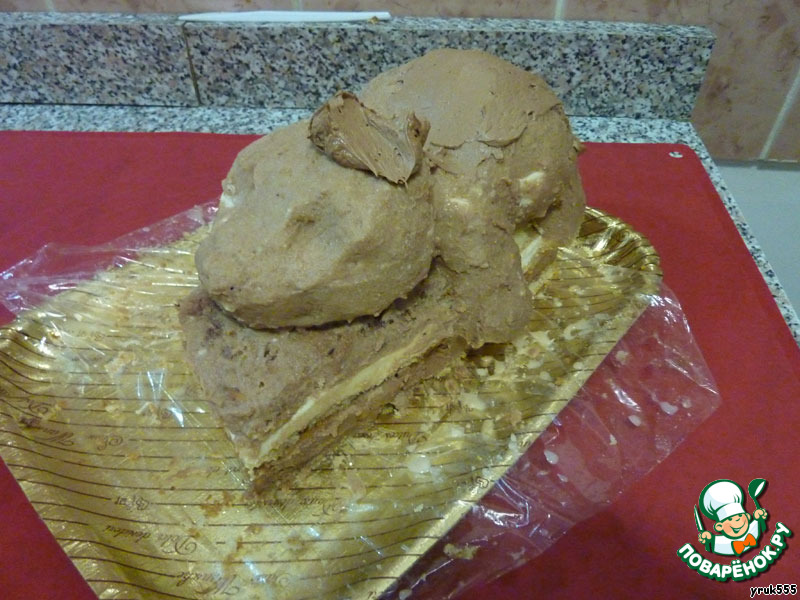
Because the cake is covered with fondant, you need to align. To do this, carefully daubed our Panda cream 1. I recommend using a butter knife or similar flat not a sharp object.
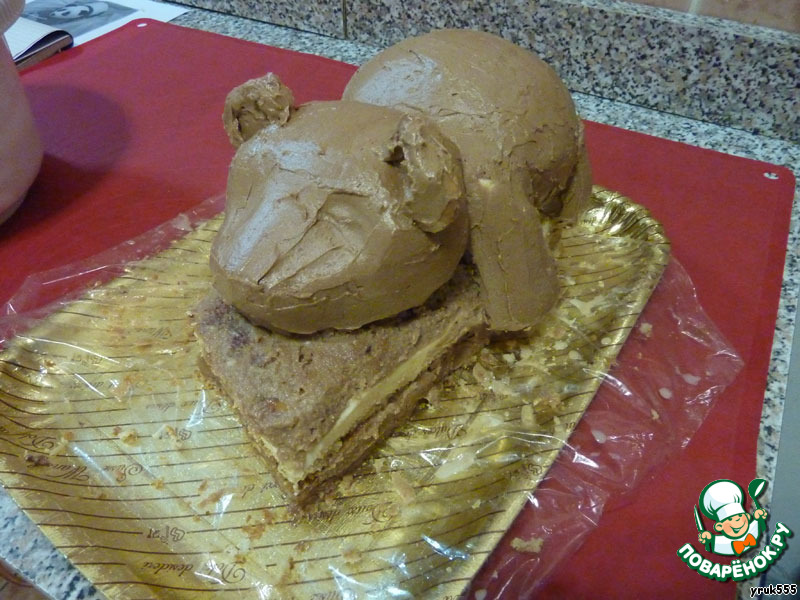
Do not forget about ears. For the ears, take a simple (any) round cookies, roll it in the same cream and insert into the cake, making an incision with a knife. Remove the cake in the refrigerator until solidification cream (the cream should harden).
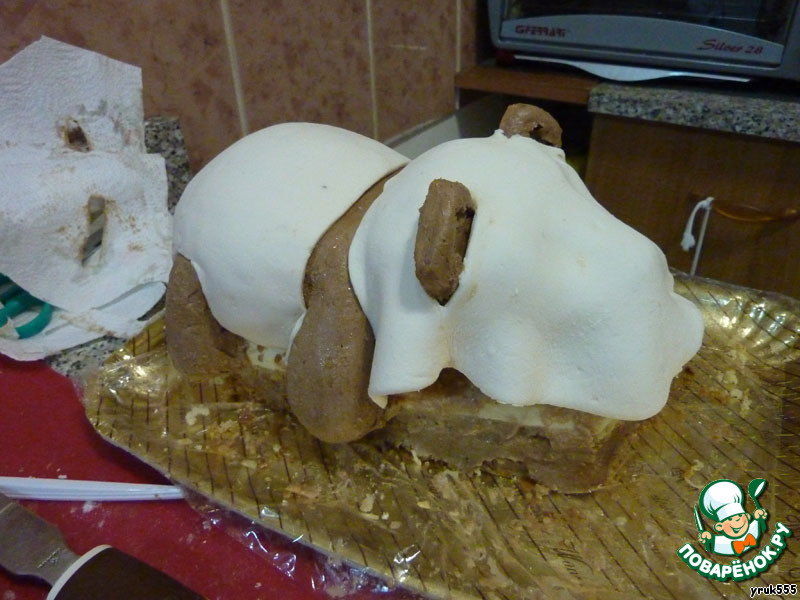
Before coating with mastic possible to correct unevenness of a hot knife. Roll out white fondant and covered the relevant areas. I did it pre-cut patterns out of paper (seen in the photo in the background). Mastic is a good iron and folded the bottom.
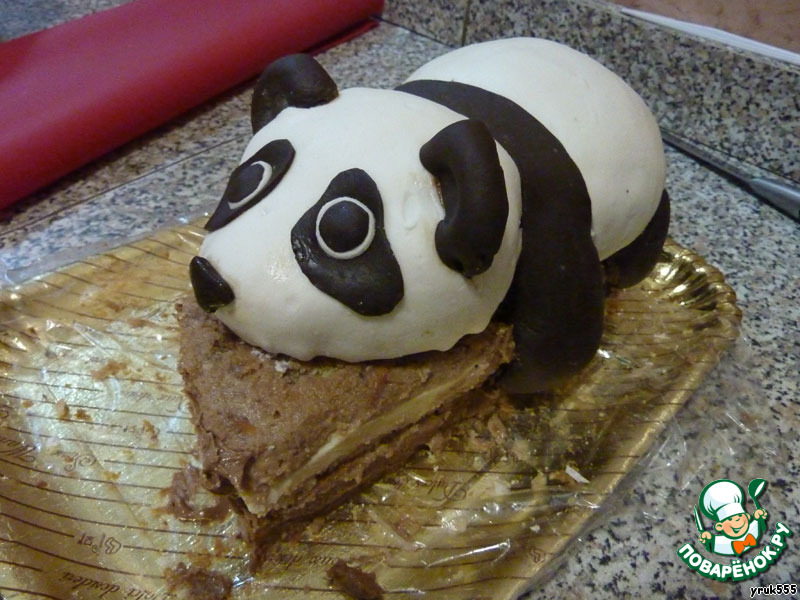
We proceed similarly with a dark mastic. Wrap her paws and ears. Make eyes and nose. Glued parts of mastic with water.
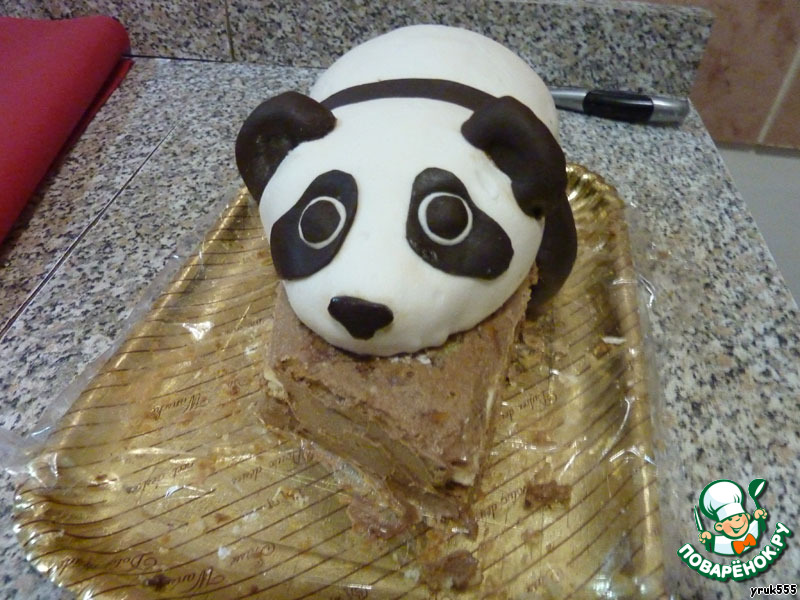
The fondant easier to roll out on the starch. Traces of starch from the cake easy to remove with a brush (not rubber!).
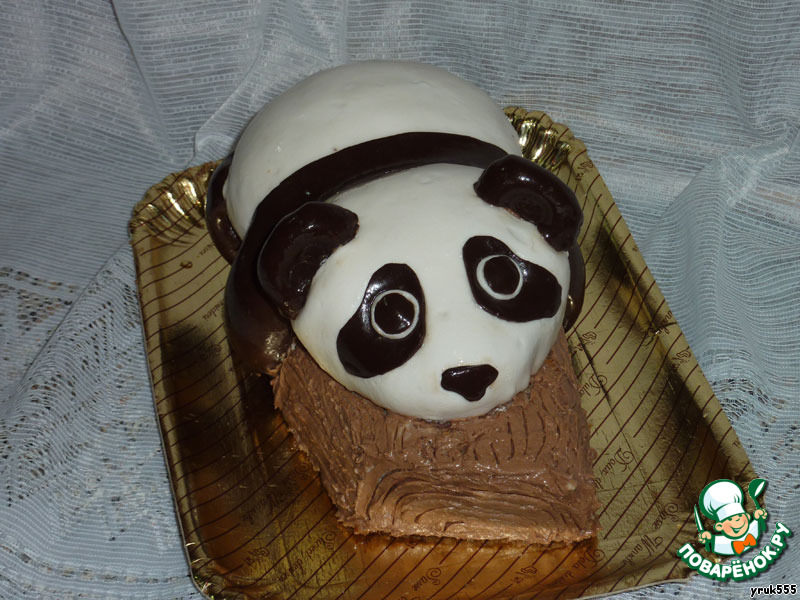
The remnants of the cream daubed our tree. The texture drawn with a toothpick. To Panda glistened with the honey, diluted with vodka, with a brush (dampening it only slightly). We remove the film.

The cake is ready! Bon appetit!

Leave a comment or a recipe review
Leave comments can only registered users.
Register, or Login if you are already registered.