Description
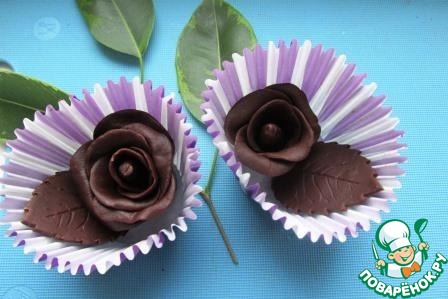
Wonderful handmade chocolates from the chocolate. Can be used for decorating cakes and desserts. I saw this rose made of chocolate on a gorgeous cake and was absolutely sure that they are made exclusively to the master confectioners. But one day stumbled upon the recipe for these ornaments, read carefully. The author of the recipe, an ordinary housewife by the name Natasha, all explained in detail. Frankly, if the first time I couldn't have done it, second time I would and did not try. Of course, Natasha explained everything in detail, but some of the tricks had to reach your mind. The recipe for the very curious.
Ingredients
-
Sugar
350 g
-
Citric acid
2 g
-
Soda
1.5 g
-
Dark chocolate
100 g
-
Water
150 ml
Cooking
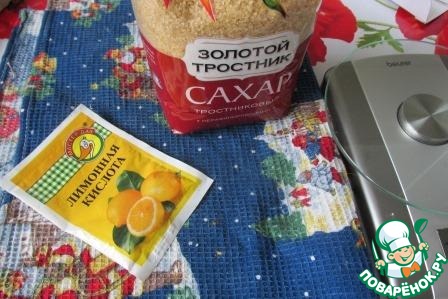
I warn you once, to cook we have 2 days. First we need to cook a special syrup.
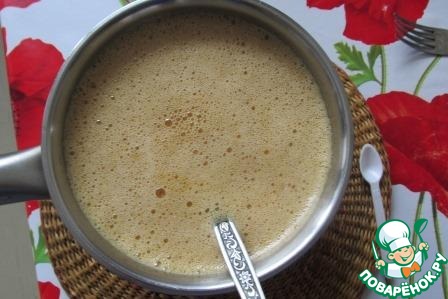
Pour into a saucepan the water, put on fire, heated, add sugar. Stirring, bring to a boil, add citric acid. The syrup is boiling, bubbling and actively tries to escape from the pan! Now the trick: you must select the heat at which the syrup is gently boiling, but not bubbling, because we need to cover the saucepan with a lid, and 45 minutes to cook the syrup under the hood. And that's when you guessed the intensity of the heat, cover the saucepan with a lid, and 45 minutes under it trying not to look. Remove the saucepan from the heat and pour the baking soda on the tip of a teaspoon. Starts the process of clearing of acid. All foam, foam, foam.
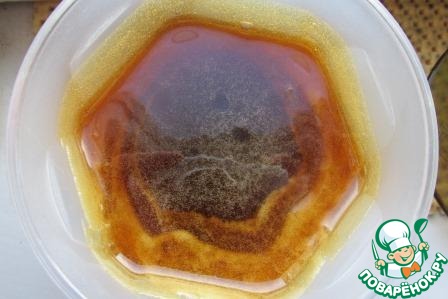
Be patient and from time to time stirred the syrup with a spoon. Foam is less. For me, the process took about an hour. The result is a brown mass type of liquid honey. If the brown sugar, the syrup is darker, if the ordinary white sugar, the syrup is light brown.
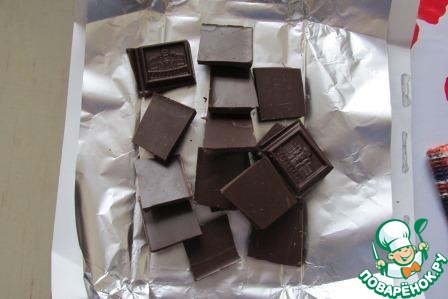
And now we will make the chocolate "dough". Tile good dark chocolate broken into pieces.
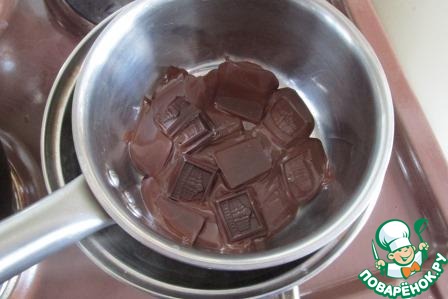
In a water bath melt the chocolate. No restrictions of the type "the bottom saucepan should not touch the water, the steam should not get in the pot, etc.". Can melt the chocolate in a profit center.
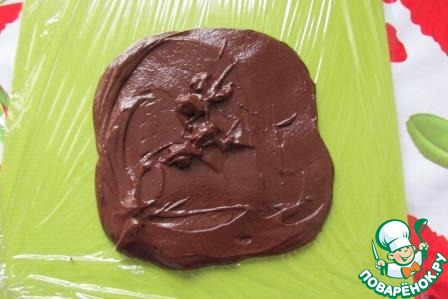
In the melted chocolate, add 3 tablespoons of syrup and stir until thick. Chocolate thickens quickly. On plastic wrap spread the chocolate "dough" is quite a thin layer and 0.7-0.5 cm.
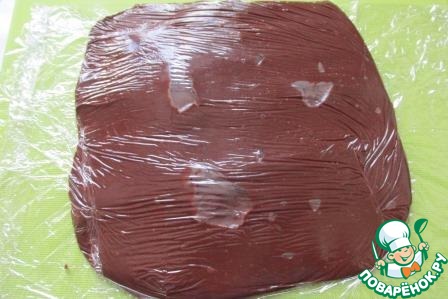
Cover our "dough" wrap and leave at room temperature for 12 hours.
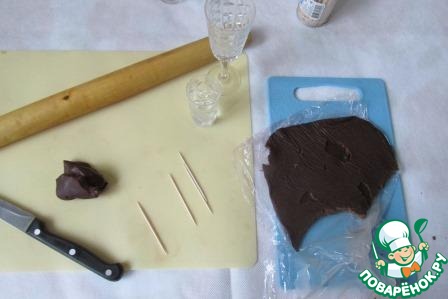
Start to be creative. We need: a silicone Mat or a piece of cloth, a knife, a rolling pin, wine glasses of different diameters to cut the petals, floss and obviously the chocolate "dough". After standing "dough" noticeably hardened.
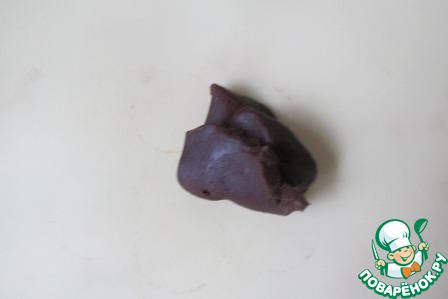
Osipyan a piece of "test" and mash it in your fingers until soft. Remember how to sculpt from clay?
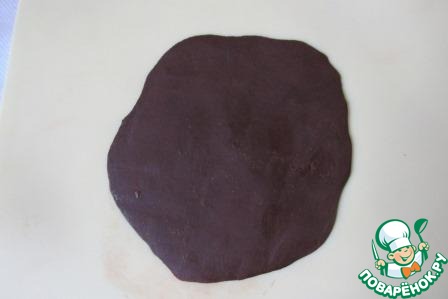
With a rolling pin roll out the ball into thin flapjack - 2 mm. Chocolate "dough" is very soft, but not sticky and does not stain hands. But too long, dealing with them is not necessary, still it is chocolate, he begins to melt from the heat of the hands.
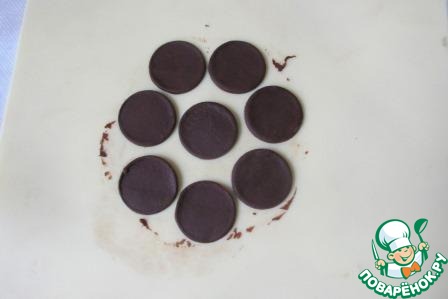
A glass or other fixture cut out the circles, petals of roses of the future.
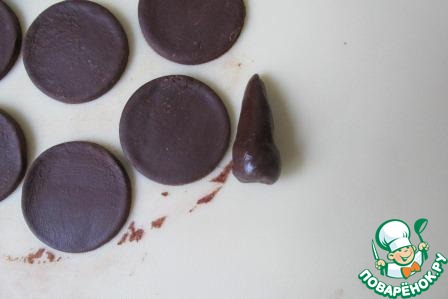
From the remnants of the test roll the ball and pull it into the cone is the middle of the flower. The length of the cone must be equal to the diameter of a petal.
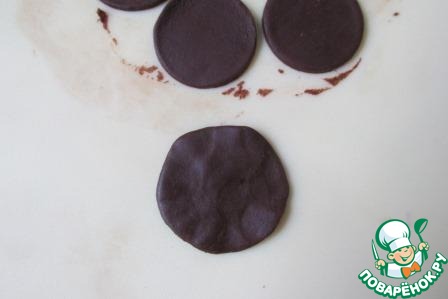
Take the circle and use your fingers to mash it, especially the edge, thinly, thinly, to the thickness of the petal of a live rose, the edges become a little jagged.
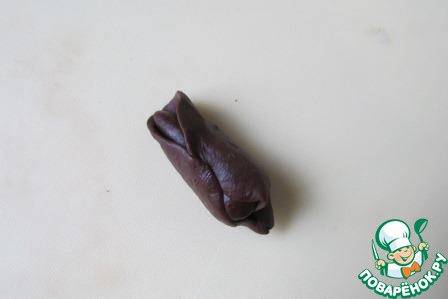
Wrap the petal around the cone. Pressed against the cone.
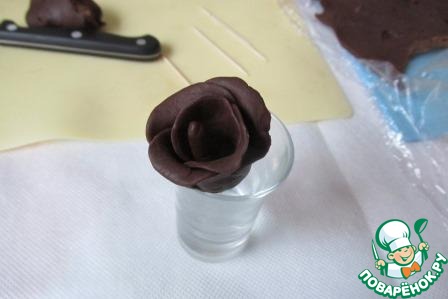
So gradually formed a rosette. Everything that accumulates on the bottom, Osipyan and use again. The finished rosette pinned on a toothpick and put in glass. It is clear that the larger the diameter of a petal, the larger the rose.

That is the miracle we have created with weak handles. Leaf I carved the mold for the mastic.

Leave a comment or a recipe review
Leave comments can only registered users.
Register, or Login if you are already registered.