Description
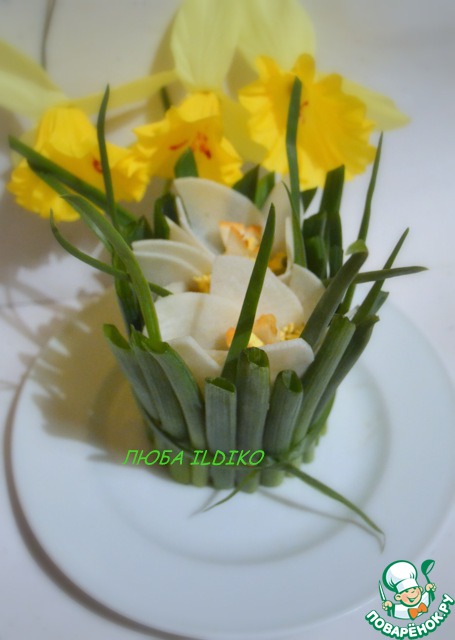
This salad is my favorite, all of us known as "Olivier". And in Europe it is called "Russian". I cook it not only for the New year and holidays, and sometimes just a nostalgia rush and then on my Desk "Olivier" and "Herring under a fur coat". I'm sure that I understand all girls living abroad. And from me today - short master/not master class with a spring mood on the decoration of any vegetable salad.
Ingredients
-
Potatoes
2 piece
-
Radish
2 piece
-
Carrots
1 piece
-
Green onions
4 coup
-
Cucumber
2 piece
-
Ham
200 g
-
Green peas
200 g
-
Mayonnaise
200 g
-
Carrot juice
20 ml
-
Chicken egg
2 piece
Cooking
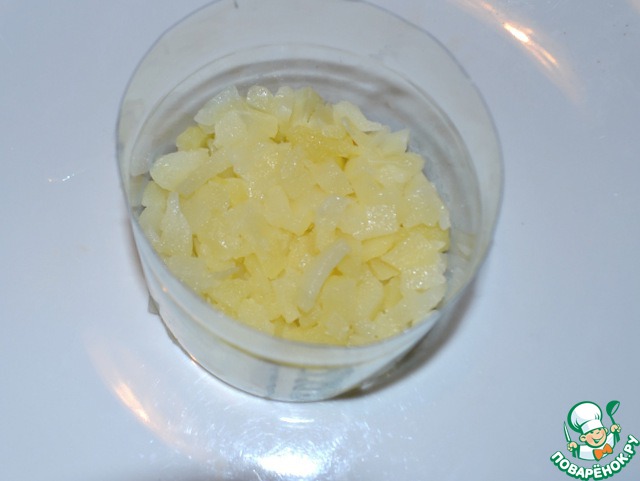
Boil the potatoes, carrots and eggs. Peel and cut into cubes. From a plastic 2-or 1.5-liter bottle cut off top and bottom - this will form the salad. Put the form on a plate for the salad and pour the potato, tamping spoon or a potato masher. The denser, the more in the end, salad.
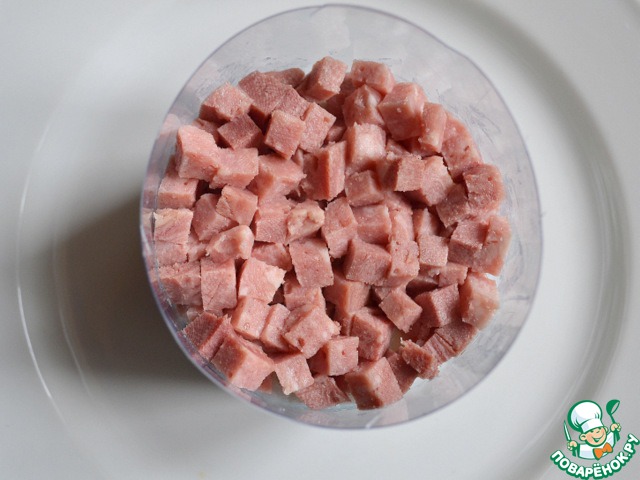
Cut into cubes ham, pour over potatoes, seal. To grease with mayonnaise.
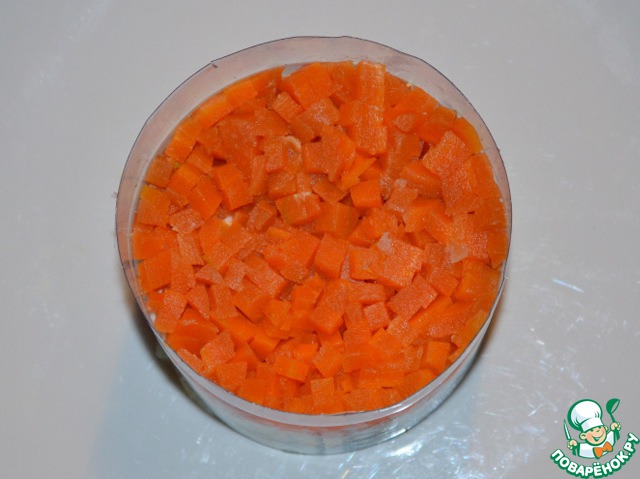
Pour carrots, compacted.
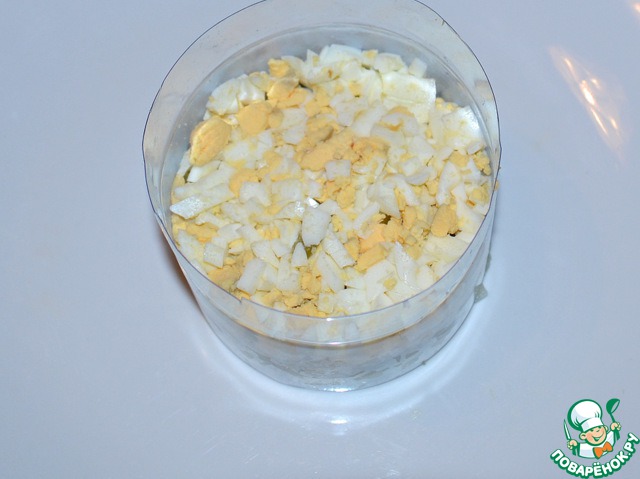
Sprinkle chopped eggs. To grease with mayonnaise.
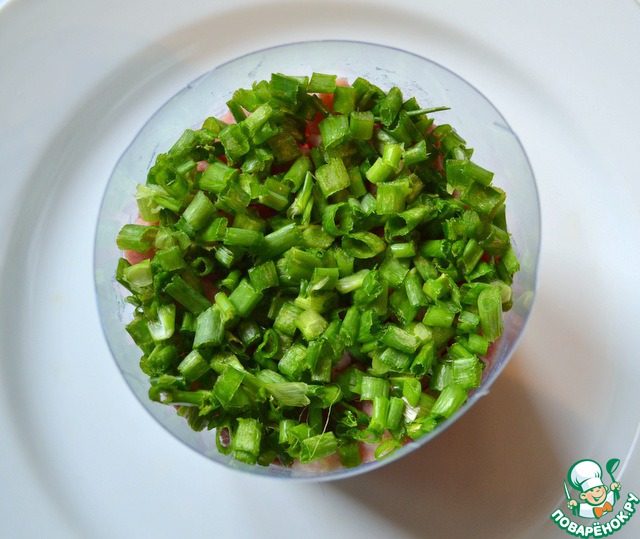
Pour chopped or green onions (I pre-marinate it lightly in brine from cucumbers).
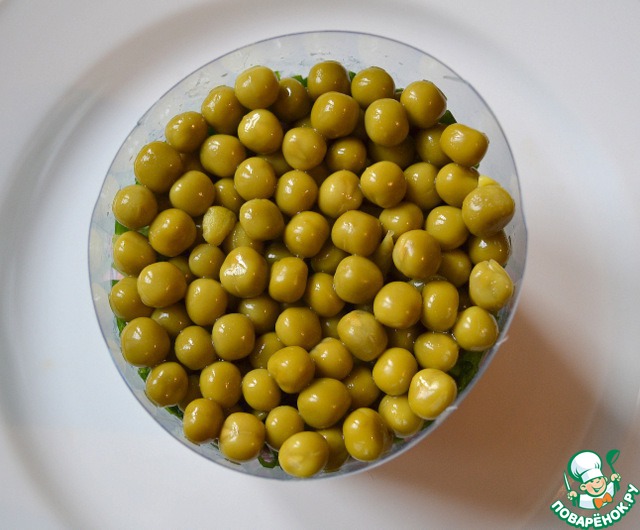
Pour canned peas, too pour. To grease with mayonnaise.
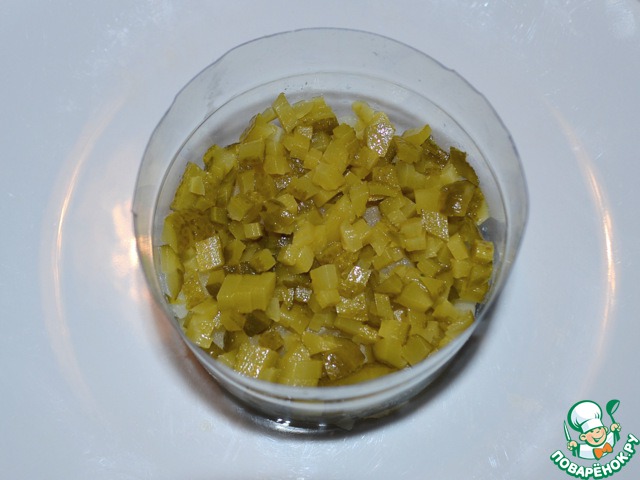
Left the cucumbers, cut and fill, compacted.
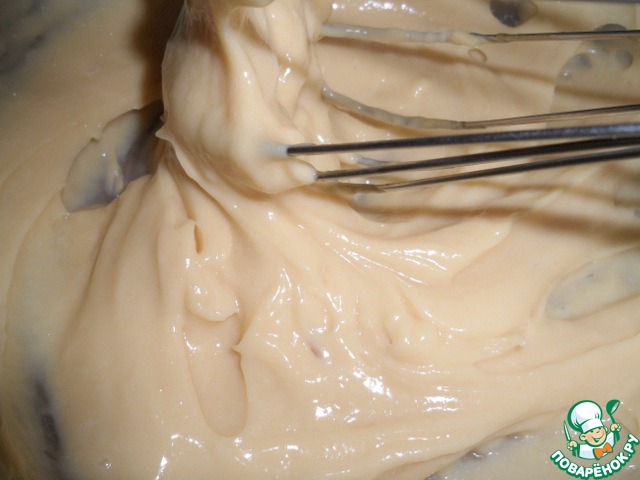
Layers can be lubricated with mayonnaise or oil, or any of your favorite sauce. I never buy mayonnaise, cook it myself 1-2 times in 2 month or less. Mayonnaise I have different composition, texture and fat content. Sometimes you just mixed and mix the mixture with yogurt or sour cream, mustard, salt, sugar and black pepper.
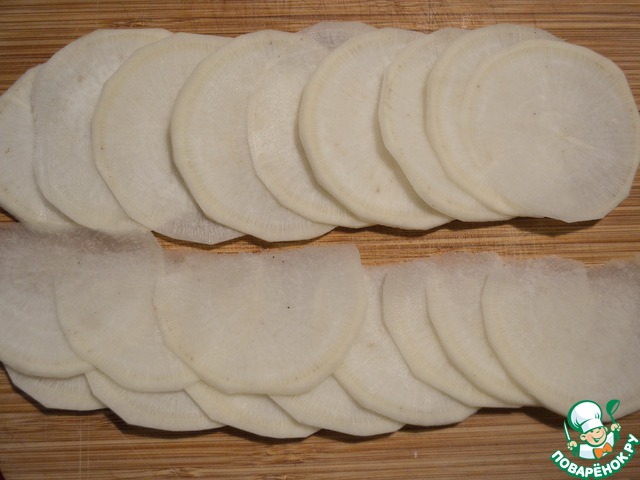
Now we need to decorate the salad. Nice broad green onions at that time it was difficult to find, but the husband for this salad and I traveled to local markets and still brought the onions, and with a decent margin. And though I have never cook, but I supposed that this ornament I might not be obtained immediately, the way it happened :-). To choose the broad, strong and resistant. And while crop they don't need, put it in the fridge. I first made the mistake and, while I was learning to make flowers, bows slightly podwal. So, let us flowers. Clean the radish, and daikon can, I think, too. Cut into round slices. I tried all your knives: and special, ordinary and for carving. Cut much the first finger on his left hand. Radish - very dense and it is necessary to adapt, so be careful. In the end, I decided to use my old slicer and Bang! it worked. Adjust the thickness of cut desired slices not thin and not thick, about the thickness 1,5-2 mm. One radish, ideally, should be enough for 3 of flower, but given some of the nuances when cutting, future marriage and can be even very beautiful bought radish in the cut, better to have 3-4.
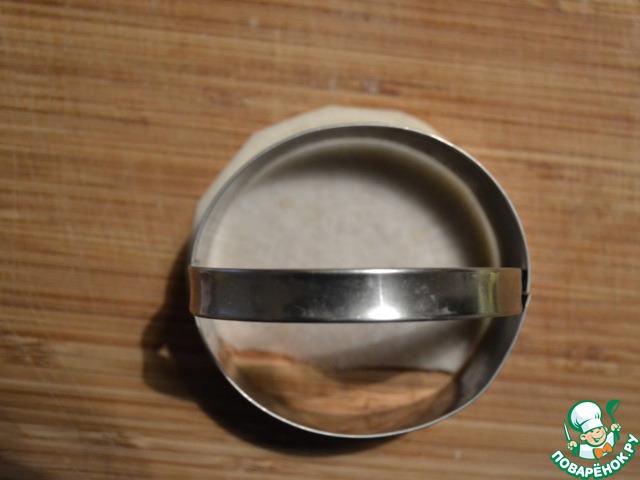
Now you need to cut the radish dense and jagged edge. I used a baking dish, she has a good sharp lower edge.
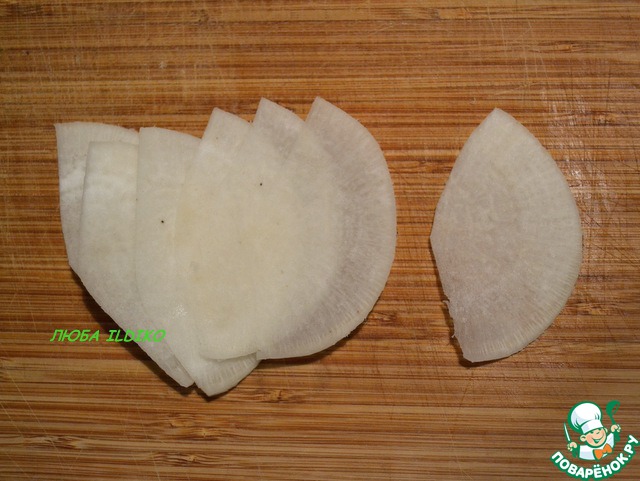
With a knife to give each petal the shape of the leaves. For one flower you need 6 petals and 1 center, which I cut from the waste from the petals. We need to take a slice, to cut with one hand, as for a rectangle and cut small teeth. I have a photo, but it's the knife doesn't look clean - I don't want to violate the terms of the contest :-).
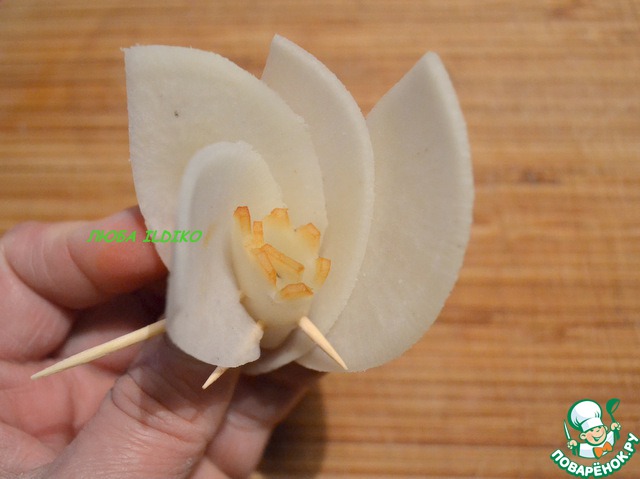
Then a scalloped edge tassel to anoint with carrot juice or dye, or simply to dip the edge. slice. Let it dry, otherwise the paint can smear all white flower petals. Roll this rectangle, take in your left hand, make 1 petal and fasten with a toothpick. Attach the second petal and fasten with a toothpick. And so the subsequent all in a circle. Not everything is going to happen in the following cases: if radish sliced very thin or thick, and then the toothpick would just break through them; if the petals are going to make uneven the distance and then the toothpicks will fall into the same hole or close by.
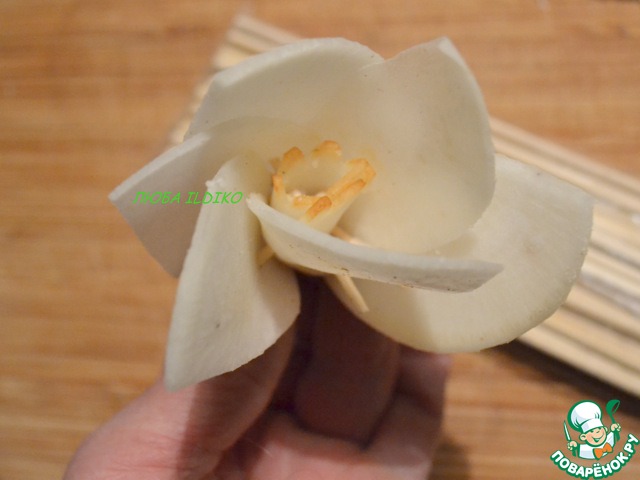
When ready to flower, trim off the excess edges of the toothpicks, but not until the very end. In the center of the flower to thread the wooden skewers with the pointy end inside and paste directly into the salad, which costs we still have in the form. Be careful - flowers slide down, better keep a hand on it. And so all of the flowers in turn. My advice. If the flowers still fail, you need to try more than once. If you have not got a flower, and the petals are dry you can leave them in the water or a little grease with vegetable oil. Still, the best flowers, as we know, only fresh.
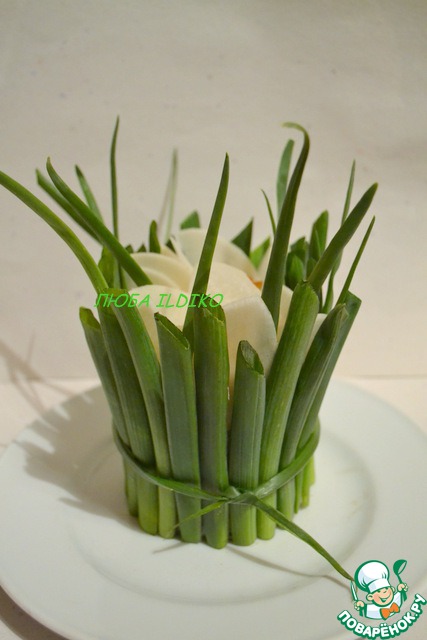
Now sorted the onion you need to find the height of our form - in the end, are cut, should be above approximately 5-8 cm to Wear clerical gum in the form of salad and put it under her feathers in a circle-as close as possible to each other. One feather cut lengthwise and tie on top of the gum, can be at the very end of the walk with a knife, he spun. Now to get the rubber and the form. The top of the onion should be cut with a knife at an angle, it's easiest from the top, not bottom. Try the skewers with flowers at the height, trim and insert into the center of the salad. Top skewers push you finger, the end should hide in the center of the flower. If still long, take it out and again cut off her good scissors. In the remaining space to insert a good, not clipped, thinner feathers bow with end of spoon or knife to create the effect of the finished bouquet and at the same time to cover all the errors of the flowers (toothpicks and fallen petals).
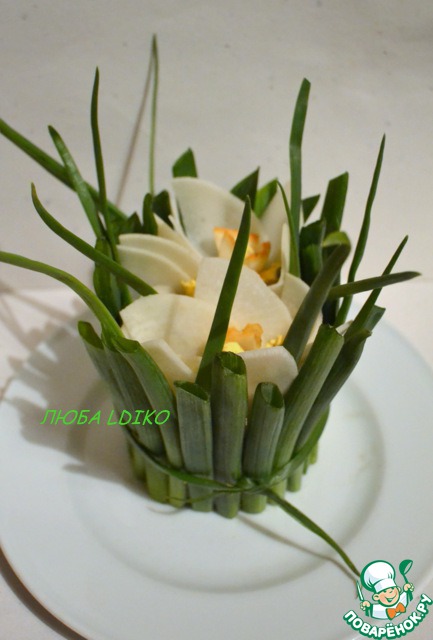
You can sprinkle flower centre the yolks from the eggs.

The bouquet is ready. At first glance at the performance it seems hard. But the joy of it and working on it is fantastic. All the chefs and our readers - happy Spring!


Leave a comment or a recipe review
Leave comments can only registered users.
Register, or Login if you are already registered.