Description

Recently the site was a video recipe decorating cookies with the sugar glaze. Really wanted to post this recipe for the holiday, but, unfortunately, did not. Hope you enjoy my options of decorating cookies, and until next Valentine's Day will have time to gain experience and prepare delicious and beautiful Valentine cards to their relatives and loved ones.
Ingredients
-
Cookies
20 piece
-
Egg white
1 piece
-
Powdered sugar
220 g
-
Lemon juice
1 Tbsp
-
The food dye
Cooking
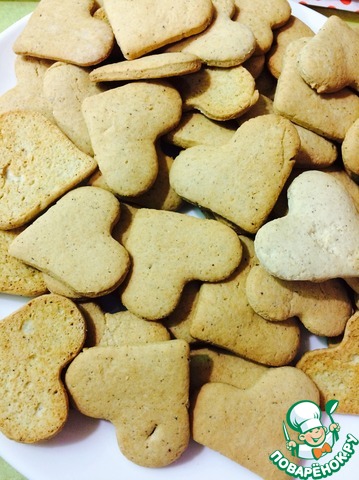
Cookies in the shape of hearts cooking on a favorite recipe. I like ginger with spices. Another plus - ginger cookies is well kept.
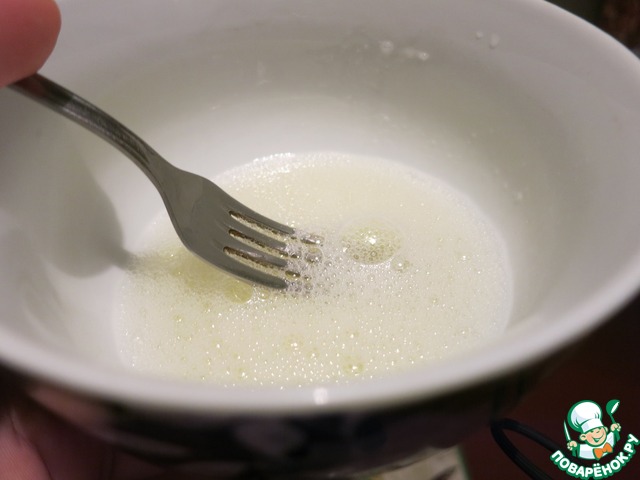
Prepare the glaze: egg white, lightly beat with a fork until a light foam.
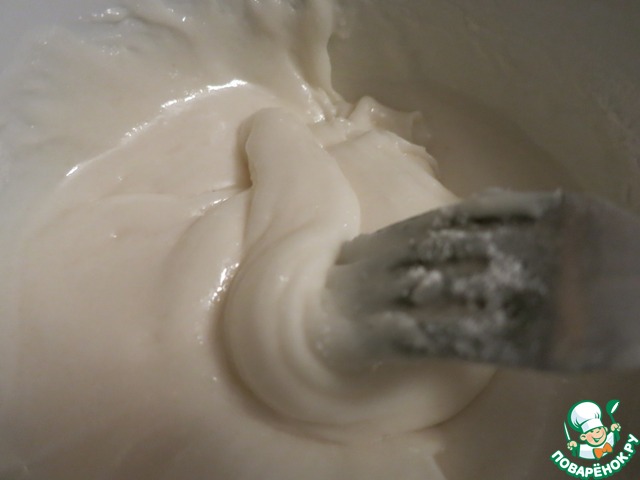
Gradually add the powdered sugar and follow the consistency. The icing should be fairly thick: it spreads out, but not immediately, but very slowly. If you accidentally make the icing too thick - can be diluted lemon juice. Paint in the desired color and place in piping bag, make the hole neat and small. You can use packages from-under milk/yogurt/sour cream (I like them less just because opaque)
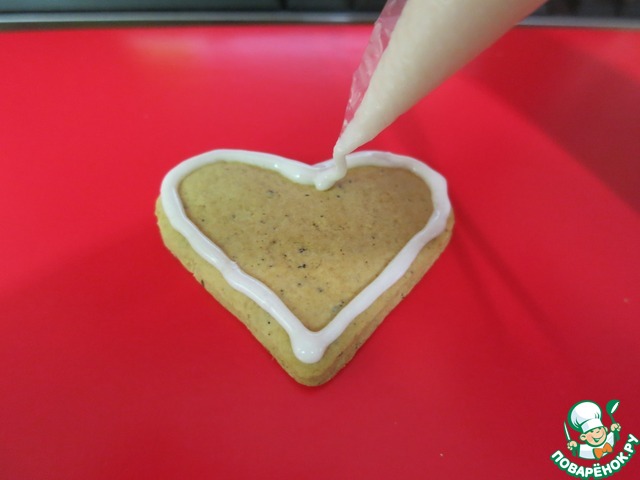
I decorated the cookies using three techniques: wet-on-wet, "embroidery" and drawing on a dry glaze. Let's start in order: for pictures of wet icing on wet background operate efficiently. The first step in any of these ways - the path.
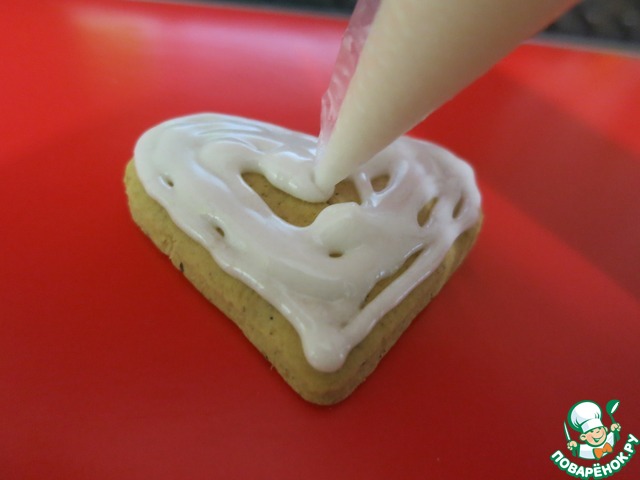
To create the background.
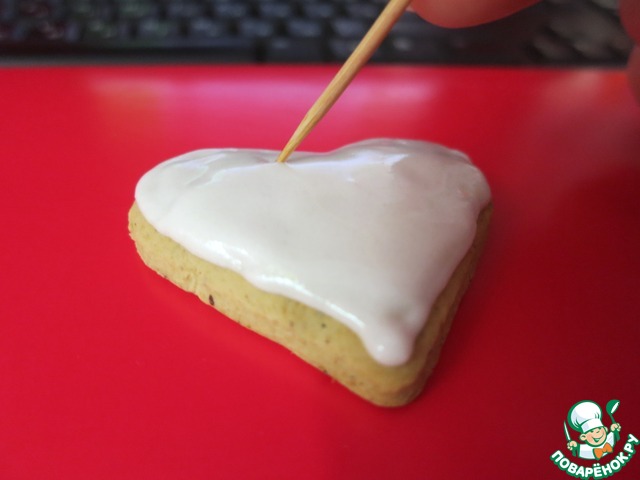
Align the bumps with a toothpick. Then tap the cookie on the table, watching how the background becomes uniform and smooth.
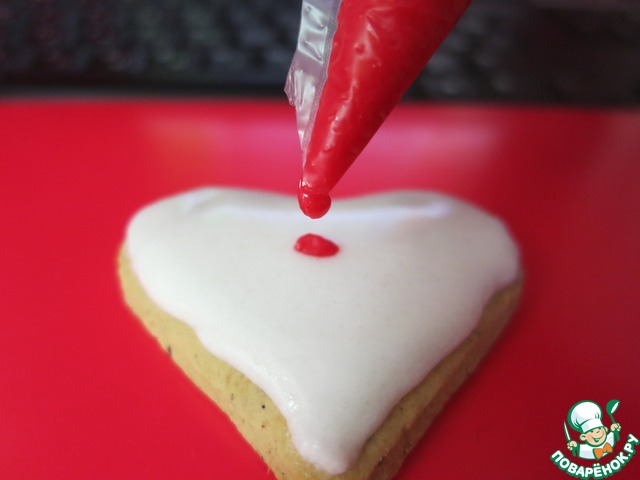
Begin to create a drawing from center
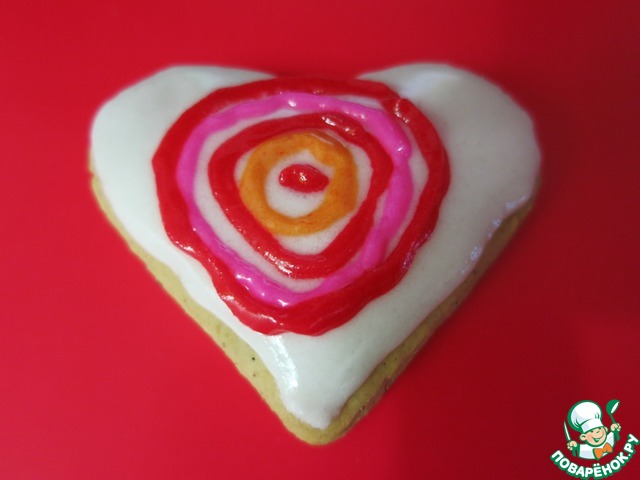
The contours of the future flower
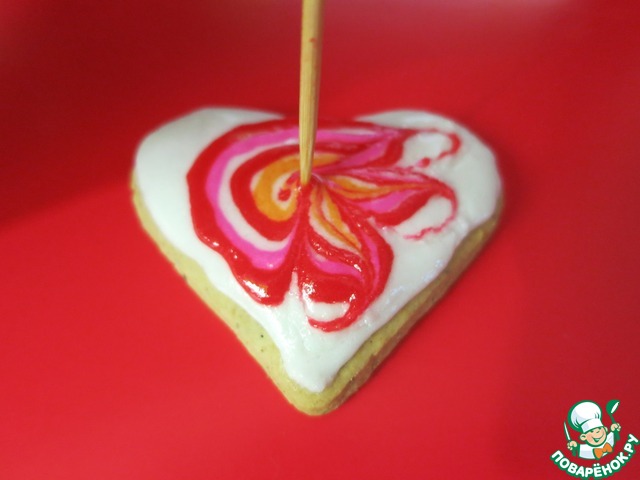
Toothpick "stretch" the picture to the center and back
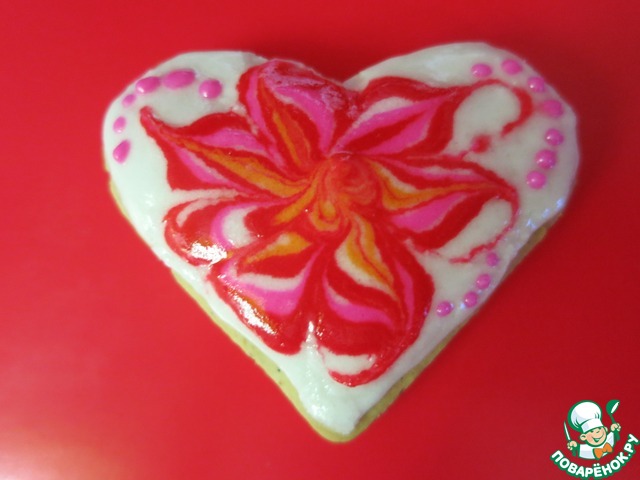
The first Valentine ready
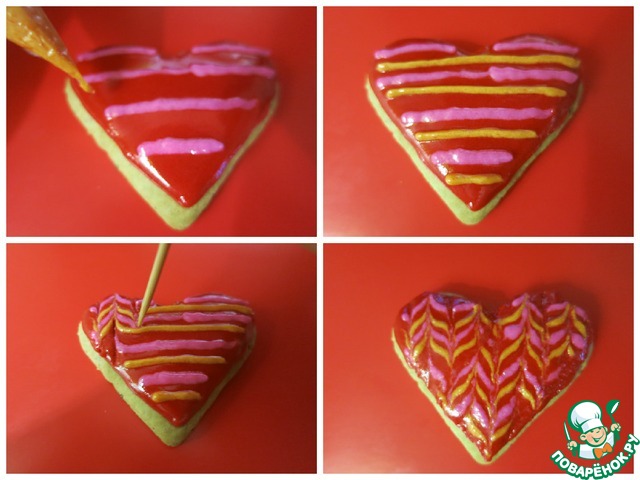
On the same principle of drawing "striped" heart. Here you can see that the red glaze was too thick and had to dry out while I was photographing the steps, the resultant surface was not perfectly smooth.
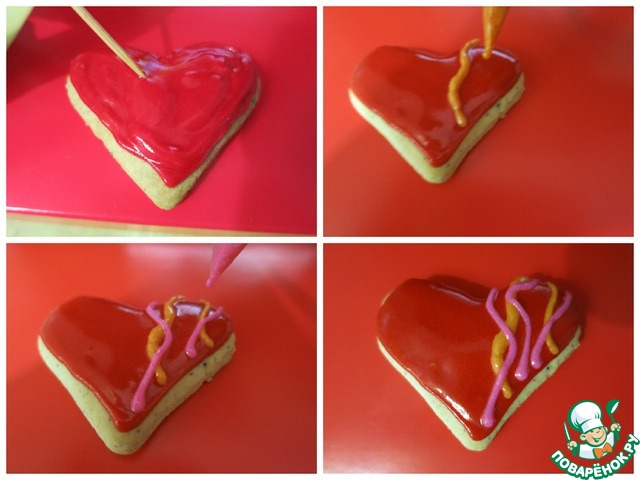
And heart cute ribbons
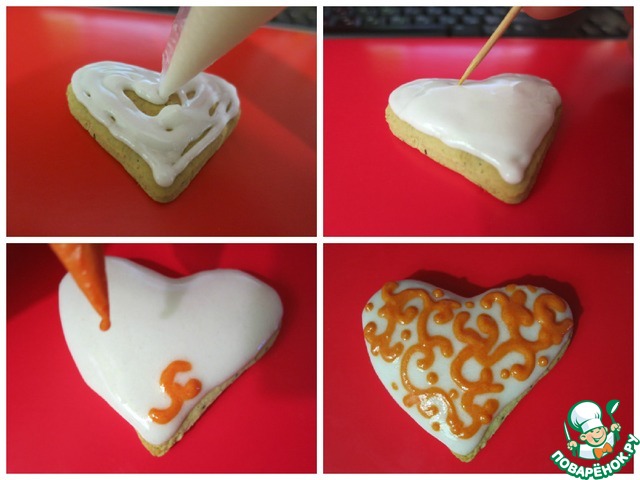
Also uncured background is good to draw different veselushki and twigs.
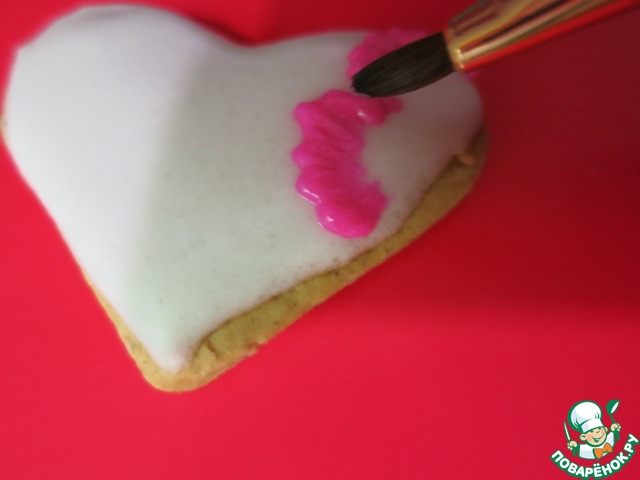
The technique of "embroidery" involves the application "stitches" with a wet brush on dry glaze. Draw a zigzag line of icing using a pastry bag, dipping the brush in water and SQUEEZE WELL, pripuzov fingers. Sharp edge of the brush make the strokes toward the center - "stitches" of our future embroidery.
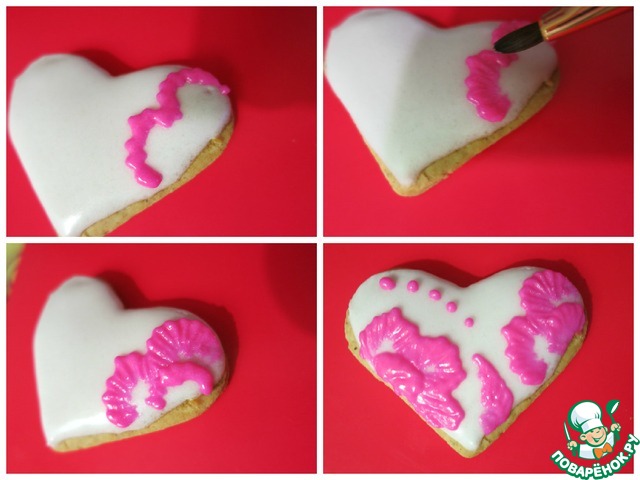
The flowers get more beautiful in the form of halves. In the same technique and make a leaf. Dots wanted to add just because :)
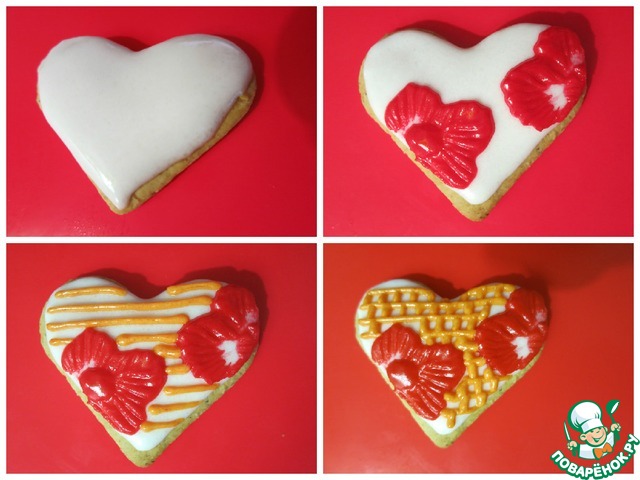
Same colors + stripes or squares in the background
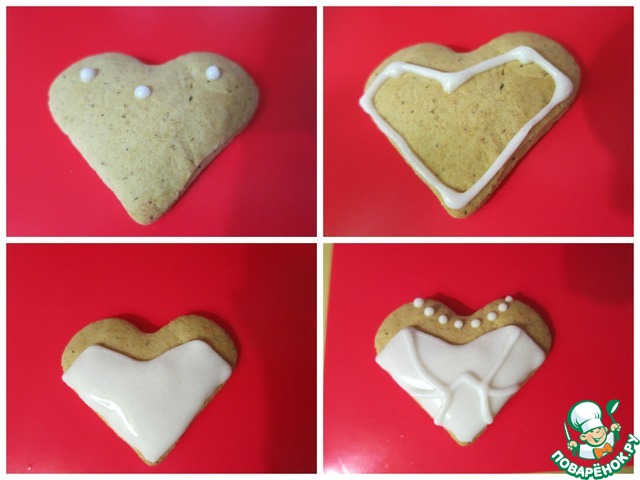
The third technique involves the drying (or at least drying) of the previous element before applying the next. I really liked the idea of cookies-a newlywed AMI peeped somewhere on the Internet. It's the bride.
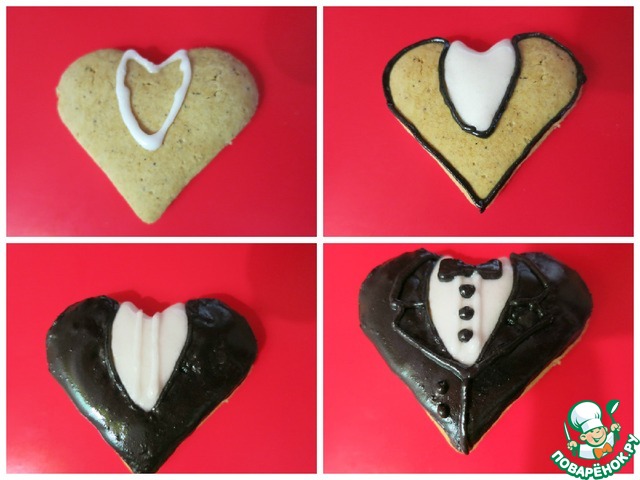
And this is the groom. A couple I used to decorate the wedding cake http://www.povarenok .EN/blog/show/4 0907/

Heart "Almost Yin-Yang"
Leave a comment or a recipe review
Leave comments can only registered users.
Register, or Login if you are already registered.