Description
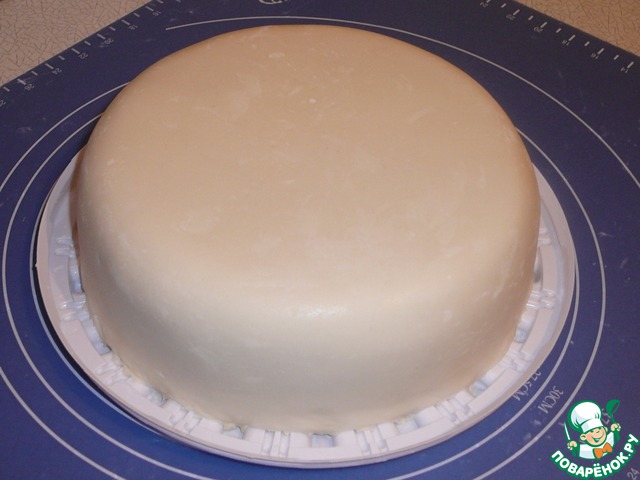
Juicy tender chiffon cake with a layer of meringue, hazelnut and chocolate cream. Pleasant in all respects pastries with tea or coffee! In the case of this cake, I'll show you what and how to smear (align) the cake before covering it with fondant. The first alignment option of the cake under the fondant.
Ingredients
-
Chocolate milk
100 g
-
Mastic
-
Flour
180 g
-
Butter
200 g
-
Condensed milk
1 can
-
Sugar
180 g
-
Chicken egg
4 piece
-
Salt
-
Vegetable oil
60 g
-
Juice
80 ml
-
Leavening agent
10 g
-
Vanilla
-
Nuts
-
Egg white
2 piece
-
Sugar
50 g
-
Potato starch
0.5 tsp
Cooking
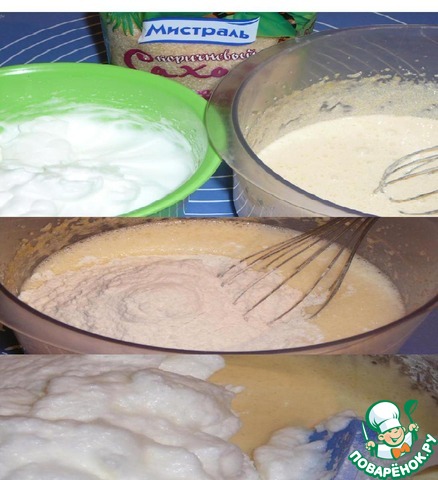
Work plan: the sponge cake (or by its proven recipe) bake the day before assembling the cake; mastic prepare in advance, too; the meringue at the last moment; cream until dried meringue. I love chiffon cakes (with the addition of liquid and oil). They are harmful for baking, but delicious and not need abundant impregnation. So, 4 eggs and divide the yolks (+180 g of sugar, whisk white) and proteins (+a pinch of salt and whisk until peaks and pearlescent luster). Then to the yolks add the oil, whisk, followed by the liquid, whisk, add baking powder, rasputyvat mass, add the sifted flour, again stir until smooth.
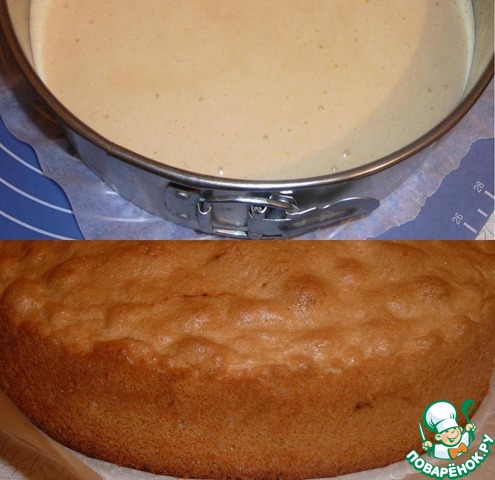
Whipped proteins enter the last and even then solely stir with a spatula, by hand. Carpeted the bottom of a split form with parchment paper, no grease nor paper, nor form. Pour the batter into the pan (I have a 21 cm diameter, height 7 cm) and give five minutes to stand up before you send in a hot oven. I bake chiffon cake in the oven at T 180C, on average, 30 minutes with bottom heat and 15 top/bottom. After the time check the readiness of the wand and pull from the oven. Cools down biscuit upside down, I put the form on a few cups. My insurance from subsidence of the crust. When cake has cooled, extracted from the form and cover with a towel and leave it for a day to ripen, at least overnight.
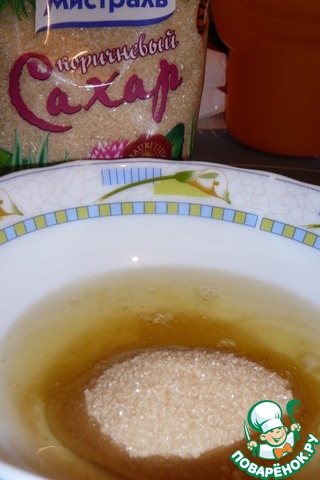
Chocomaster prepare in advance. It can be stored in the refrigerator for a couple of weeks. Longer I not kept. Still, in the composition of the oil, and it tends to get old. The link to the recipe chocolatini given in the ingredients. But the meringue cooking on the day of assembling the cake. Whisk 2 protein + 50 g sugar+1/2 tsp. of starch to the peaks and pearlescent luster. Nuts as desired.
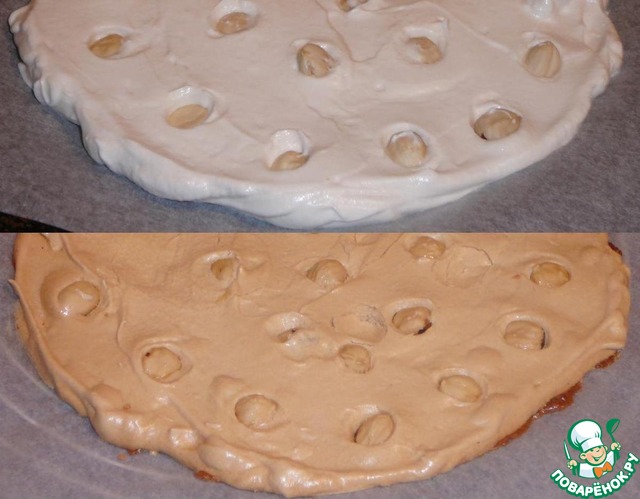
We draw on the parchment circle with a diameter of 19 see Prepare the protein mass in the oven. The first 30 minutes, the temperature of 150C, then an hour or more at a temperature of 100C.
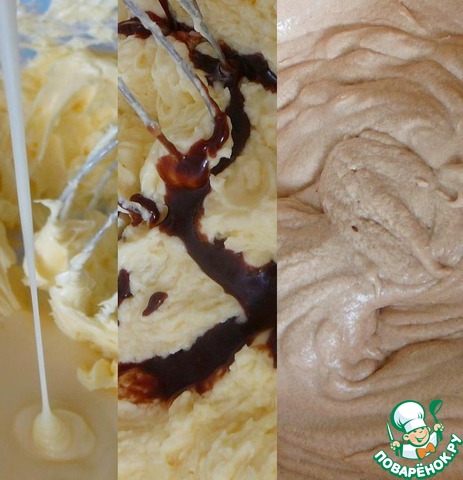
While the meringue is dried, prepare the cream. In softened butter pour in the condensed milk, whisk at the same time a lot at high speeds. Then pour the melted chocolate and whisk some more. Ready cream put into the fridge. This time I was clever and as seen in the photo - interrupted cream, no smooth. One happy, the taste of cream is not affected.
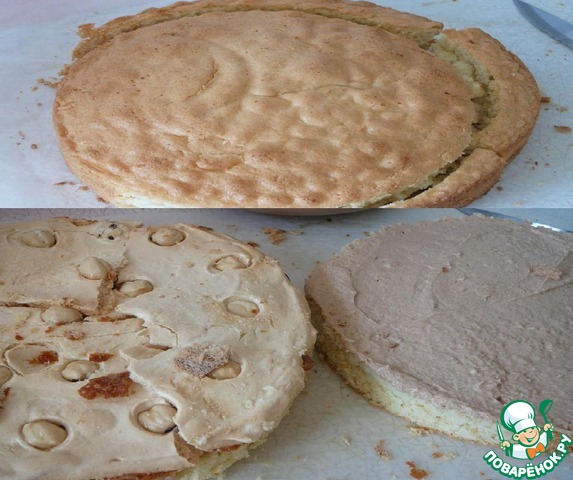
Now cut our cake up to 19 cm in diameter. The biscuit cut, impregnate, cream lubricates both parts, which is inserted and sealed with meringue. Trim dried and mash into crumbs, mix with the remnants of the cream, you can go in a blender for added smoothness. This mass we will align our cake under the fondant. By the way, 1 Bank of condensed milk 200 g butter 200-250 g of biscuits - a classic composition of the oil coating for cakes. I even add 100 grams of chocolate, think so a lot better freezes.
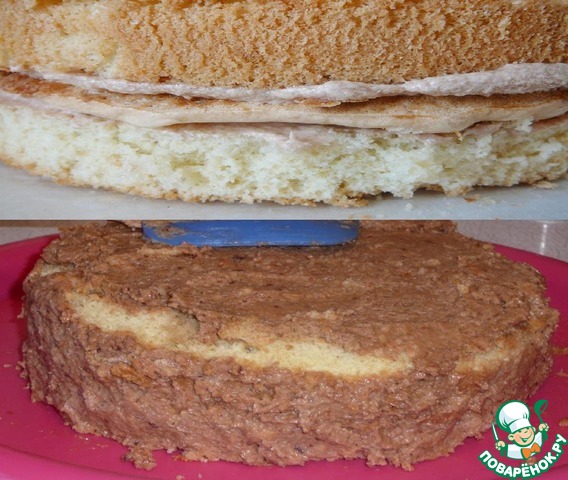
Go to level cake under the fondant. The rough stage of the work, as for me. But very important. Thus, the "plasterer?" our cake from all sides with a coating. Whether by spatula-the spatula, convenient hands-hands (periodically wetting them with water). I applied the first coat and put the cake in the freezer for 10 minutes.
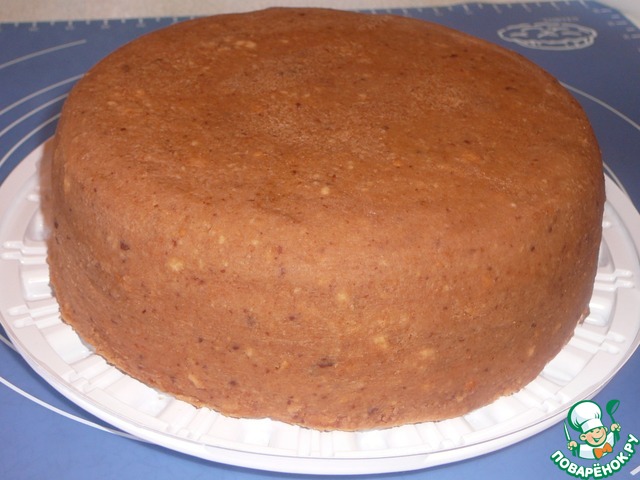
Got, caused another layer of putty, trimmed, leveled, and 30 minutes in the refrigerator (or 10 in the freezer, it is important that the top layer grab). After we continue to align. Using a ruler check the top plane of the cake, flatten add the plaster. It is then allowed to solidify again alignment (with a ruler, spatula or hands, whatever they may be). And finally, again in the freezer for 10 minutes. Important: you may at your discretion choose to cool and coat the cake. The most important result - a dense stable crust with a fairly smooth surface.
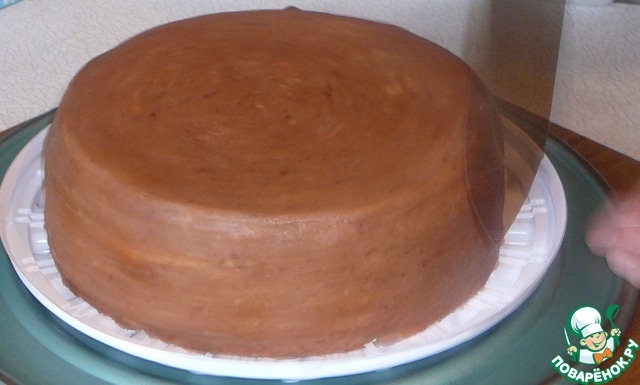
And the finishing touch to our long-standing alignment. If anyone has sporting outdoor disc "grace" (I have remained since Soviet times), take out, wash, and wipe the table. Best rotating stand is simply not to find! Eternal device! A long knife with a wide blade, hold over the gas, then rotating the disc to smooth out the surface of the cake. Aplause warm putty, it becomes more smooth. No disc, do it without the disc.

As I covered the cake with fondant, see recipe for chocolatini (http://www.povareno k.ru/recipes/show/84 847/ gap in the link to remove). With the design I have all modest. I wrapped the cake with a paper tape and secured a couple of mastic roses. The cake is ready! You are all invited to a virtual tea party!

Leave a comment or a recipe review
Leave comments can only registered users.
Register, or Login if you are already registered.