Description
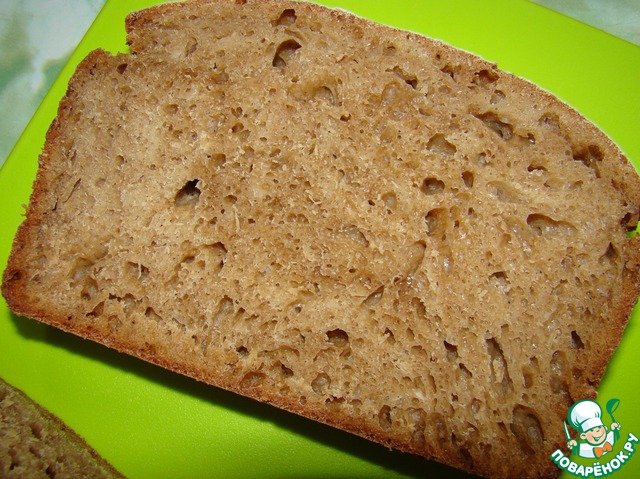
The recipe for this bread I saw in the blog of Irina Rybchinskiy. This amazing bread that is baked with very small quantity of yeast: only 1/4 tsp (one quarter). Weight is about 1 gram. Less yeast I have not seen. The recipe is quite simple, but requires a long proving of the dough - from 18 to 24 hours, so to "get&a mp;quot; dough for future bread you need in advance. The bread turns out amazing, unusual, porous (giant, I would say, holes), slightly moist, such a "real& amp;quot; - nothing like I have not eaten or baked before. Baked this bread more than once. My very much.
Ingredients
-
Flour
600 g
-
Rye flour
100 g
-
Malt
2 Tbsp
-
Sugar
2 tsp
-
Salt
2 tsp
-
Yeast
0.25 tsp
-
Water
0.5 l
-
Sunflower seeds
Cooking
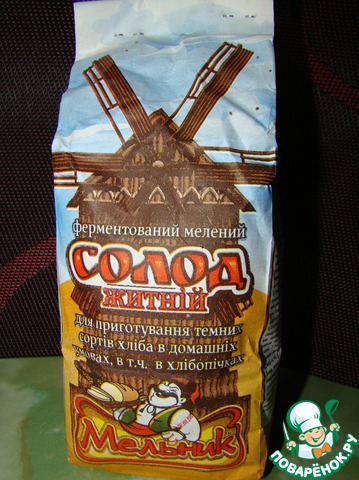
Here's a malt I used.
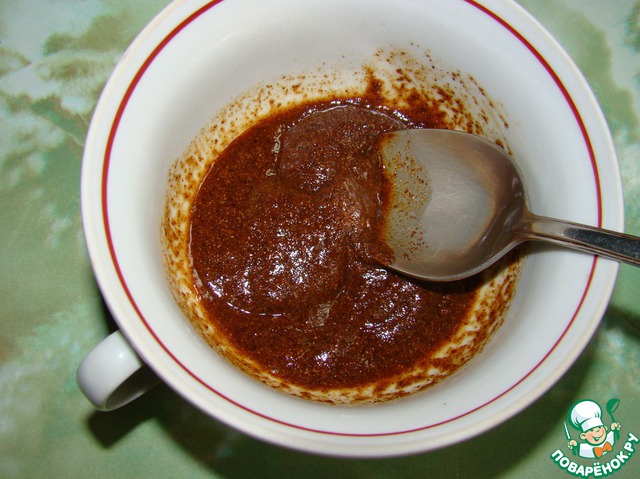
Brew malt 3 tablespoons of boiling water.
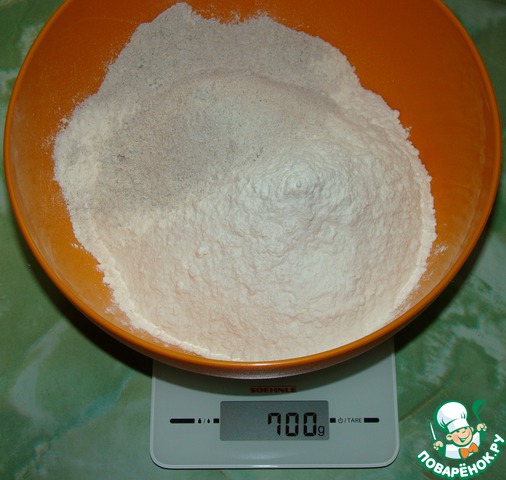
The flour of wheat and rye sifted.
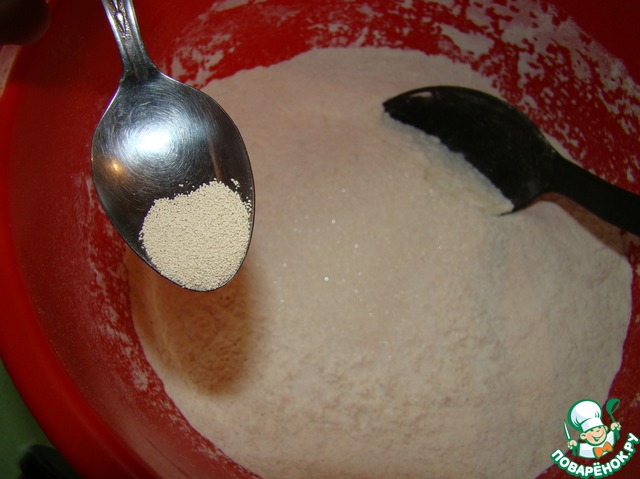
Add sugar, salt, yeast - 1/4 tsp (one quarter).
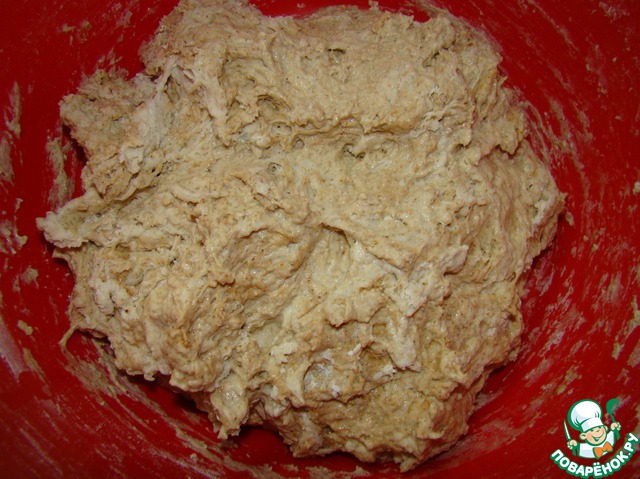
Malt mix with a little warm water (so it is evenly distributed in the test) and pour into flour. Mix all with a spoon (by hand or in the bread maker). Just until smooth. The dough is wet and sticky, very fragrant.
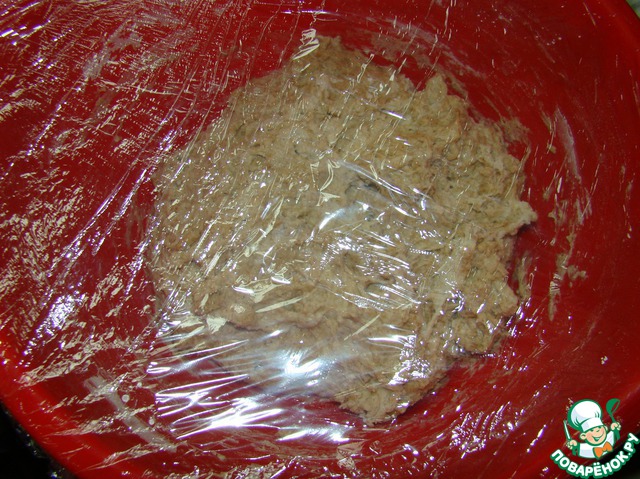
Cover the dough with foil and put in the warmest place in the kitchen (mine is the microwave)
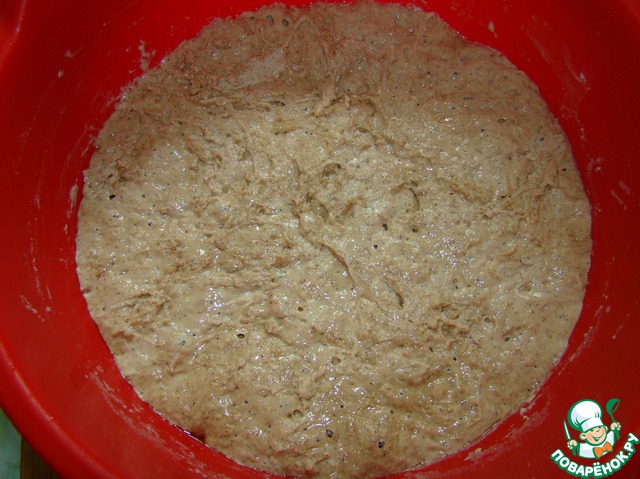
After 20 hours, my dough looked like this.
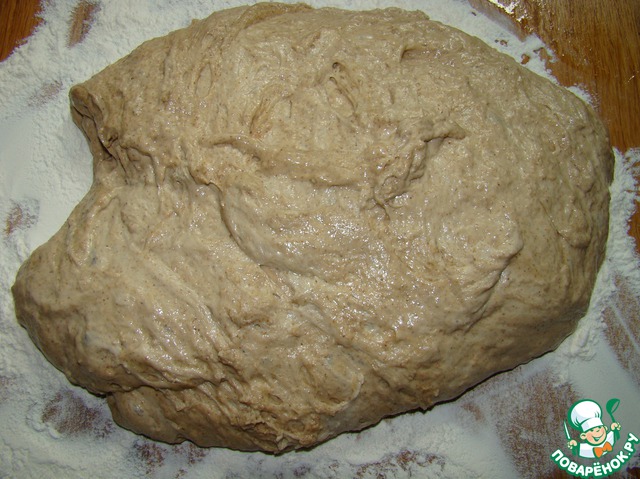
Sprinkle the table with flour (the flour can be less than me in the photo). Spread the dough and gather the sides of the bowl with oiled silicone spatula.
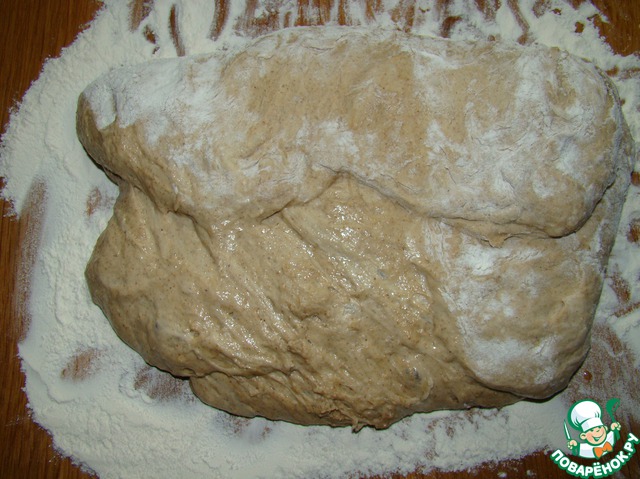
Fold the dough envelope: fold the right side over.
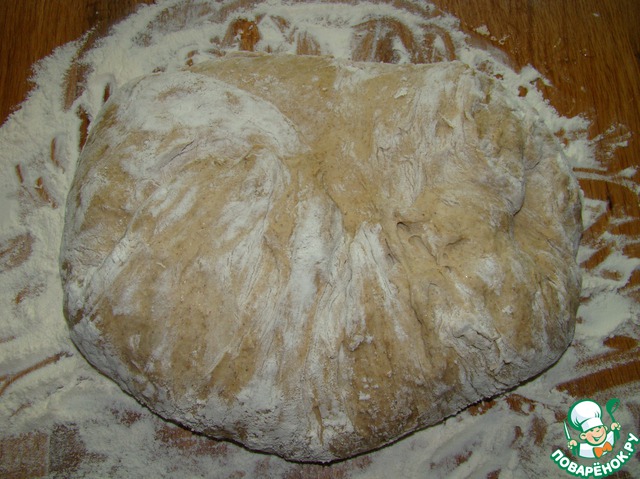
In the same way turning left and bottom. Slightly formed hands.
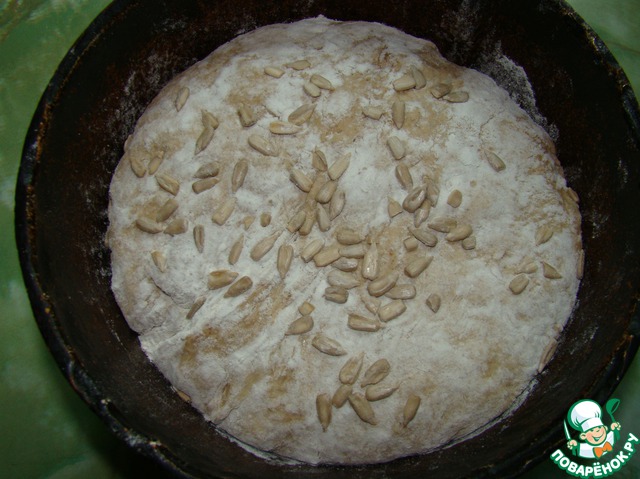
Put in floured shape with seam side down. At this stage you can sprinkle the top seeds. Sent for final proofing in the form for 1 hour, covered with a towel or lid.
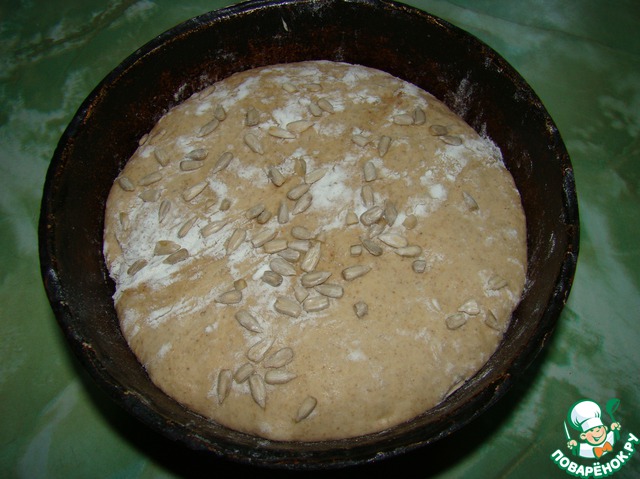
After proofing, the bread will not increase much, that's fine.
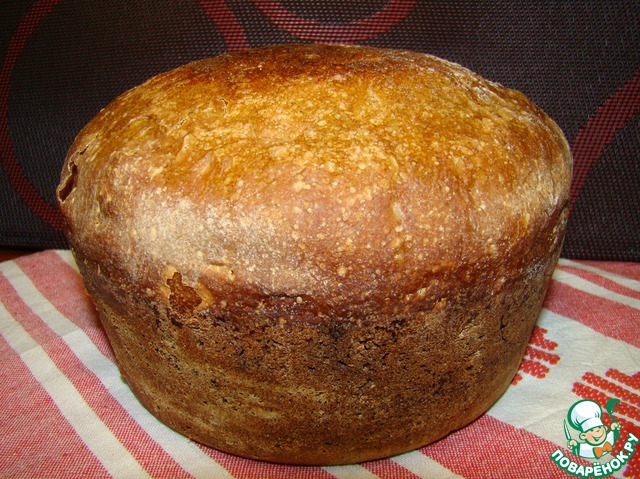
Bake in the oven at a temperature of 210 - 220 degrees for 45 minutes - 1 hour.
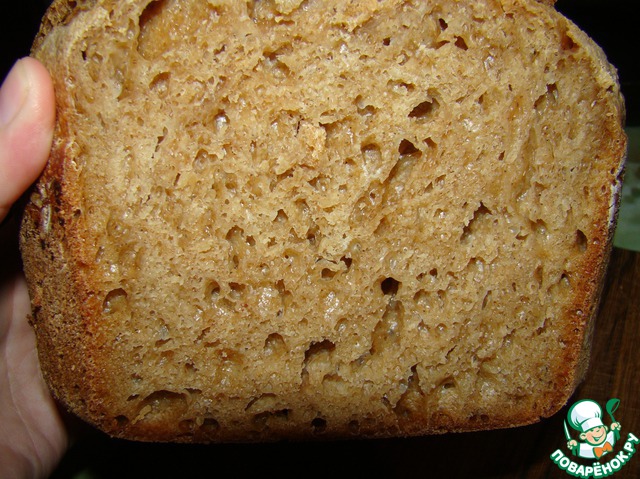
Wait until completely cooled and then cut. Here such it turns "spongy". The holes are smooth, glossy.

More photos of the crumb.


Leave a comment or a recipe review
Leave comments can only registered users.
Register, or Login if you are already registered.