Description
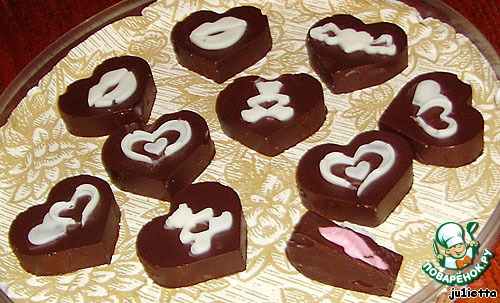
I got such an interesting candy molds with embossed pattern. Of course you can just pour chocolate and will also be beautiful. But... I want something such. Besides, again, I liked one of the substrates from a box of chocolates. To throw away such a useful thing - it's a sin ; ) And I gave her a second chance at survival.
Ingredients
-
White chocolate
50 g
-
Dark chocolate
250 g
-
Sunflower seeds
4 Tbsp
-
Jam
50 g
Cooking
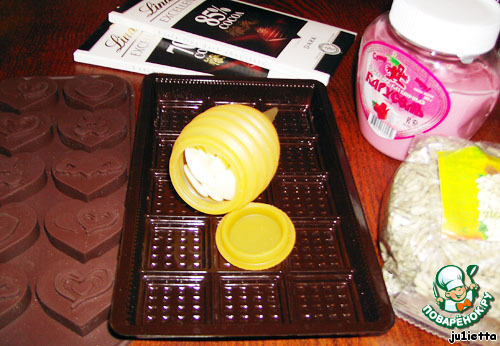
Here they are: the molds, the substrate, and the silicone syringe... Oh, yeah, still need the chocolate and filling ;)
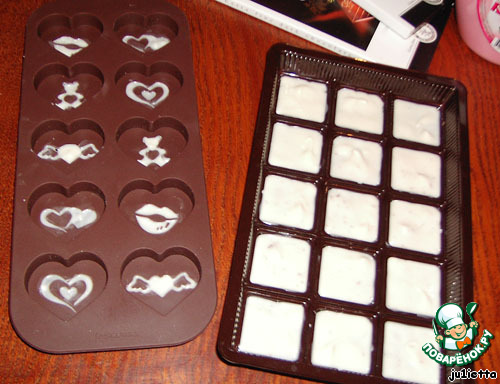
White chocolate used disk and melted in the microwave (20 sec.) directly in silicone syringe (very comfortable). From a syringe filled embossed recesses in the candy molds and cells on the substrate. All carelessness cleaned (you can use a tissue or cotton swab.
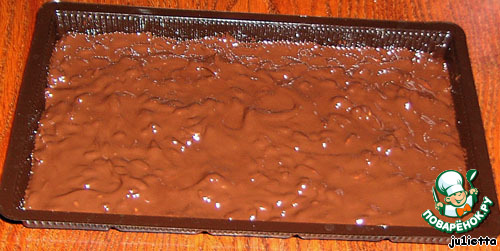
Then immediately engaged in a bonus candy bar. Melted in the microwave 150g dark chocolate (scheme 20 seconds. + 10 sec.) mixed it with seeds and filled with substrate (white chocolate by the time she managed to catch).
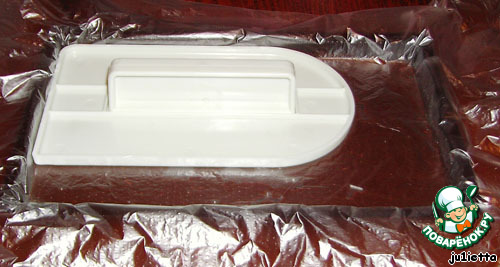
To the base of the chocolate bar was smooth, covered her polietileno film and I ironed irons for wireless (but you can just palm).
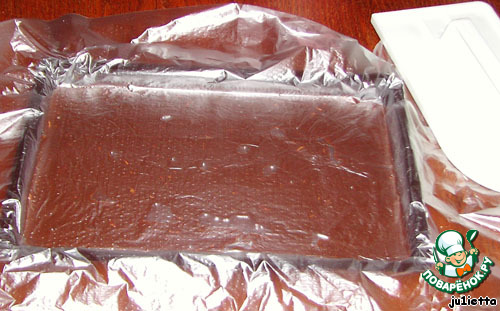
In this form (together with tape), put a chocolate bar in the freezer for 10-15 minutes.
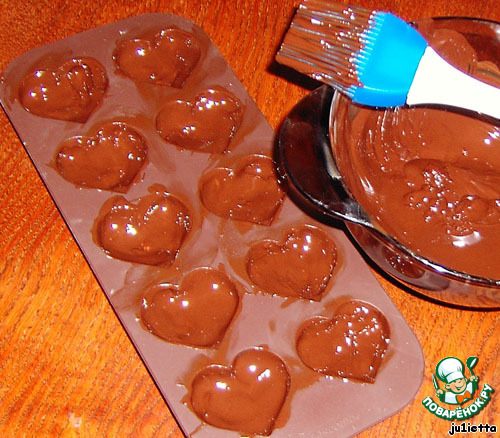
Now you can do the main course. The remains of the melted dark chocolate and a soft silicone brush filled the molds, evenly distributing the chocolate on the walls. The molds are shallow, so the layer of chocolate should be thick.
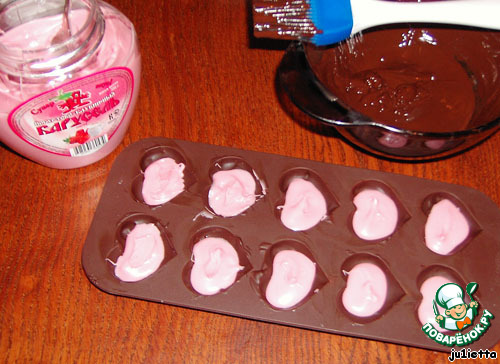
The mold with the chocolate you need to put on a few minutes in the freezer, and in the meantime prepare the filling. As toppings I chose yoghurt and strawberry paste (color suitable to the theme of candy). Not to be confused with yogurt - nothing. The pasta was so thick that I had still 10 seconds to hold the jar in the microwave on maximum power to make it thinner. A thin layer caused the filling to set chocolate.
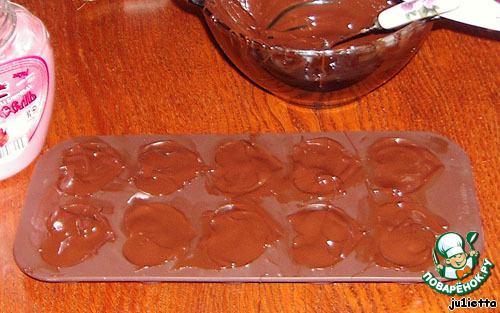
Top filled dark chocolate.
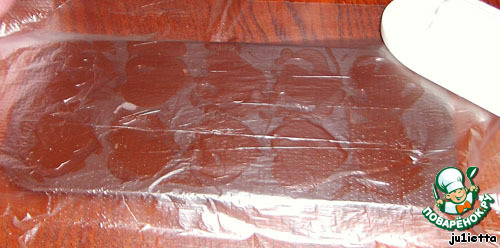
Also covered film and walked a few times.
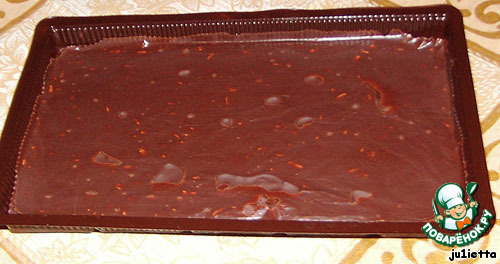
Molds can be put for 10-15 minutes in the freezer. Meanwhile, a chocolate bar from the freezer, and you can get to extract from the substrate (removed very easily). It looks like the back side:
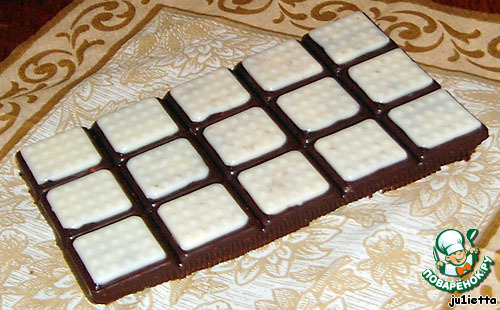
And it looks like the front :) If you have stains, remove them with a knife. The tile turned out great, thorough (about 190 g). To prevent fracture of the tile it is better to put on some solid backing (can be cut from cardboard). And with the mold-substrate nothing happened, and it is still useful :)

And here's the candy ready. Easily extract them from the mold. But to use the chocolate better the next day: immediately after the freezer it easy greasy but then dries up.


Leave a comment or a recipe review
Leave comments can only registered users.
Register, or Login if you are already registered.