Description
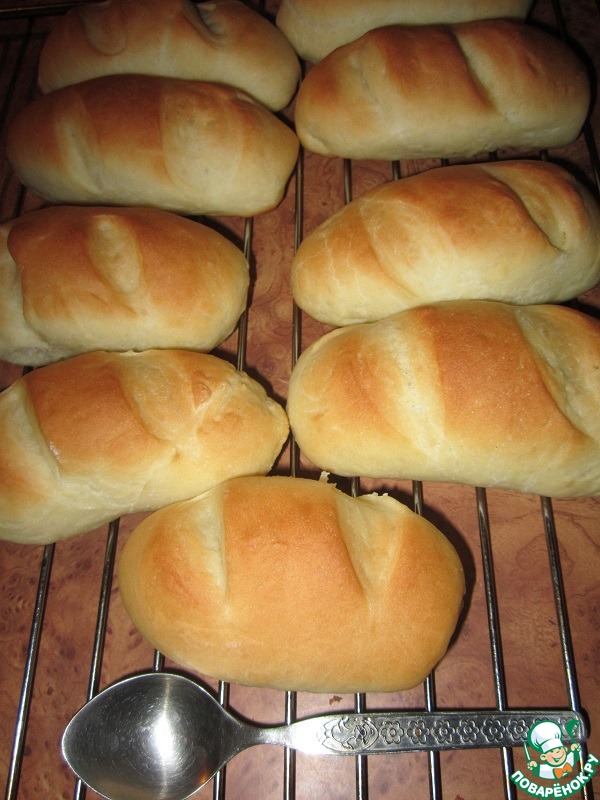
Petit pain. Interesting descriptions or even any history of the origin of this bread, I could not find. Have to believe in the word, it is delicious! Light, airy, tender. Not the usual taste like normal bread but not bread. Reminds me of the taste of a baguette, but is a bit different and much softer. The site has a similar recipe but it is different :)
Ingredients
-
Water
320 ml
-
Yeast
15 g
-
Salt
1.5 tsp
-
Milk
2 Tbsp
-
Sugar
3 Tbsp
-
Margarine
2 Tbsp
-
Flour
4 cup
-
Vegetable oil
15 ml
Cooking
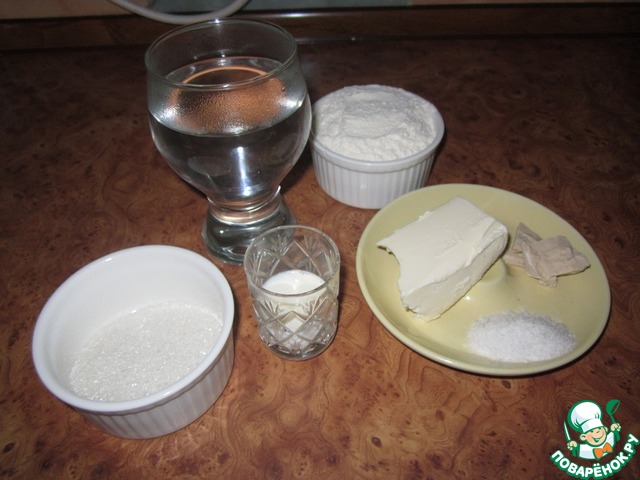
We will prepare all the necessary ingredients and start
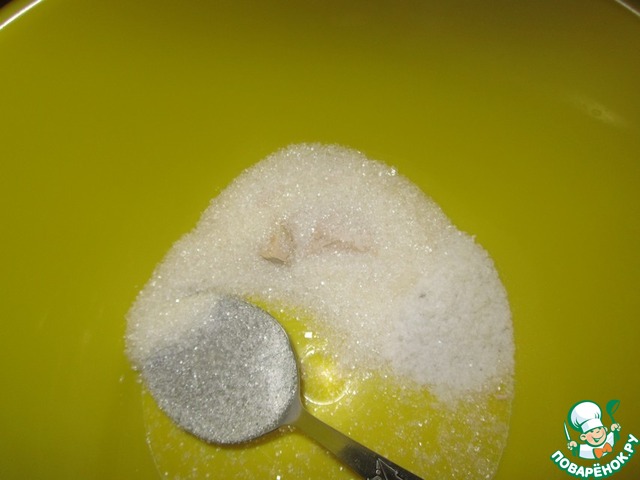
Fresh yeast mix with the sugar and salt. under the influence of sugar they will flow. grind
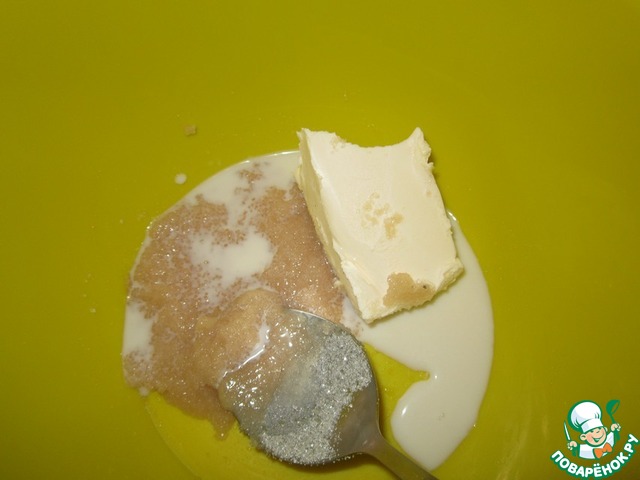
Add the softened margarine and milk. to turn into a homogeneous mass.
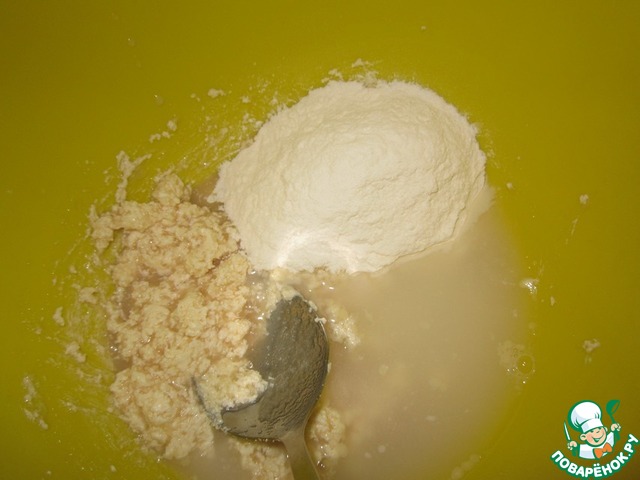
Gradually add the flour and warm (not hot) water. I have it takes two or three stages. first knead with a spoon, then with hands
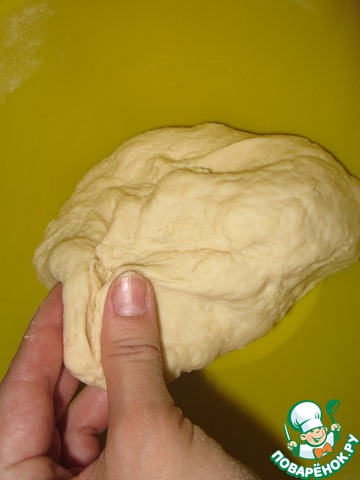
The dough should get plastic like clay but soft, leaving flour on the walls of the container, should not stick to hands. the longer you knead the better it will lag. but don't overdo it
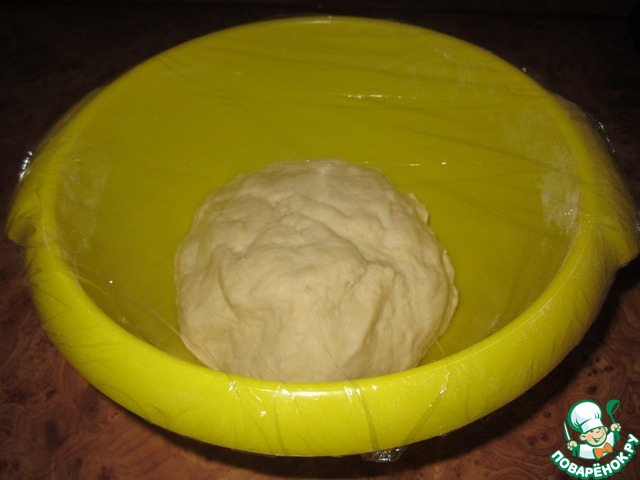
Leave the dough to rise at room temperature for 1hour 30-40min, covering the film. can lid. the fabric is not suitable, the temperature inside will be less stable.
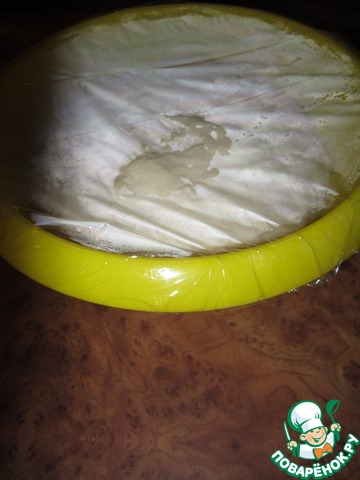
Here is the dough after fermentation. the photo shows how it increased in size.
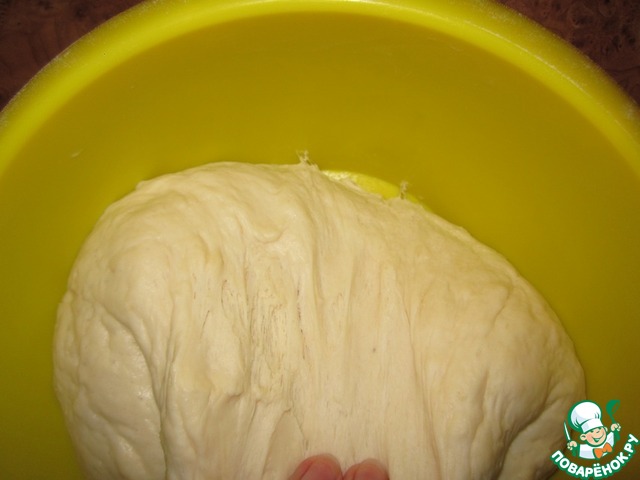
Has a porous structure, viscous and slightly sticky. at this stage, we start a little "pripisivati" more flour, as needed
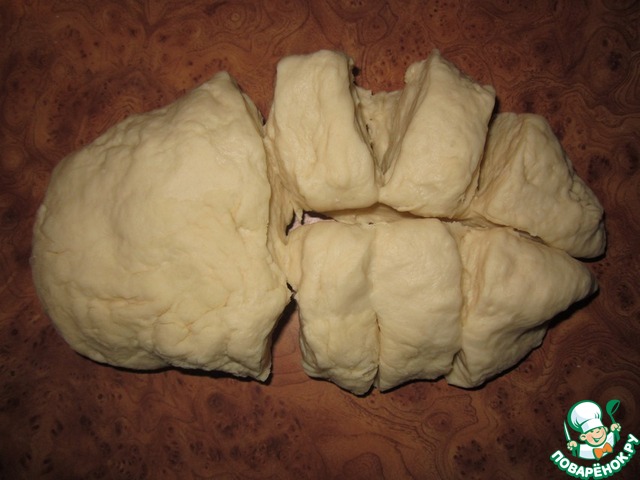
Next, the dough should be put on the table. a little Podesite and divide by the desired number of hlebushkom. I have 12pcs. doing so, you can divide a more convenient way, sculpt a "buhanku", divide it into two equal parts. then each piece cut once lengthwise and three times horizontally. one half out of six parts. the photo divided one half
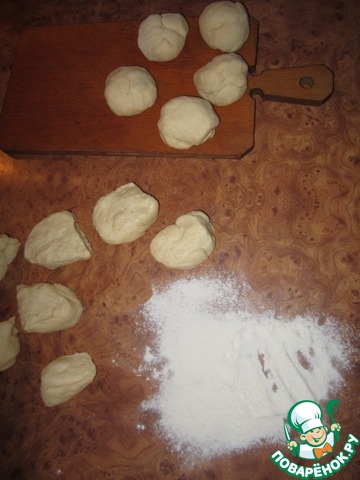
On the table pour a little flour. approx 1 tbsp, I have many photos, was too much. in one hand to take a piece of dough, as if a second dip in the flour. second hand Pat "cover" the piece of dough with flour and roll the ball. all of this simply and quickly
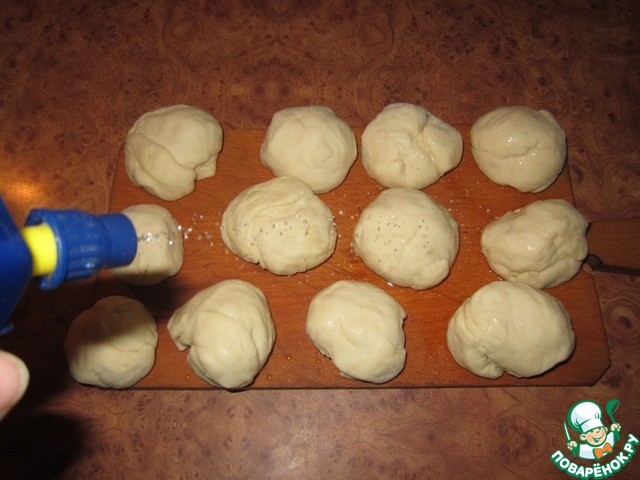
Balls put on a Board or tray on what is convenient. sprinkle them with water and leave for proofing at room temperature for 20 minutes. water need a little. bathe them is not necessary. I overdid it and then had to add flour to podpira.
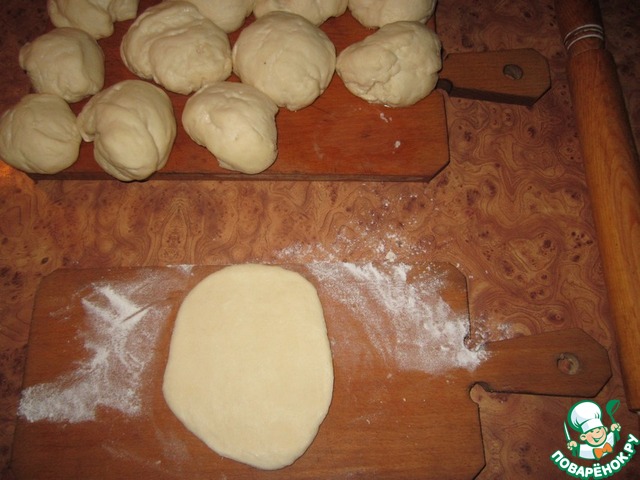
20min later, the bunnies came. each in turn lay on a Board or table, roll out. approx. 8-10mm thick. sprinkle with flour only if sticky.
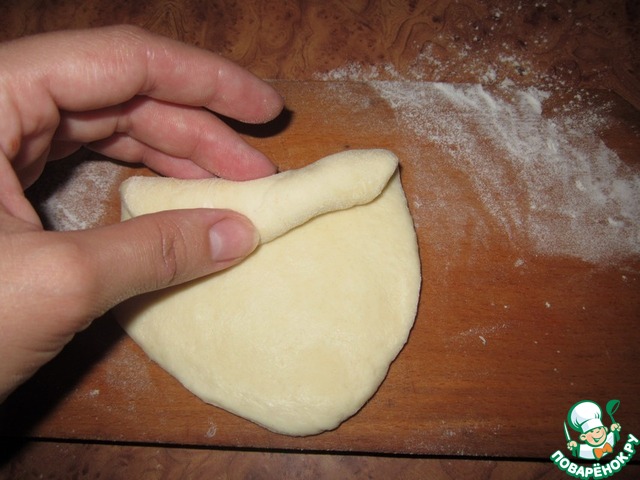
Roll in roll. make two deep cuts (if the cuts are not deep in the baking process just disappears). again, spray with water. it is convenient to do each separately.
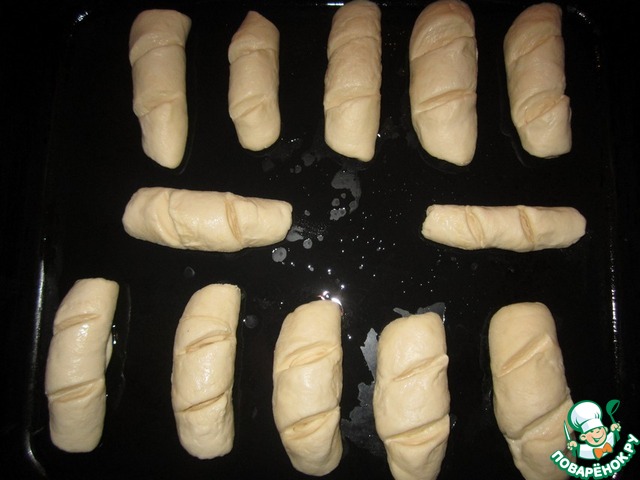
At this stage it is better to put them on a baking tray, previously greased with vegetable oil, because after proofing if you start to carry them they will lose shape. leave for 30-40min to come. then bake in a preheated oven at 180 degrees for about 15-20min. better be guided by his oven

Memorializing as they went up the last time before baking, I unfortunately failed, the kitchen was filled with family members wishing to dine. they grow very well. bake quickly. cool on a wire rack. teaspoon for the concept of size


Leave a comment or a recipe review
Leave comments can only registered users.
Register, or Login if you are already registered.