Description
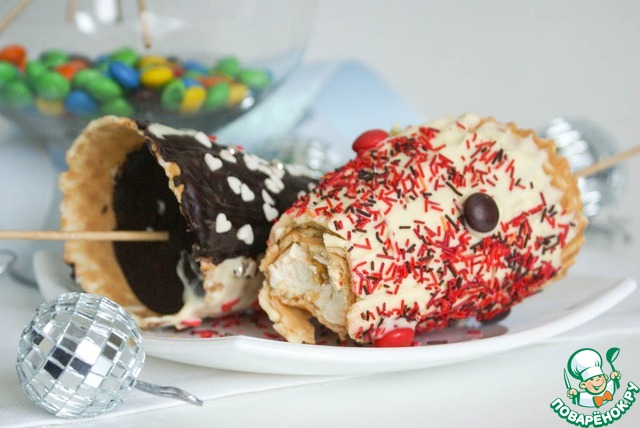
These "Christmas tree" captivated me with its appearance. And although I do not welcome the appearance of food in the form of something (and don't eat sweets) in front of them I couldn't resist. Well, I have a sweet tooth in the house there, they received their portion of the sweet pleasure and I aesthetic. A wonderful dessert for the Christmas table, which will be its decoration and, of course, like children.
Ingredients
-
Coconut shavings
2 cup
-
Topping pastry
1 cup
-
Dried fruits
1 cup
-
Cheese
500 g
-
Chocolate milk
500 g
-
Wafer rolls
10 piece
-
Gelatin
3 piece
-
Cream
0.5 cup
Cooking
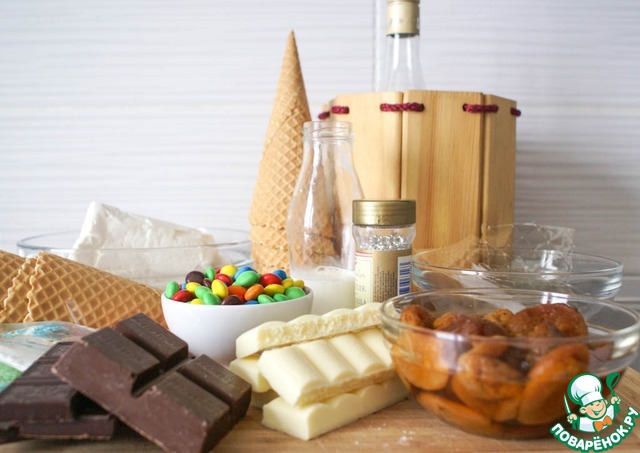
To prepare the products. Soak gelatine in cold water for 5-10 minutes. Dried fruits soak in rum/hot water (optional) for 2-4 hours. *For the "trees" will need waffle cones, you can buy them or make your own. I had purchased from ice cream cones, wide diameter with rough edges. It is not very convenient. In order to make "Christmas trees" was easier to work, better to look for special candy cones with a flat bottom edge and is not very large (7-10 cm in height).
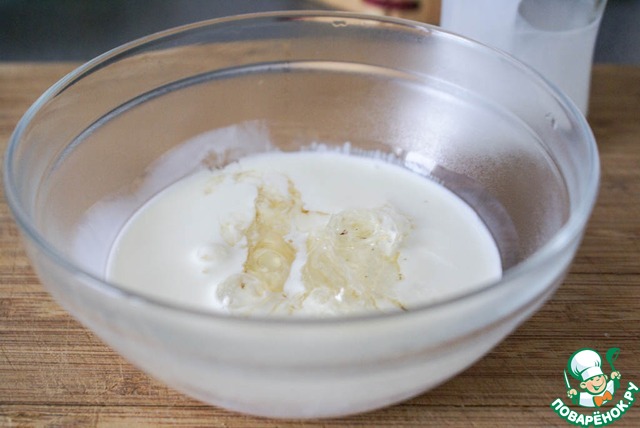
Cream to heat and add squeezed soaked gelatin. Stir to dissolve.
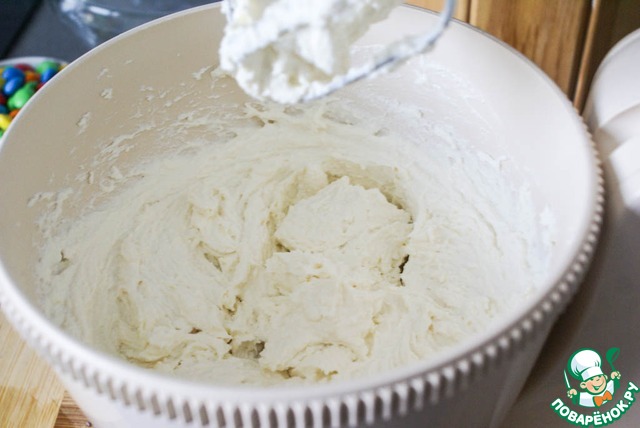
Beat the cheese with cream. The obtained curd mass will be used as toppings for the cones. *Weight should be thick enough, because in it you will need to fix the sticks that will hold "Christmas tree". The original recipe in the cones filled with cake batter and they baked. Too rich for me, so I took a dry low-fat cottage cheese, slightly diluted with cream. The gelatin I used it as a safety net for the hardening mass. I think you can fill the cones and biscuit dough or, for example, nut weight (securing it with dates or sugar syrup), it all depends on your preferences. The only condition: the weight must be dense or tightly stiffening and should not fall out if turned upside-down cones.
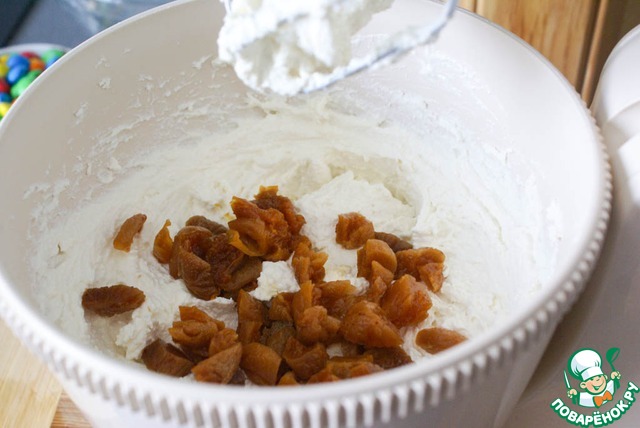
Since I don't use sugar in cottage cheese I added soaked in hot water dried apricots as a sweetener. In mass you can also enter the powdered sugar, vanilla, nuts, essential oils, cocoa or melted chocolate, chocolate or coconut, condensed milk or butter, or even replace it with ice cream (if you have space in the freezer to store the whole structure), in General, all you will have to taste. The condition is still the same: the mixture should thicken and not fall out when turned over.
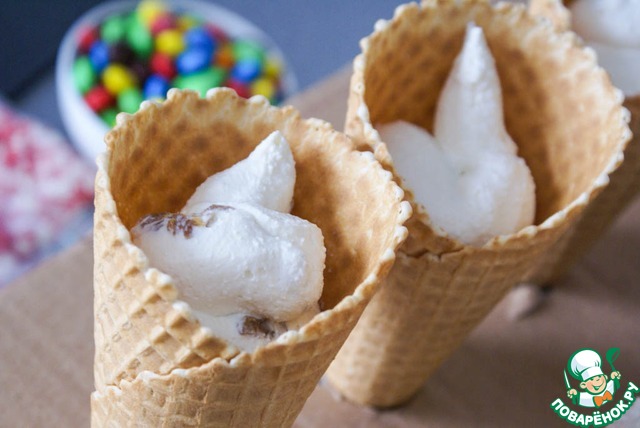
The resulting mass is put in a pastry bag and fill the cones, or do it with the help of a spoon, firmly tamping the contents.
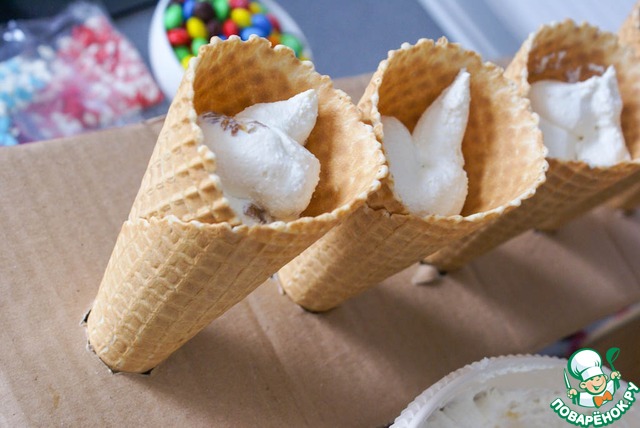
*As a stand for the cones I used a sheet of cardboard in which a hole (diameter equal to the cross section of the beginning of the lower third), and put a cardboard sheet on top of the deeper. You can build a base of foil, tightly wrapping the bottom of each cone in several layers, giving it stability.
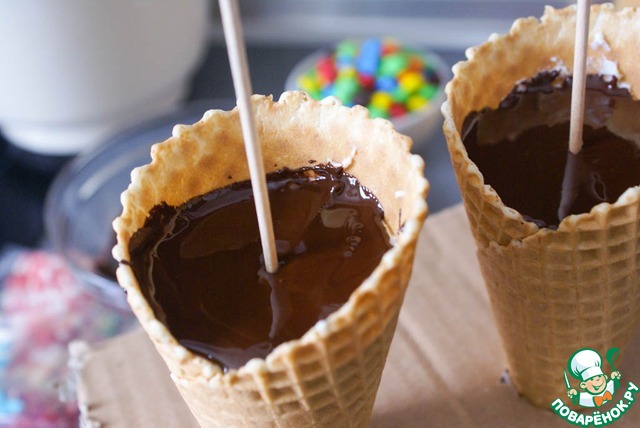
Melt the chocolate in a water bath or in the microwave. Leveled and compacted cottage cheese and pour a generous layer of melted chocolate. In this case, the chocolate will seal the stuffing and will not let it fall out. In the middle of each filled and covered with chocolate cone to insert the stick for ice cream/candy or a wooden skewer for shish kebabs. To give the good chocolate to harden (10 minutes in the fridge). *The length and size of the sticks, and the depth of their introduction should be selected based on the size and weight of the filled cone.
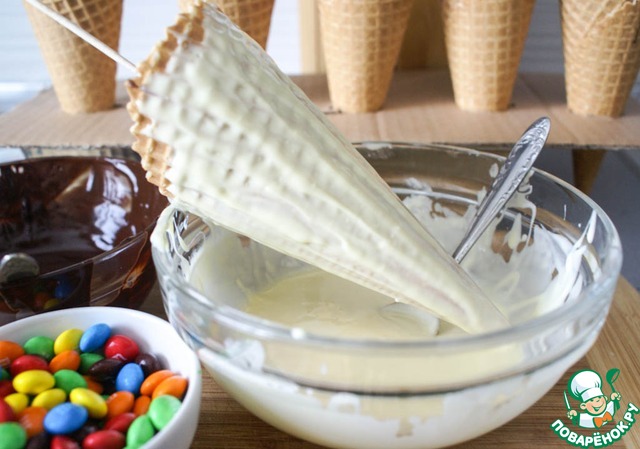
Melt the chocolate and coat them frozen cones. To give the chocolate to harden a bit, but it was still sticky.
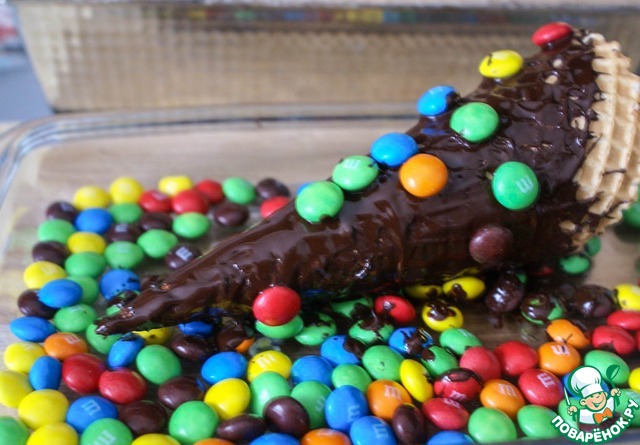
Sprinkles, pour on a wide plate and roll the chocolate covered cones in it/small candies or coconut. Or evenly sprinkle cones with sprinkles, turning it in his hand over a wide plate. Additionally, you can poudalyat selected confectionery decorations in chocolate already on the boneless "Christmas trees".
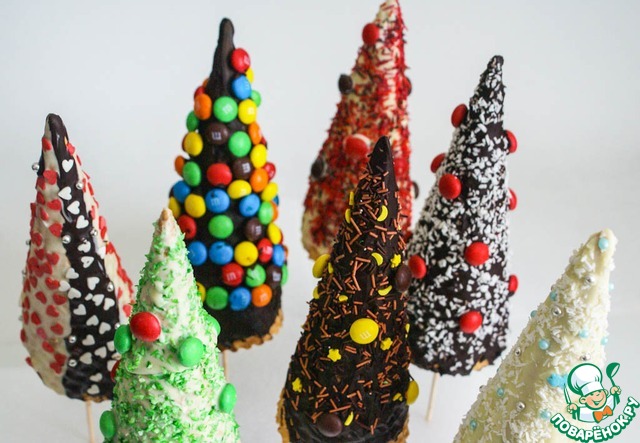
The more varied will be the pastry topping, the brighter and more spectacular will result. This is the best recipe for the manifestation of his creativity and imagination.
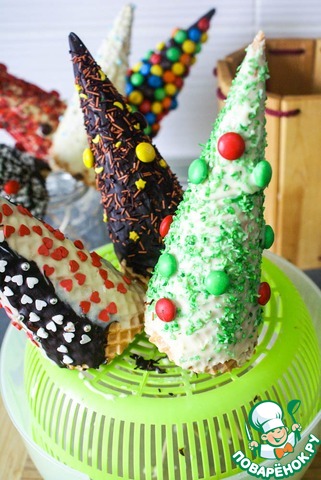
Finished "Christmas tree" on sticks to insert into the grooves of the grating (from the oven/ baking/ or other appropriate) to the remains of the chocolate could drain freely. And to let them completely harden in the fridge (on the balcony).
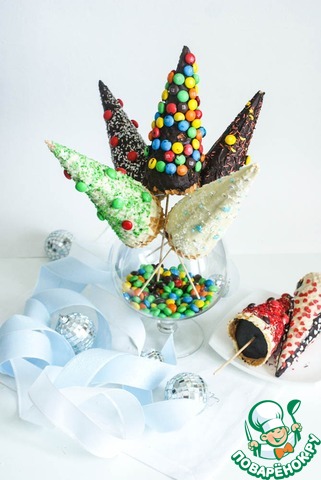
Finished "Christmas tree" can be compiled into glasses filled with small candies and/konditers Kimi grit, and put on the Christmas table. You can put alternately opposite each other on a flat dish. And you can povtykat them on an island of foam or any solid fruit, adorning this "base" with ribbons, tinsel or what you please. In any form this is very bright and interesting dessert will decorate your Christmas table and becomes an edible decoration for all gourmets.
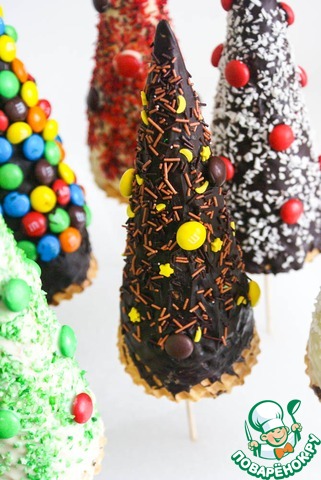
And for the little sweet-tooth, this dessert will become a favorite in the cooking process, of course, if them to connect to it. In this case, both you and they will get a wonderful result, and a lot of fun together.

*It has already been tried "tree". In my version of cheese and curd slightly softened wafer layer and chocolate stood on top of a solid glaze. The taste was something similar to curd cheese with a waffle layer in chocolate glaze. Well, kind of... - well, except maybe a dessert to leave someone indifferent and deprived of the holiday spirit?!
Leave a comment or a recipe review
Leave comments can only registered users.
Register, or Login if you are already registered.