Description
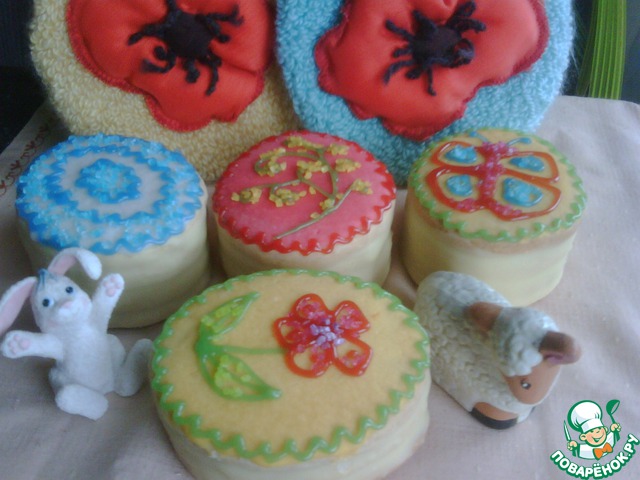
I spring is primarily associated with Easter (which in Europe was celebrated yesterday). As Easter is known to paint eggs. This time I decided to make eggs with their hands. And it's not just cookies. This is a real "box" in which lies a surprise. Surprise your children, friends and family in such an unusual gift!
Ingredients
-
Butter
225 g
-
Flour
2.25 cup
-
Starch
0.75 cup
-
Powdered sugar
2.25 cup
-
Yolk egg
2 piece
-
Vanilla essence
1 tsp
-
Lemon peel
1 tsp
-
Salt
0.25 tsp
-
Leavening agent
0.5 tsp
-
Milk
2 tsp
-
Glucose syrup
2 tsp
-
The food dye
-
White chocolate
200 g
-
Cream
0.25 cup
Cooking
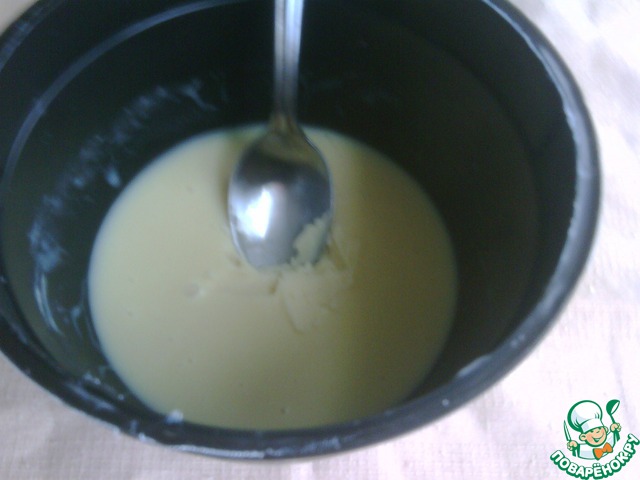
Let's start with the preparation of the ganache, as he should be to stand for several hours in the refrigerator (preferably overnight) to harden. Take the chocolate and mix with cream or fatty milk. Heated in the microwave 30 seconds, stir until chocolate is completely dissolved. Do not overheat! White chocolate is very sensitive to high temperatures. Remove the ganache in the refrigerator until fully cured. The ganache will be thick - but we do need!
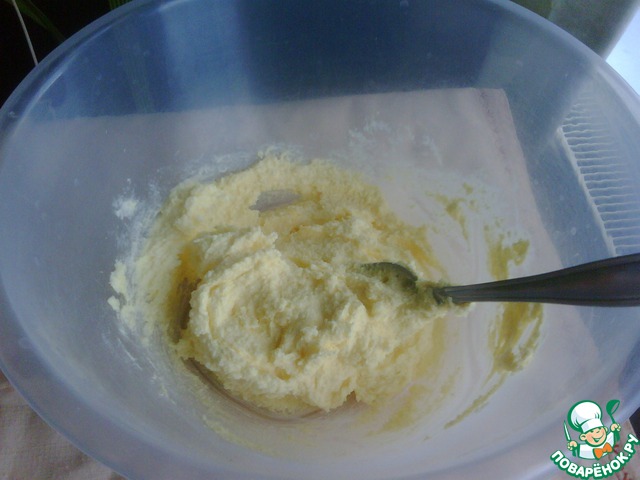
Now make the batter. RUB the butter with the icing sugar, add the egg yolks, vanilla extract and lemon zest.
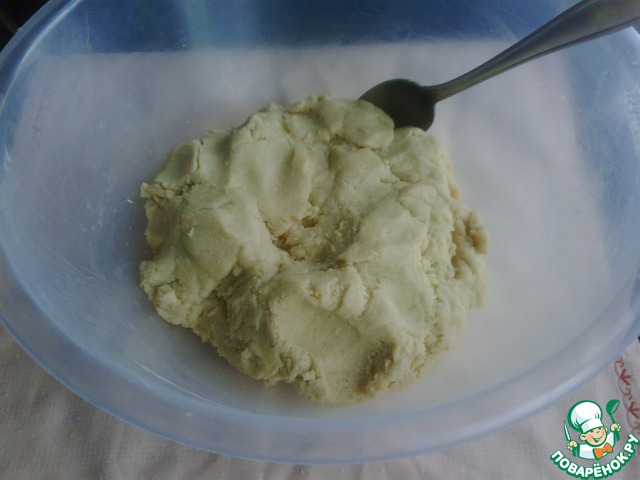
Add the flours sifted with salt and baking powder and knead the dough. Wrap in cling film and refrigerate for 1 hour.
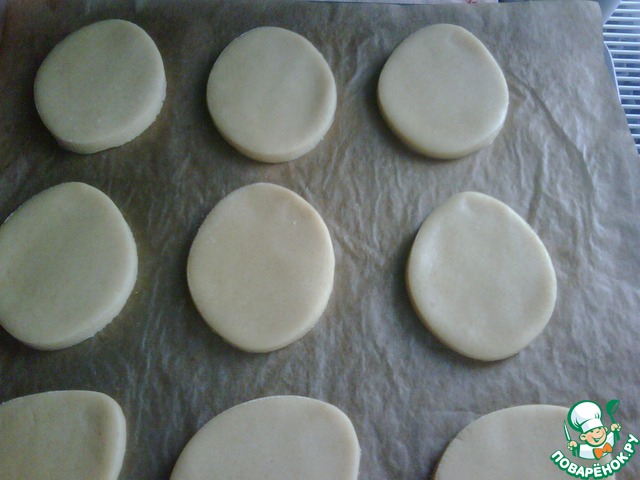
Now roll out the dough thickness of 5-7mm and a mold in the form of an oval cut out "eggs". If no molds, from construction paper to make a stencil, apply it on the dough and cut the "egg" with a sharp knife along the perimeter of the stencil (I did the parts for a gingerbread house). Of course, you can make our "box" of any shape - round, square, in the form of flowers... well, depending on what you want. I just wanted Easter eggs, and if, for example, the child on the birthday such to do, you can bear to cut, and dogs :-)
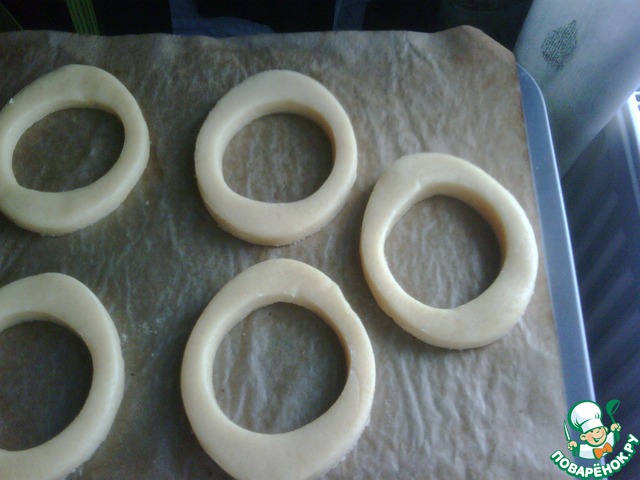
Then cut out the middle parts of our "tiny boxes". Begin the same way, cutting the eggs and then the ordinary round shape carve "holes" in the middle of each cookie. The size of the holes depending on the size of the surprise that you will be putting inside. We need an equal number of bottoms and middle parts. I got 20 pieces of both of these. The size of the ovals was 8x6.5cm.
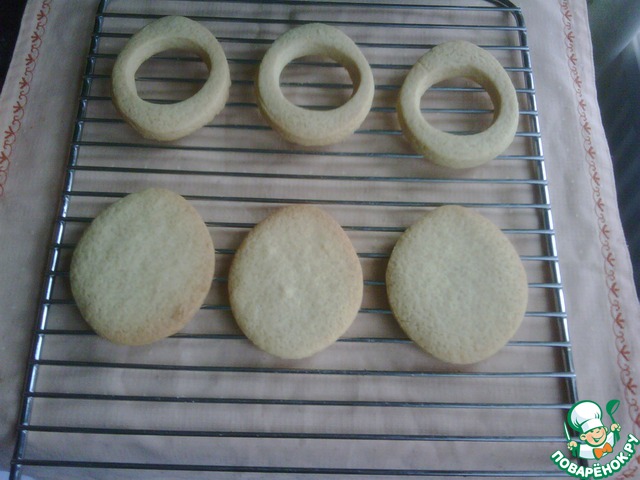
Bake cookies at 180C for about 15 minutes (as usual, look at your oven). We need in the result is a white cookie, and only the corner a little flushed (this light beige color). Cookies gives a very fragrant and crispy! But there's no time to eat it. Our challenge is build and coloring! P. S. You can make the cookies according to your favorite recipe. The main thing that it's good to keep shape and not spread when baking.
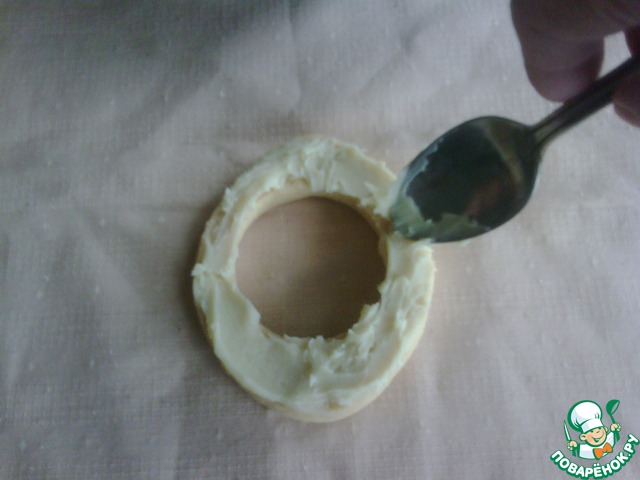
So completely cools our cookies and take pre-cooked ganache. Smear it on the middle part...
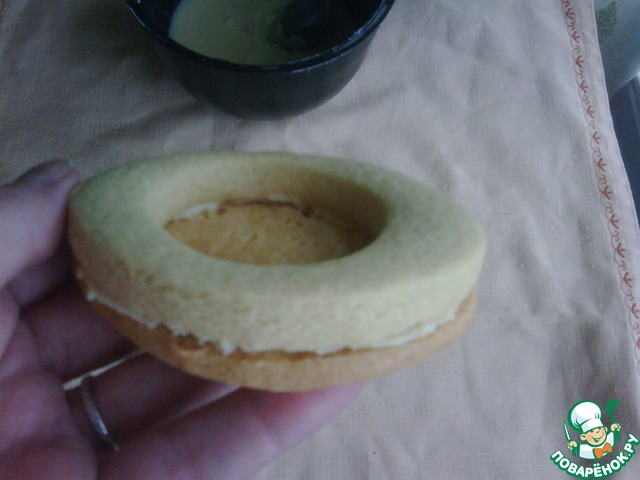
And bonded with the bottom. In the same way on top of the first adhesive, the second the middle. In the original recipe there was only one middle part, but I'm figuring a total thickness, understand that there is no surprise then the inside will not fit, and on his own initiative added another layer. It was a wise decision! :-)
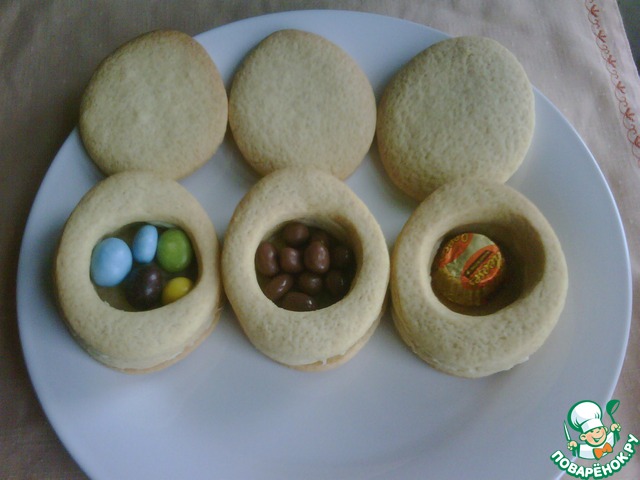
And now, the most important thing. The resulting indentation is put our surprise. Some at your discretion. I put peanut brittle, chocolate-covered raisins and small candies. Theoretically, our eggs can be done simply giant size and put real toy etc please inform the gift recipient that contains a surprise inside. And it's so you can bite and lose teeth... :-)
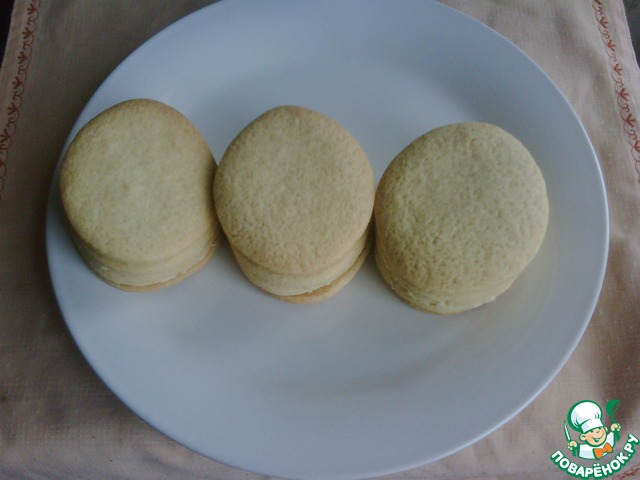
To seal our cookies caps.
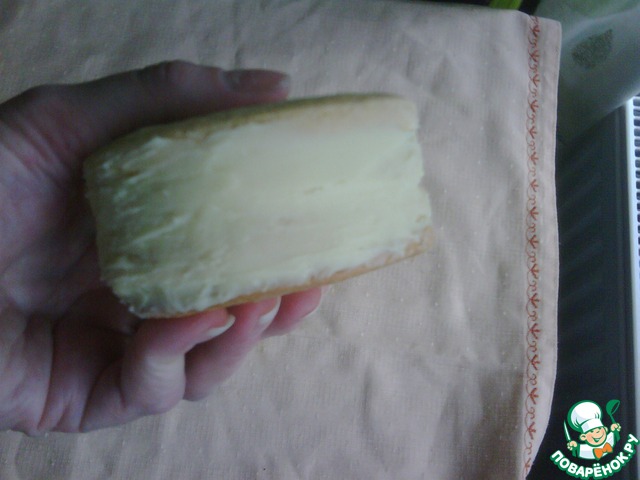
Were coated with ganache the sides and leveled. As on the cake.
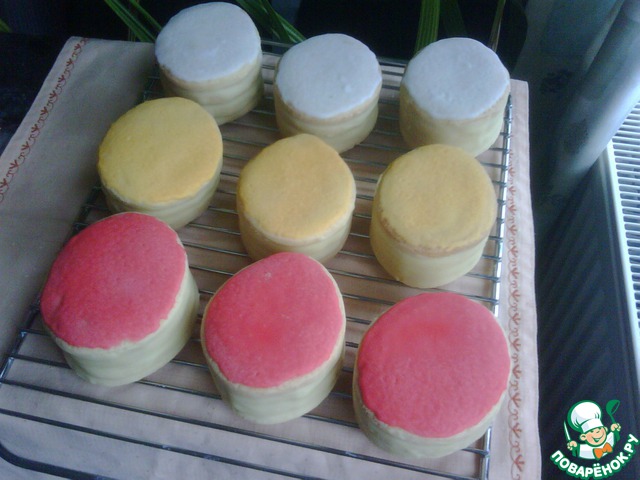
Finally, the time decorations! Take all the ingredients for our glaze, mix them and divide prepared frosting into several parts. Podkashivaet each in a different color using food coloring. In the original recipe each "box" is necessary to dip completely or pour the glaze. But in my house sugar glaze is not very liking, so I was limited to only coating the top of the cookies.
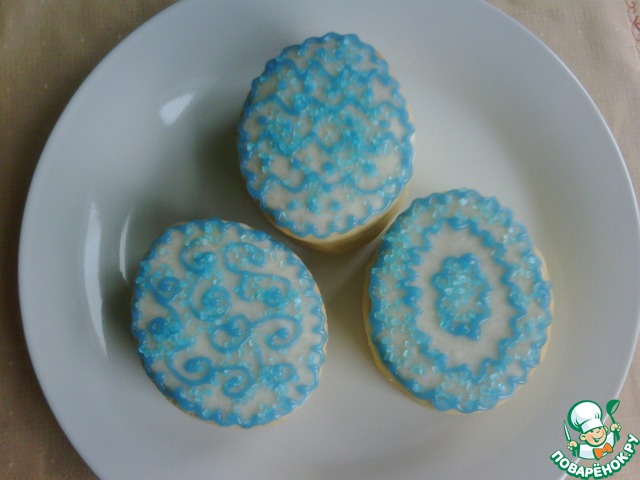
Oh, and then - a flight of fancy! These eggs are painted in the style of "Winter does not surrender". The glaze I put in a plastic bag with a nozzle for drawing (can be just a very small hole, to penetrate). Importantly, the glaze to paint was quite thick. If it flows, and stays a picture, add some powdered sugar. In addition to the glaze I have sprinkled colored sugar (bought ready, but on the website there are recipes, how to make colored sugar itself).
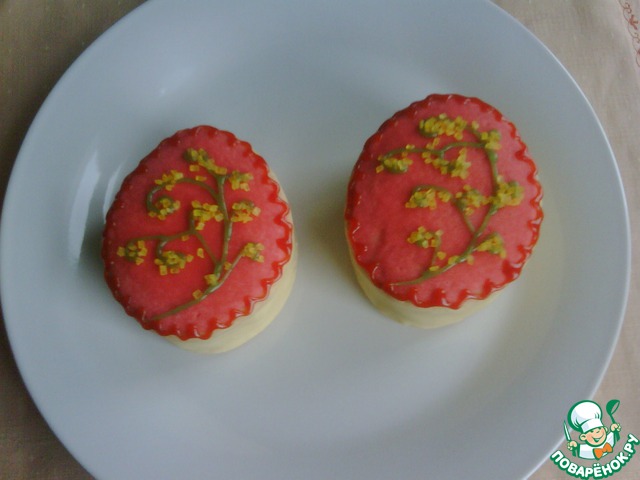
And this is spring begins with the flowering willow.
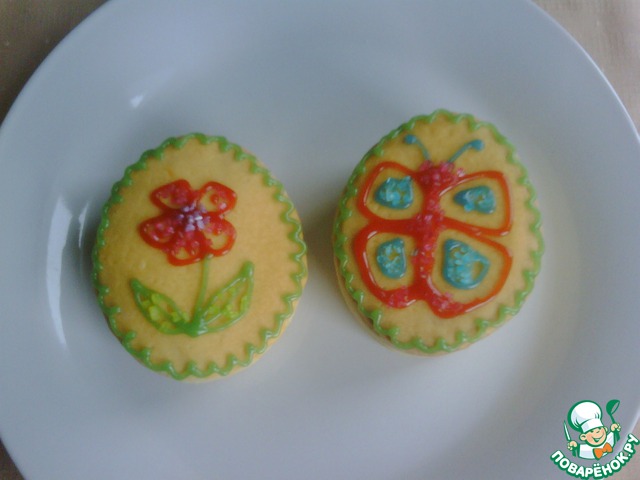
And finally, blossomed flowers and those little butterflies!
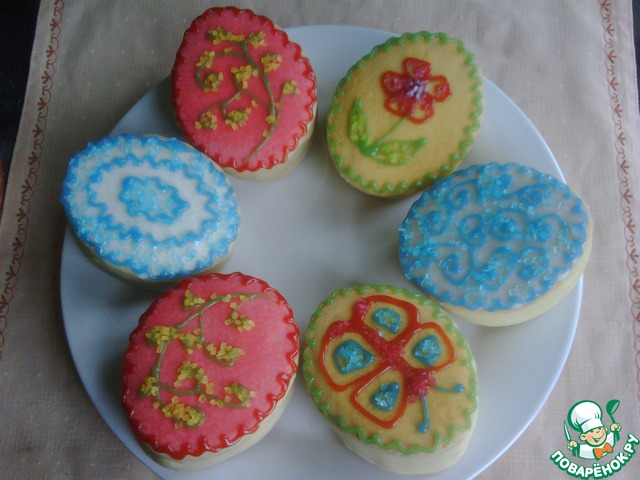
Well, all together.
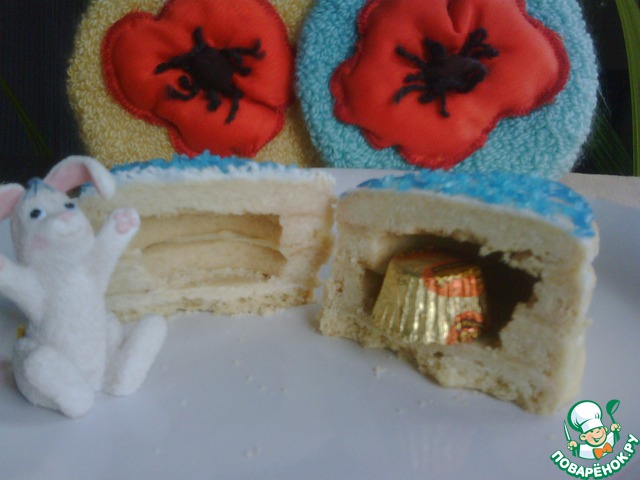
Now let's see what surprise we got? What the Bunny brought?

Leave a comment or a recipe review
Leave comments can only registered users.
Register, or Login if you are already registered.