Description
Offer to surprise your loved ones and friends, girlfriends for the holidays wonderful chocolates of own production. And how to make them, I'll tell you!
Ingredients
-
White chocolate
100 g
-
Chocolate milk
100 g
-
Dark chocolate
100 g
-
Water
30 ml
-
Sugar
200 g
-
Butter
50 g
-
Walnuts
250 g
Cooking
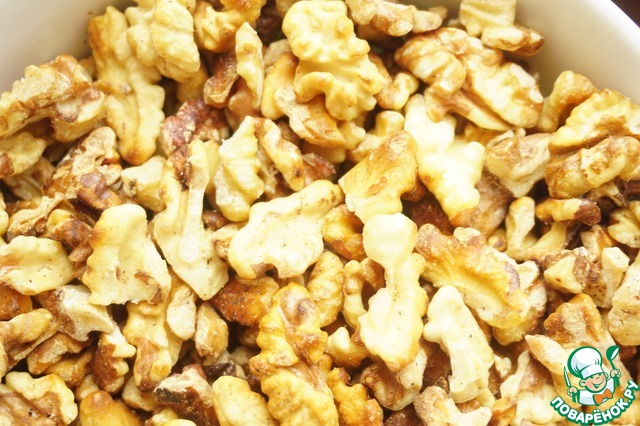
Shelled walnuts prikalivaet on a dry pan on low heat for about 15 minutes, stirring occasionally. Clear the nuts from the husk by rubbing between the palms.
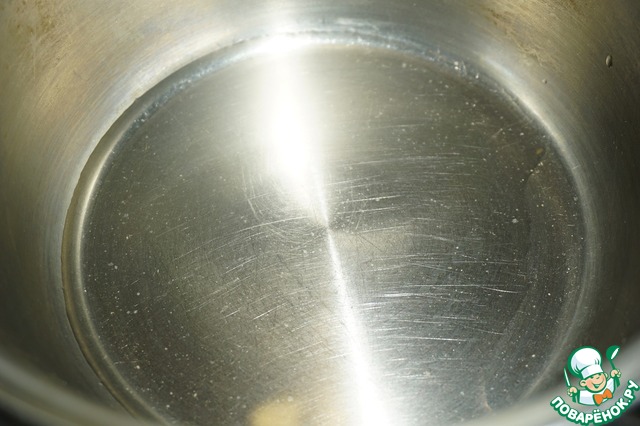
Prepare the caramel. In a saucepan pour 30 ml of water.
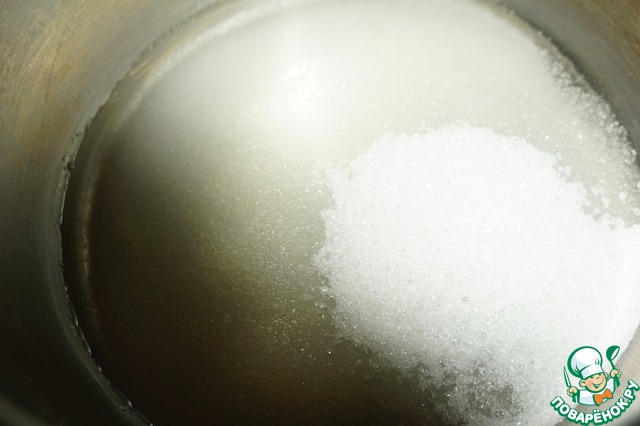
Pour the sugar. Stir with a spoon you can't just move the pan, otherwise the caramel kristallizuetsya and nothing happens.
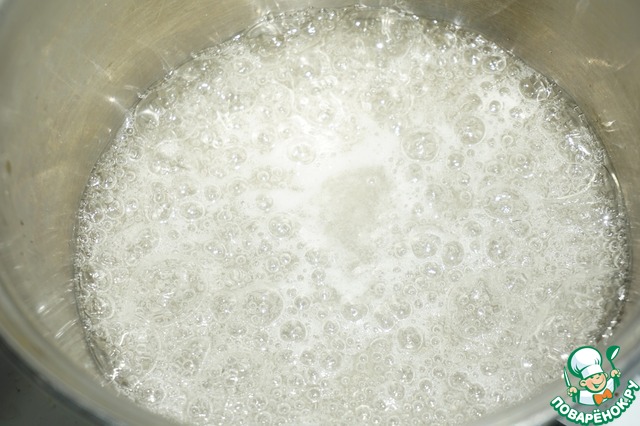
Put on medium heat.
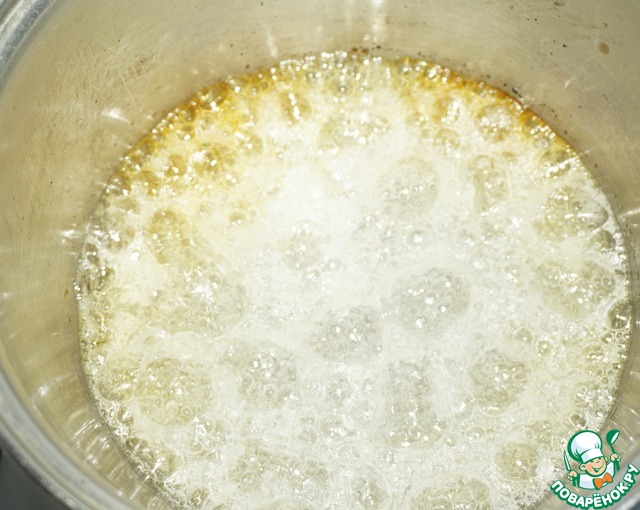
Cook until until the caramel begins to gold, occasionally moving the skillet.

Send nuts to the caramel and stir with a wooden spatula. Not metal, because the caramel can crystallize.
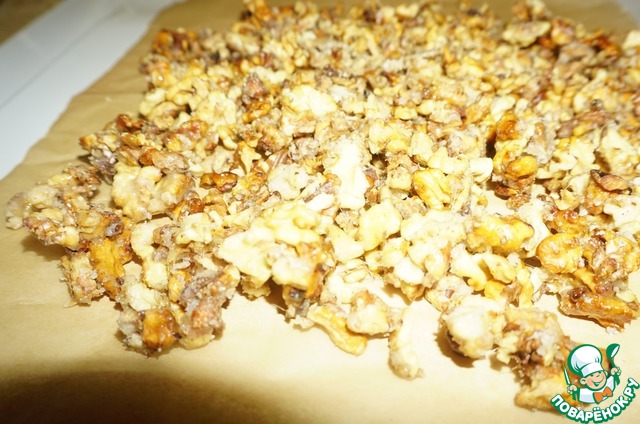
Spread on a parchment, level and leave to cool for 10 minutes.
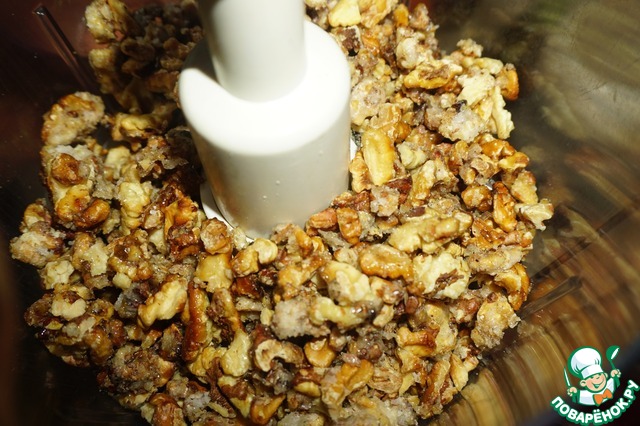
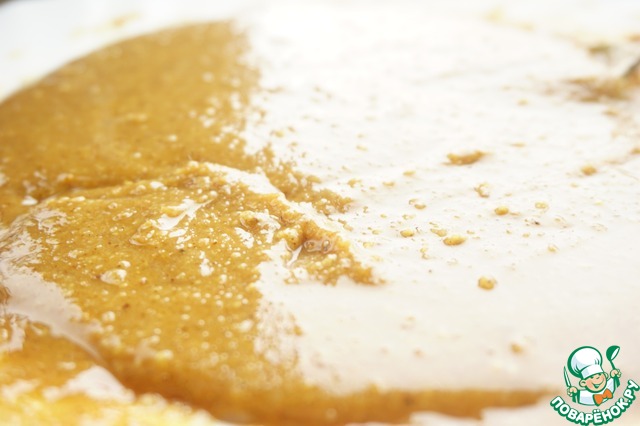
Received walnut muffin break and grind in a blender until the nuts begin to bleed oil.
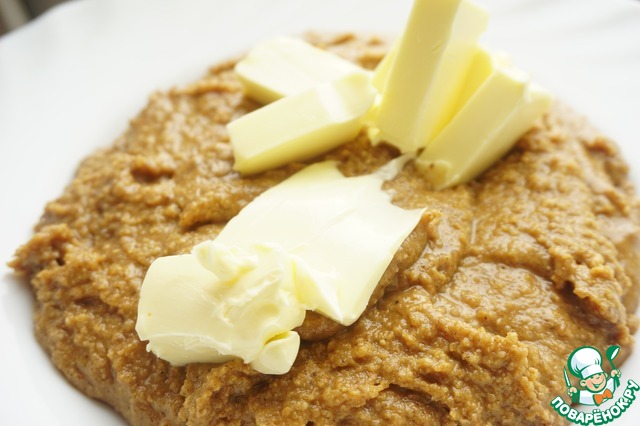
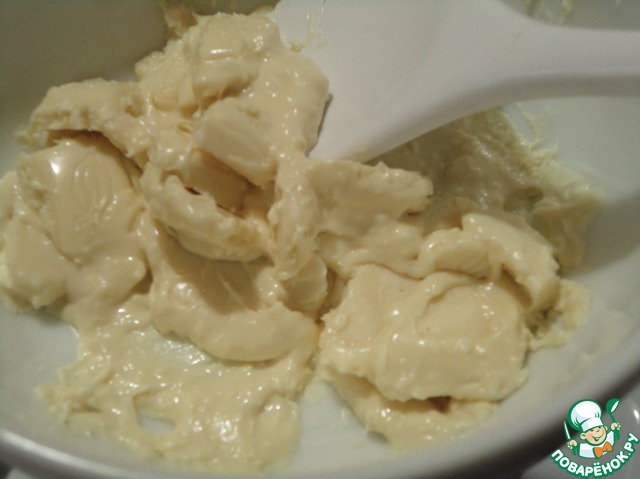
In the resulting paste, add the butter and mix well.
Praline is ready. By the way, if You decide to cook less chocolate, the remains of pralines can be frozen and used next time. And if they come unexpected guests, having the in house chocolate and praline in the freezer, you can prepare these sweets for literally 30-40 minutes.
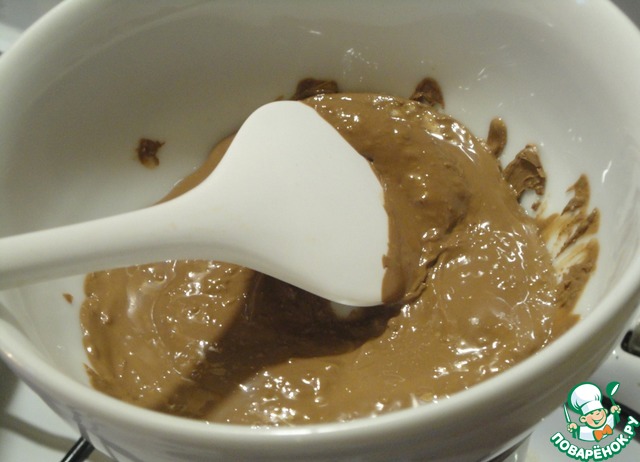
The chocolate will heat on a steam bath. On steam, not water. The difference is that if you water bath a container of chocolate touches the bottom of the water, and with steam – no. Water bath gives a higher temperature and the chocolate may curdle. I did three types of chocolates: white chocolate bottom of milk chocolate, milk chocolate with a bottom of dark chocolate and pure dark chocolate. The less cocoa in the chocolate, the harder it is to work with him in the preparation of sweets.
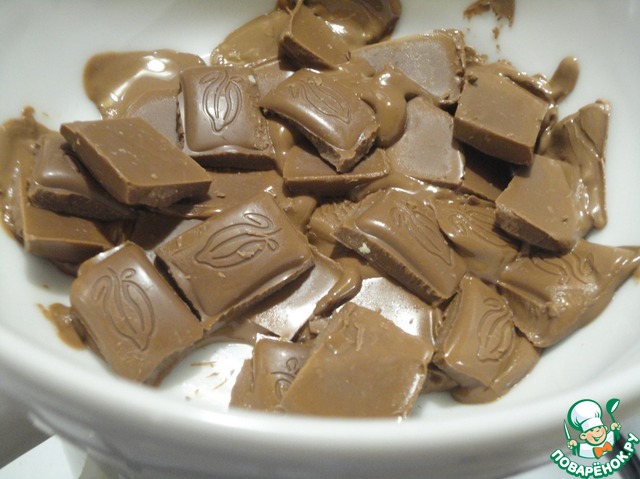
Dark chocolate is easier to melt, become liquid and the walls of candy are more subtle. White chocolate is the hardest to work. Moreover, in the shops, unfortunately I have not found a pure white chocolate, I had to take with coconut. Working with him was incredibly difficult, because it actually had the consistency of clay. Therefore, the wall of the box of white chocolate was the thickest.
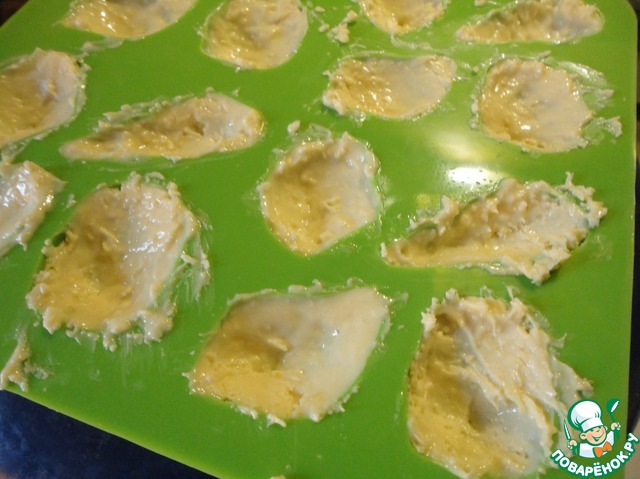
For the formation of the candy we need a silicone mold. Benefit to buy them now is not big problem. Molds grease refined vegetable oil, then blotted with a napkin to the left of the oil droplets, which can spoil the shape of the candy. Daubed the walls of the mould with chocolate. In the case with my "plasticine" white I smeared on the walls of a coffee spoon.
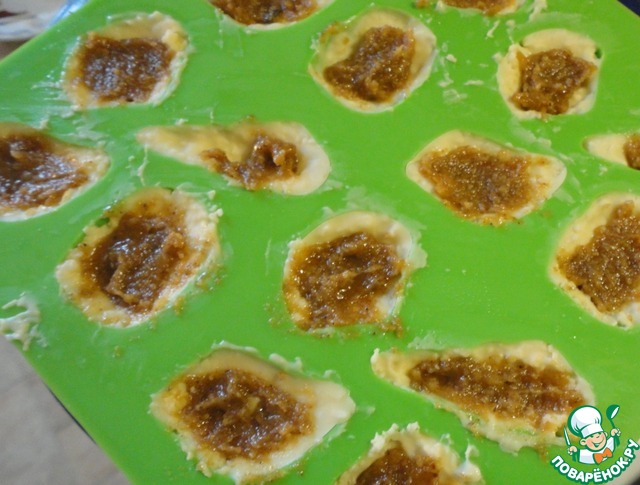
Send the form in the freezer for 10 minutes. Then spread the filling.
Melted milk chocolate
Fill the "bottom" of our sweets and level with a knife. Again send in the freezer for 10 minutes. Then the candy can be removed from the form and proceed to the next batch.
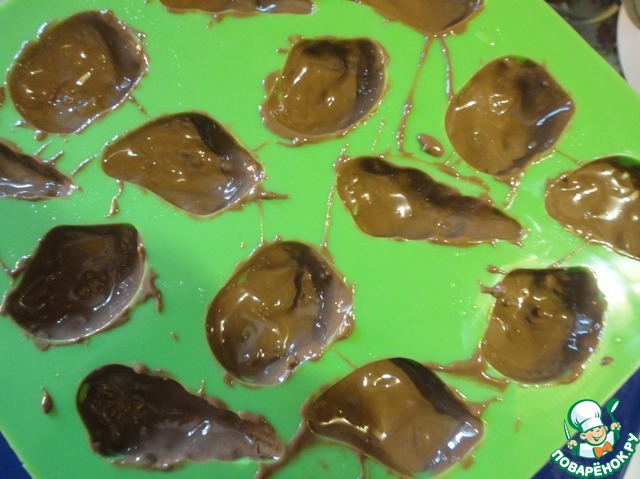
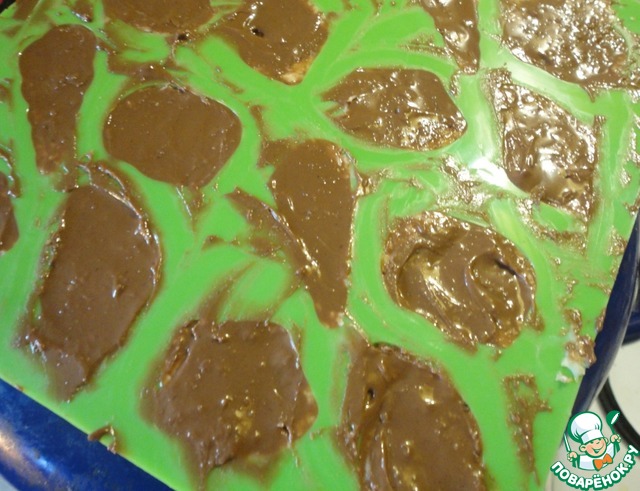
Milk chocolate with a bottom of dark chocolate.
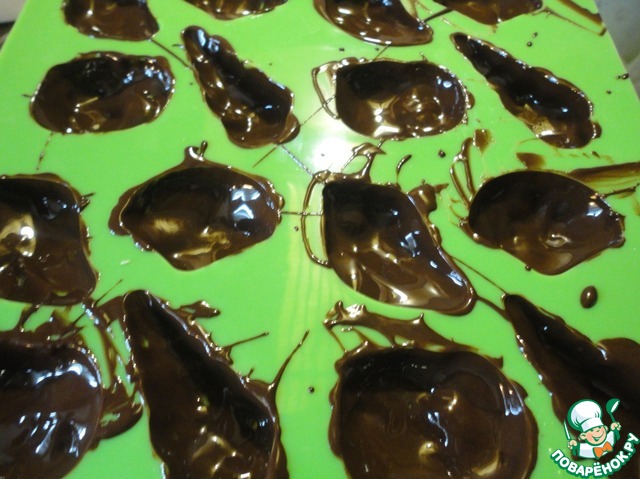
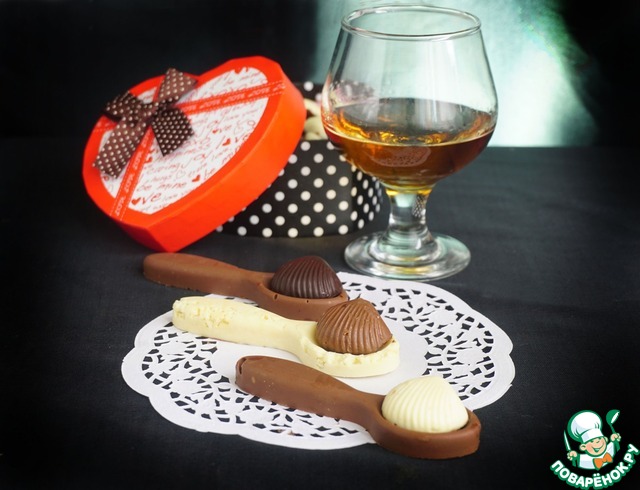
And dark chocolate. To the corner candy was even before the candy is removed from the form, walk around the perimeter of each candy, as if breaking off the extra edges that are left on the form. I hope that is clear explained.
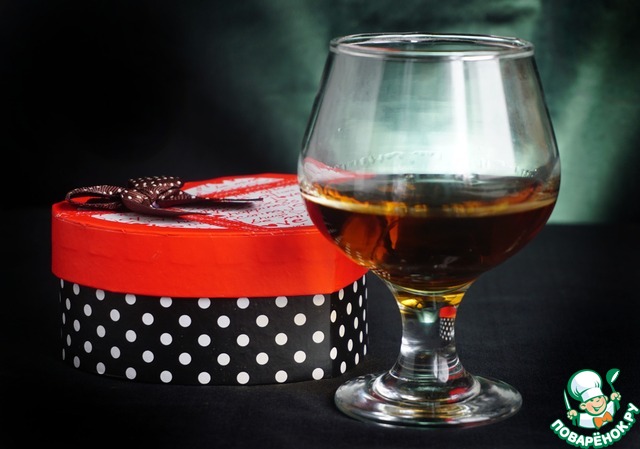
Put candy in a beautiful box or on a plate and delight loved ones and friends!
Happy holidays everyone!
Leave a comment or a recipe review
Leave comments can only registered users.
Register, or Login if you are already registered.