Description

Start with the fact that the author of the cake a well-known Genius in the field of cakes - Ron Ben-Israel. He is known in the culinary world as the author of the most expensive and delicious cakes. The cake is easy, and it is amazingly delicious! Made the cake for her beloved husband as he bought us a house I wanted, despite the fact that he really wanted another, so I congratulate myself with the purchase. My son said that I have a very important week on the Cook and he decided to help me, so the girls are cheering for the future chef!
Ingredients
-
Flour
3.5 cup
-
Coffee natural
2 cup
-
Cocoa powder
1.5 cup
-
Salt
2 tsp
-
Soda
1 Tbsp
-
Leavening agent
1 Tbsp
-
Sugar
4 cup
-
Chicken egg
4 piece
-
Vegetable oil
1 cup
-
Vanilla
4 tsp
-
Water
2 cup
-
Dark chocolate
900 g
-
White chocolate
120 g
-
Chocolate milk
120 g
-
Cream
3.33 cup
Cooking

1. That Ron Ben-Israel, a photo from a magazine.
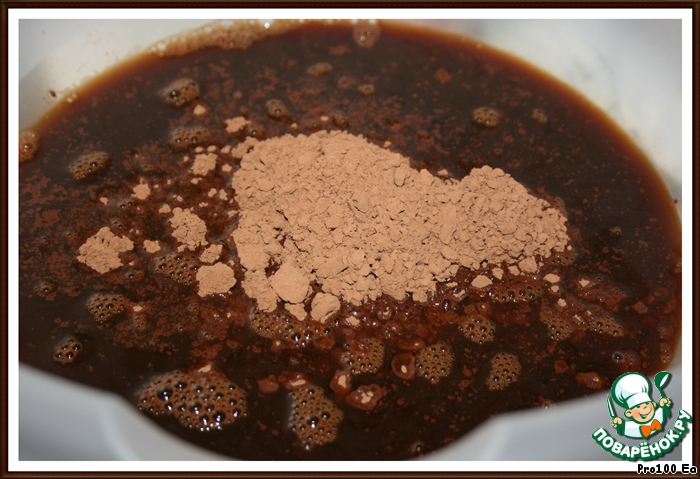
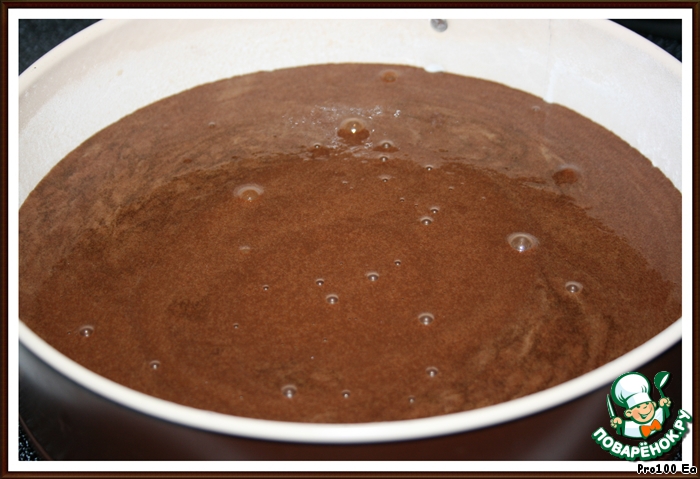
2. In hot coffee to dissolve the cocoa powder.

3. Connect the flour, salt, baking soda, baking powder and sugar and mix.
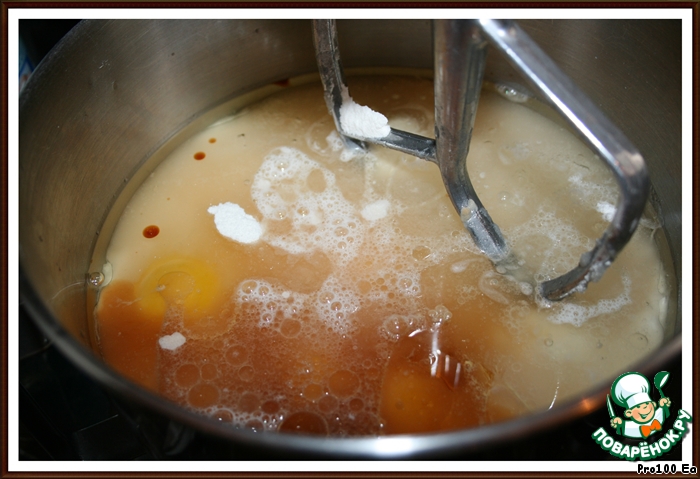
4. To the flour add the eggs, vegetable oil, vanilla, and 2 cups of water.
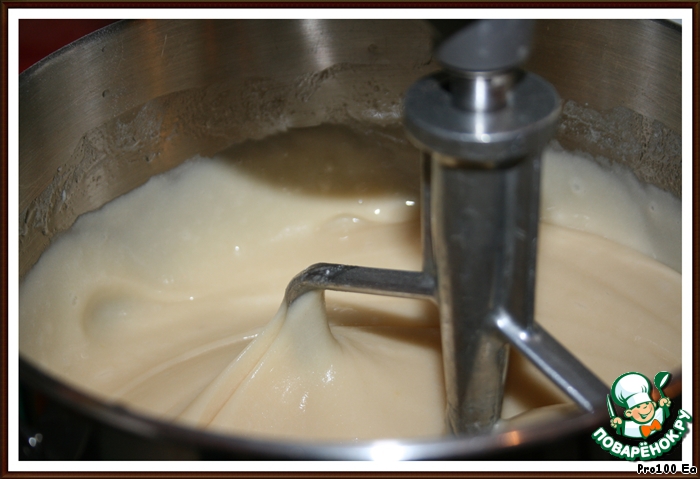
5. Mix on medium speed for 2 minutes ( I have the mixer table).
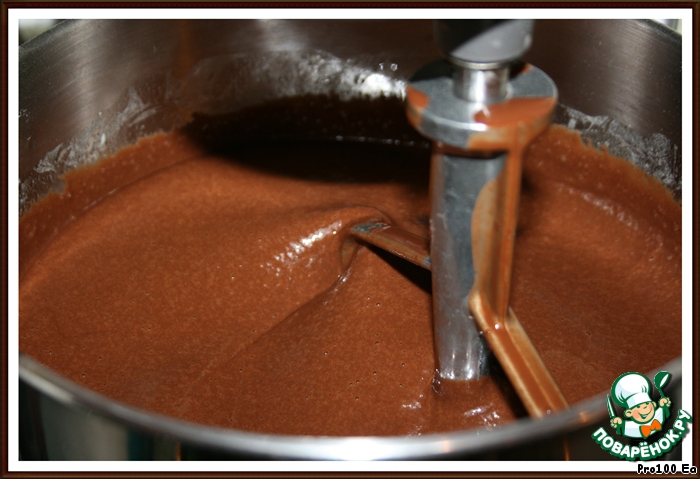
6. Reduce speed of mixer and add a fine spray of coffee+cocoa, and whisk until smooth. The dough will be liquid.
7. Form grease with oil, cover the bottom of the paper and again grease with butter and sprinkle with flour. Pour half of the batter. If there are 2 forms of the same size then you are lucky, I don't have, so I baked it in turn.
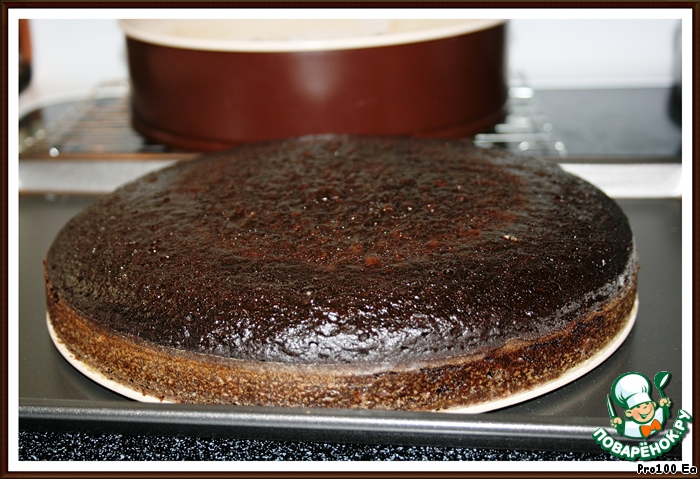
8. Bake at 180C, 50-60 minutes, I have exactly one hour left on each. Remove from oven, cool 10 minutes in pan, then remove from the mold, allow to cool for about an hour on the grill. When completely cooled put it in the refrigerator for 4 hours or overnight.
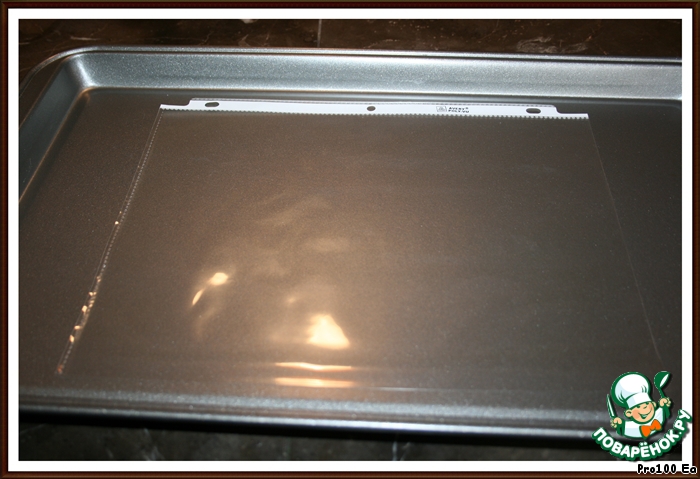
9. On a baking sheet to put the file. We will need 2 baking sheets.
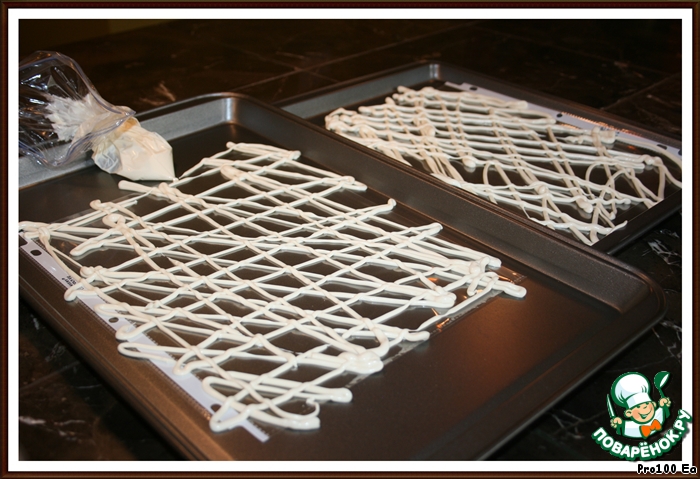
10. Melt the white chocolate and draw a grid. I want to say that it's better if the bars were thin, I have thick and it was difficult to attach to the cake, but the son wanted to help and I could not refuse. Send in the refrigerator for 10 minutes.

11. Melt the other chocolate, not black, I have peanut butter to put on top of white chocolate in the fridge for 10 minutes.
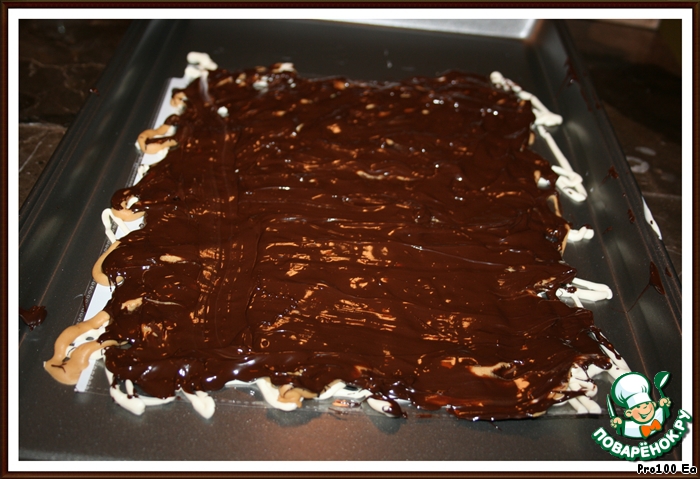
12. Melt the dark chocolate - 225 grams - and put on the grill and refrigerate until fully cured.
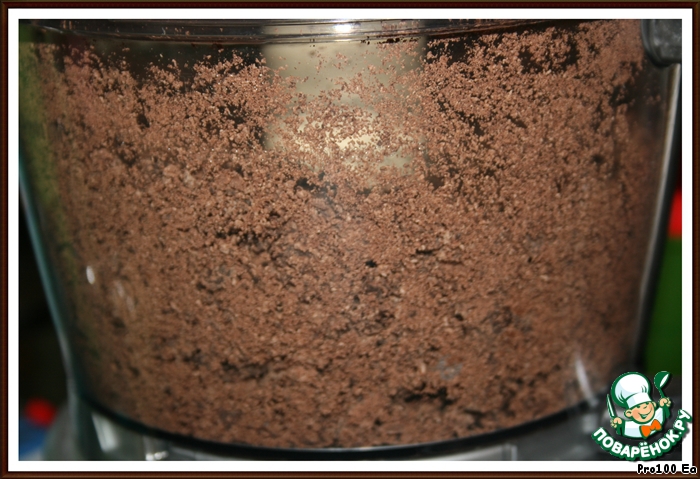
13. Prepare an ice bath ( ice+ water). In a food processor grind the rest of the dark chocolate.
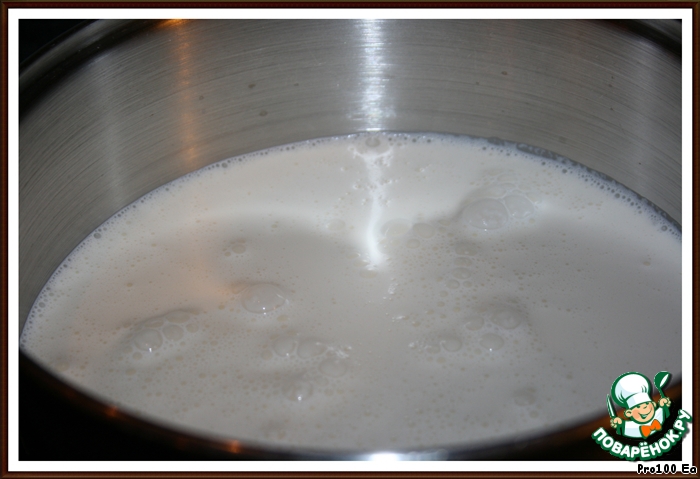
14. Cream, FOR WHIPPING, bring to a boil, and pour in a thin stream into the chocolate and the processor should run at low speed.
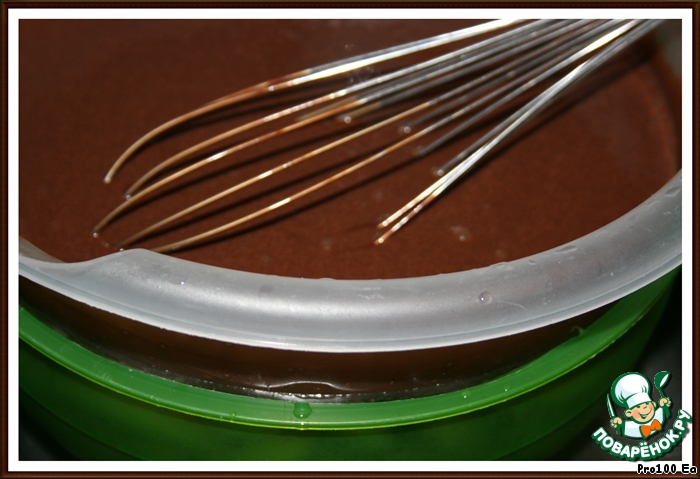
15. Pour the chocolate into a bowl and add to the bath from time to time it is necessary to mix for 20 minutes.
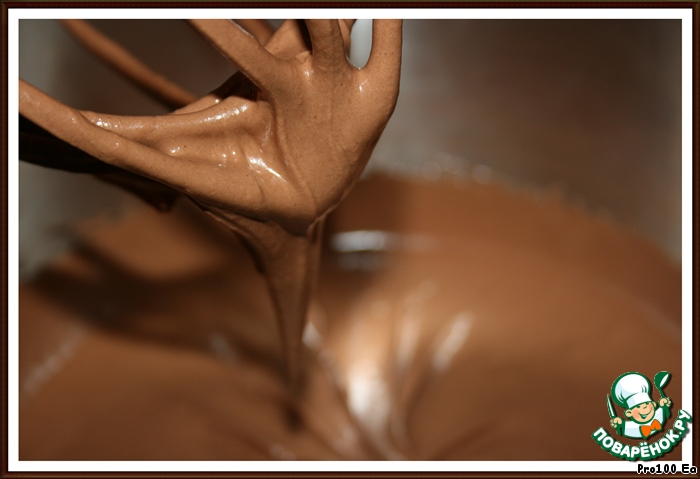
16. Half of the cooled chocolate whip is brown and up to the peaks.
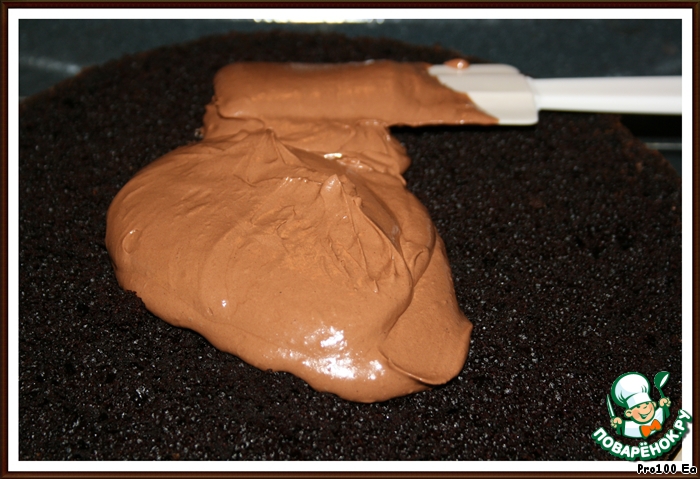
17. The layers are cut at the floors and grease all 4 layers cream.
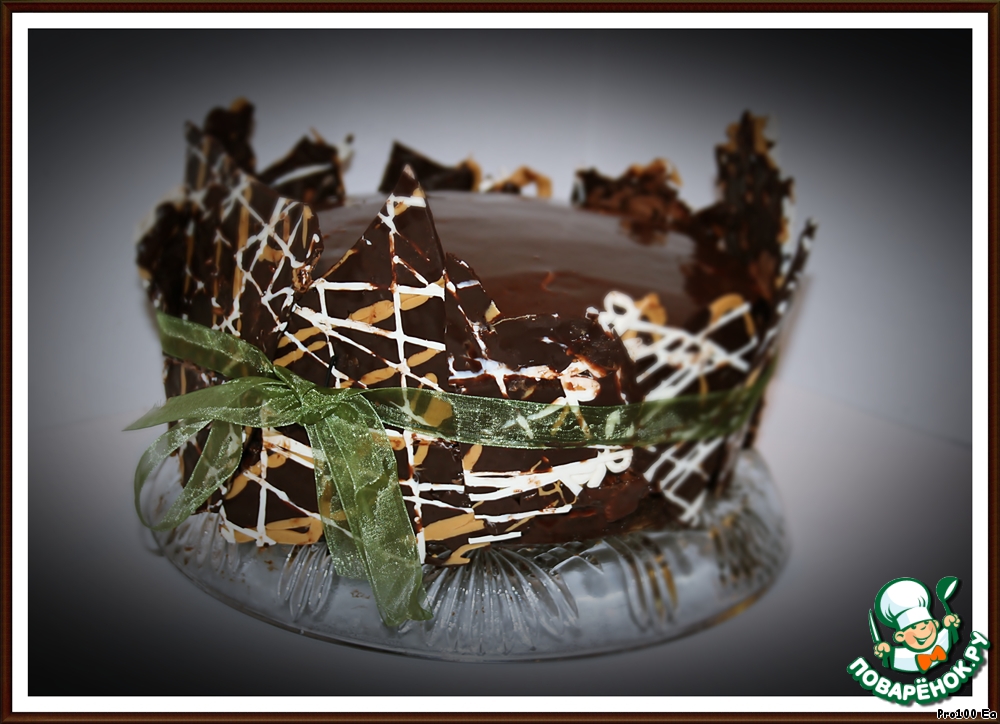
18. Pour the second cake half chocolate, to break our chocolate bars and to decorate the cake.
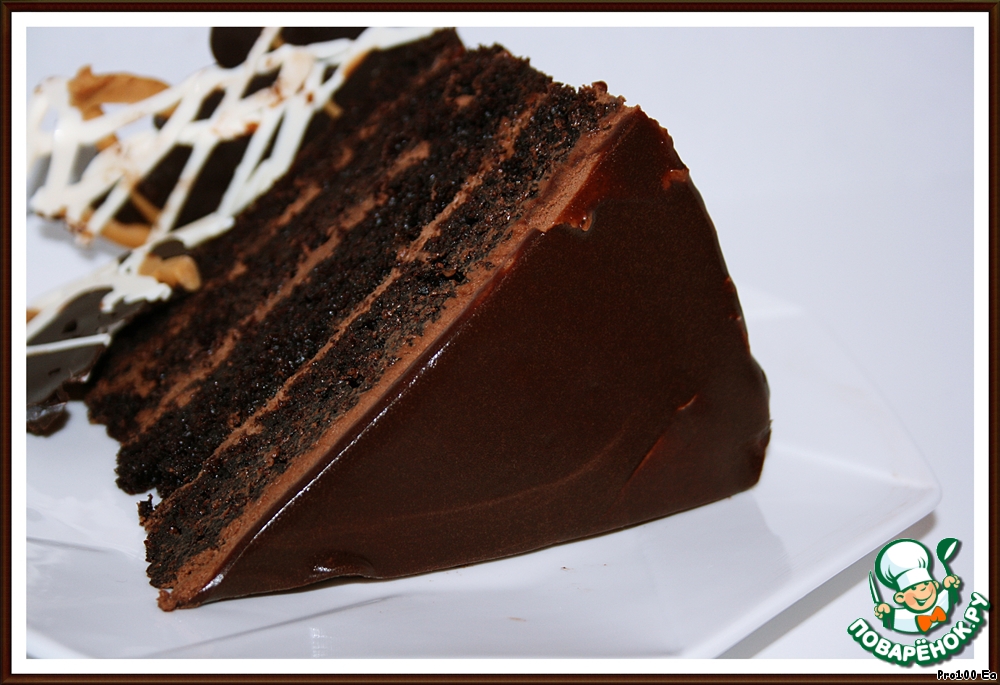
19. The cake stayed in the fridge for 18 hours before serving.
Very TASTY!!!


Leave a comment or a recipe review
Leave comments can only registered users.
Register, or Login if you are already registered.