Description
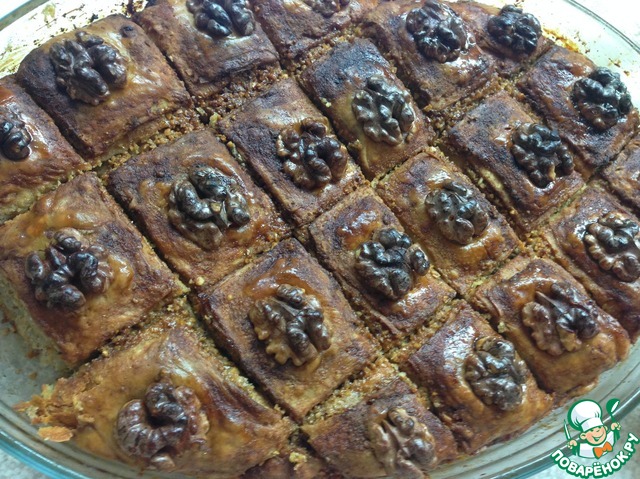
Dear cooks! Here decided to expose to the recipe is amazingly delicious baklava! In no way do not claim to authenticity, then if it's baklava, is this the taste, the principle of the preparation and ingredients. But what it is delicious!! It is, of course, not quickly. But, looking at the happy eyes of the beloved, you know: "it's worth it"!
Ingredients
-
Flour
500 g
-
Chicken egg
2 piece
-
Sour cream
150 g
-
Milk
150 ml
-
Butter
50 g
-
Yeast
-
Salt
-
Sugar
1 tsp
-
Walnuts
250 g
-
Powdered sugar
250 g
-
Butter
250 g
-
Cardamom
0.5 tsp
-
Cinnamon
1 tsp
-
Saffron
-
Honey
150 g
-
Water
-
Chicken egg
1 piece
-
Walnuts
Cooking
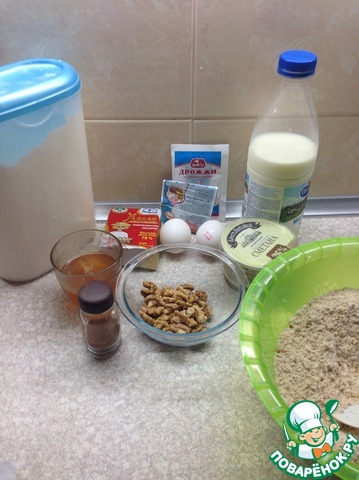
1. Here our products. The bowl on the left was rubbed with powdered sugar and nuts.
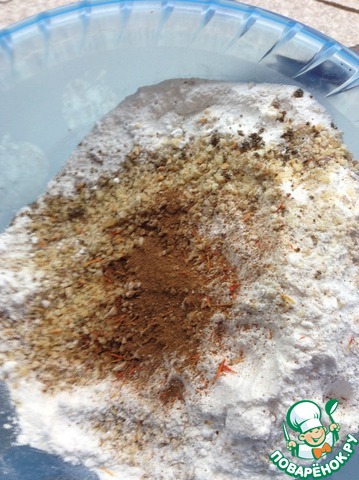
2. Let's get nuts. First they need to grind. This can be done in a coffee grinder. I usually do it with a chopper, and then, when you need more finely - I use a coffee grinder. Nuts can take any. I like to mix. In these photos I have a mixture of walnuts, almonds and hazelnuts (really want to try with pistachios, unsalted but yet not seen). Mix the nuts with icing sugar, cinnamon, cardamom, vanilla and saffron.
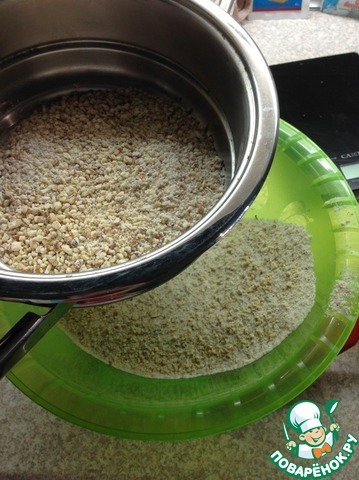
3. You can skip this step. But I usually make it. Take a large sieve ( better even to say the large sieve) and sift mixture into a bowl. Thus it is possible to filter out large particles. And then grind them in a coffee grinder and add to the rest of the nuts.
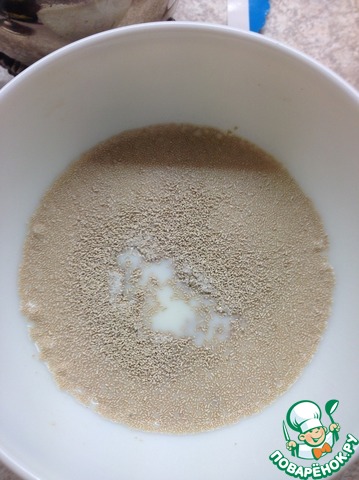
4. Now the dough. In this recipe it yeast. But easy to prepare. Even I, a complete layman in Eastern Europe, it turns out. Heated milk, add dry yeast and teaspoon of sugar (raw yeast is not taken, so can't say how much crude). Stir until complete dissolution. To leave until the yeast will not bubble up (for me it took 10 minutes). No closing, just leave.
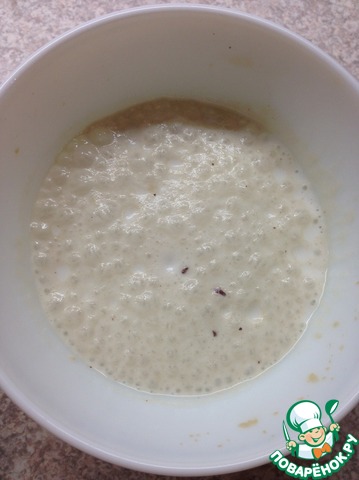
5. That's how we should look, this bubble mixture.
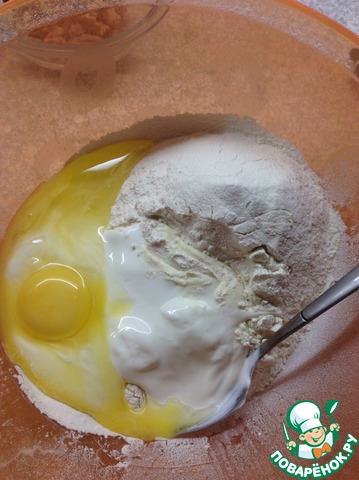
6. At the time, coming in the yeast, mix the sifted flour, butter (room temperature, not melted), eggs, sour cream and salt.
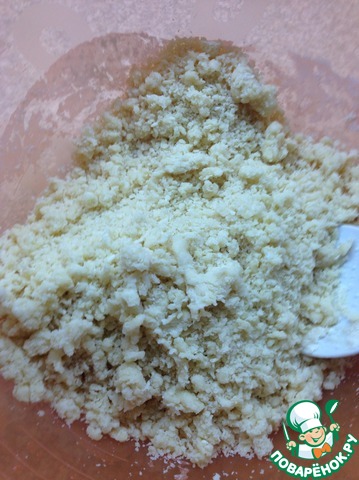
7. And begin to knead. I first stir with a spatula, and then grind by hand. The dough should slowly turn into crumbs.
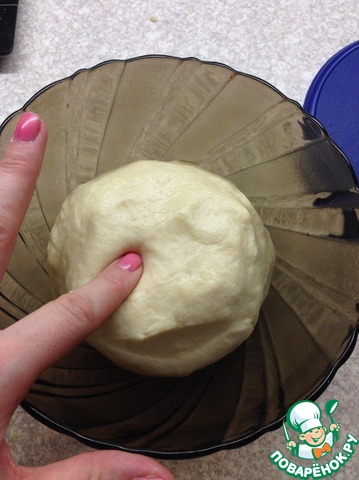
8. Now add our milk to the flour mixture. Stir to a state of smooth and elastic dough. It easily comes off the hands, soft to the touch, reminiscent of dough for bread or cakes, is to be out thinly. Now it is possible to cover with a towel and let rise for an hour or for 40 minutes. A lot depends on the room temperature. I don't have super experience in the formulation of the dough in a warm place where it rises wonderfully. That's why I do is simple: heat the oven to 200 degrees, open the door and put the bowl with the dough on the table beside him.
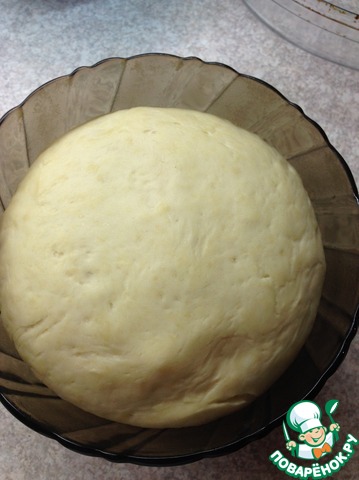
9. After 1 hour and 10 minutes, my dough has risen to such a state.
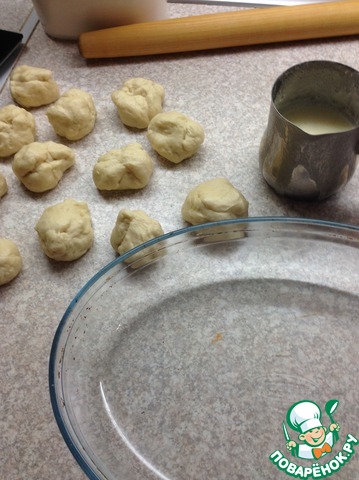
10. Now we divide it into 12 or 14 pieces. It is better to divide by an even number, it's easier. I, however, weigh the dough and divide it into 14. One piece do more (it will need to put in form, so that was enough and at the bottom, and on the walls and on the edges). As seen in the photo, my shape is oval, the proportions I take one and a half times less (however, the amount of toppings left unchanged.
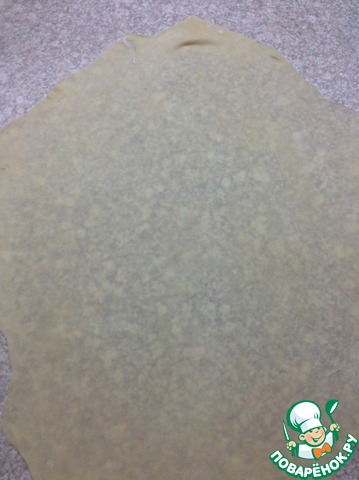
11. And now begins the interesting process – rolling. The dough should roll out to a state of translucency, so that it can be read. Actually, it's not as difficult as it may seem. I have a large wooden rolling pin, I sprinkled the table with flour and gradually rolled out each ball to desired thickness, turning occasionally. By the way, someone who is difficult to cope with passing, it may be advisable to roll out the dough between two sheets of parchment. After I rolled the first layer, I take the baking paper, put the shape to it and outline with a pencil ( I have form expanding at the top, so I outline it a top, a bottom, and the top of the form are the same, add around 2 cm on each side). Cut. It will be much easier to trim the layers. Not in the form and on the table. All trimmed pieces are not discarded. And leave. Then one can make another 1-2 additional coats.
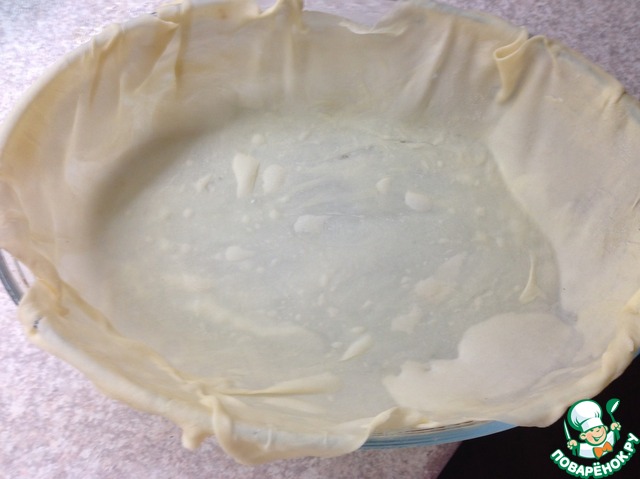
12. Silicone brush form grease with melted butter (I take from the pack and melt in a saucepan because the oil will be used for the filling). Lay out first layer of dough (the bigger one), and then grease it with butter. And put another (NOTE: filling on the first layer is not placed).
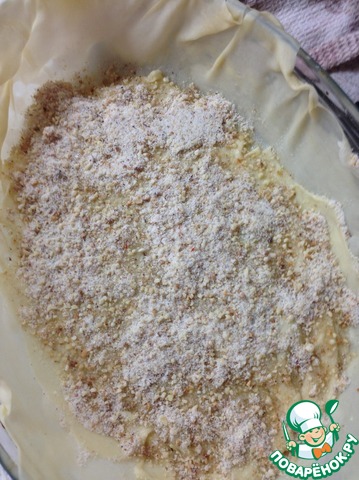
13. Now the 2nd layer a good coat of butter and sprinkling on it the filling (I do this a tablespoon, starting from the edges, and then sprinkling the middle). The amount of toppings on each layer I is calculated as follows: take total weight, divide by the number of layers given the fact that, perhaps, we will have 2 more layers. In the presence of a 14 layer test – that's 11 pieces of nuts, and if additionally 2, respectively, 13.
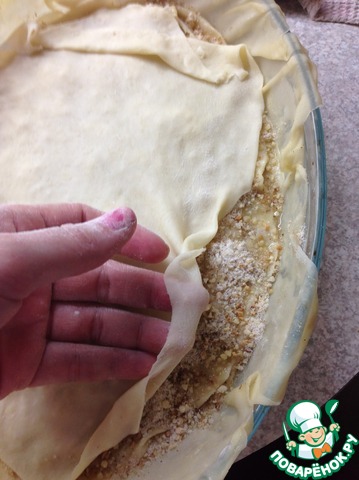
14. Then spread a new layer, coat it with oil, sprinkle with nuts, and so, as long as we don't have 2 of the free layer. The edges of the dough carefully cut (with scissors or with a rolling pin) the form, leaving about 3-4 cm. Put 1st layer remaining on the nuts, grease the edges with beaten egg, put the edge on this 1st layer. Coat the center with butter.
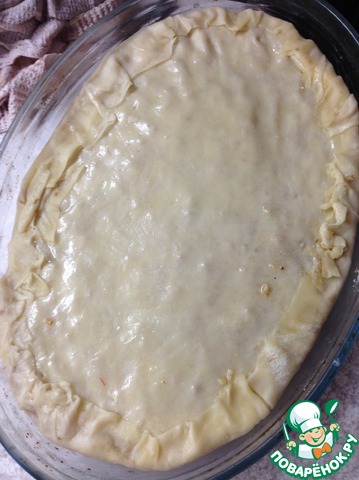
15. Again grease the edges with egg and put the last remaining layer from the top. Now our baklava is absolutely closed. Mark with a knife to form diamonds, grease with beaten egg.
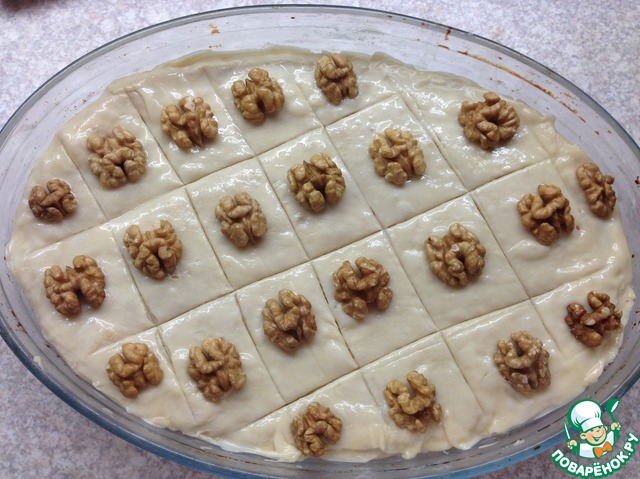
16. Now with a sharp knife cut the baklava. BUT! ( this is VERY IMPORTANT!!!), first, grease with egg, and then very carefully cut, and not coresite until the very end, if possible, leave 1 - 2 layers. So the filling will not leak out. Beautiful put half a walnut in the center, slightly pressed.
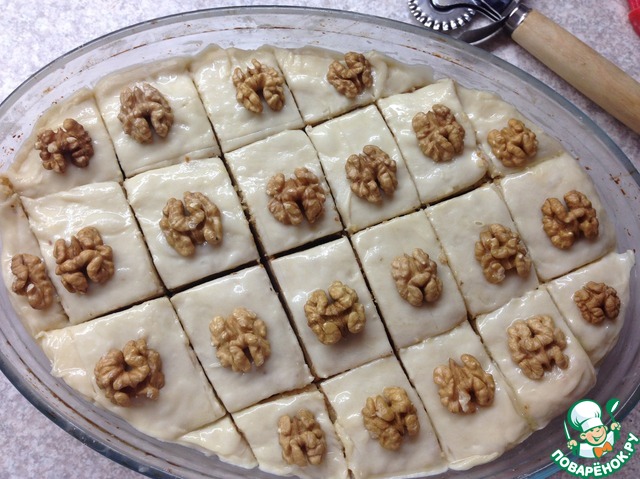
17. Put to rise for 15 minutes under a towel. After that, we put the baklava in the oven at 180 degrees.
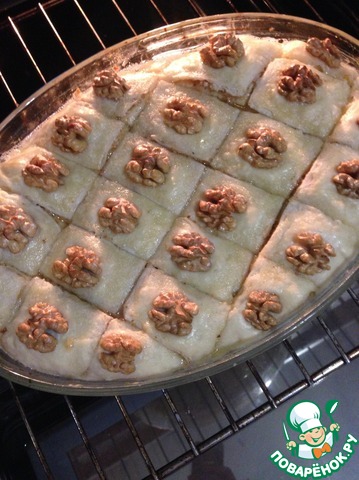
18. After 15 minutes, took it out, start pouring in the breakdown of the remaining butter that was left of the lubricant layers. Oil can and quite a few to stay or not to stay. It all depends on how liberally you smeared layers. I almost always do, and so I take more oil. But not everyone likes oily. However, those who saves the figure, still not suggest you to save much on the oil. Baklava is supposed to be juicy and not dry. And therefore, the more oil (within reason, of course), the better.
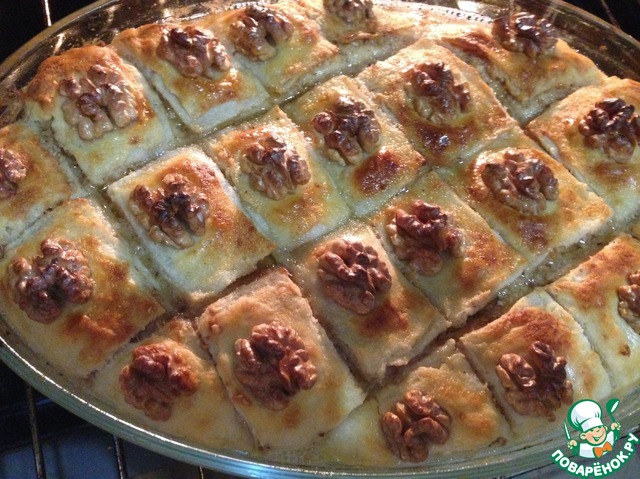
19. Now bake our baklava until Golden brown, but not so very Golden, and the edges pale. Take out and pour in the syrup sections, but not all, and somewhere in the third part.
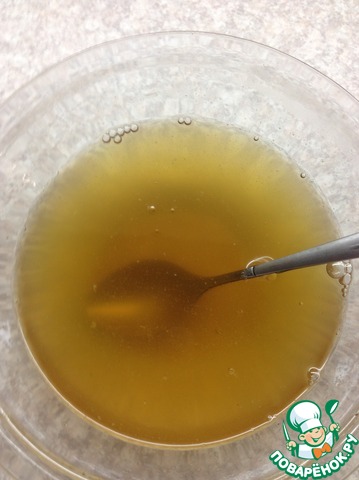
20. A syrup prepare so: mix honey with hot water, stir until smooth.

21. And now Topcem baklava until ready to brown-reddish color. 40-45 minutes. Time inaccurate. Everyone should look at their oven. On my photo it seems that she burned. In fact, it is not, the light is not very well laid. Take out from the oven, put under a towel and leave to cool. Hot cutting is not necessary. When it cools, it will become just warm, then diesem it to the end, take out the pieces - diamonds and pour them in the remaining syrup. And now you can eat. It's Sooo tasty! Coffee, tea, just water. Enjoy dipping into the atmosphere of the East. And Bon appetit!
Leave a comment or a recipe review
Leave comments can only registered users.
Register, or Login if you are already registered.