Description

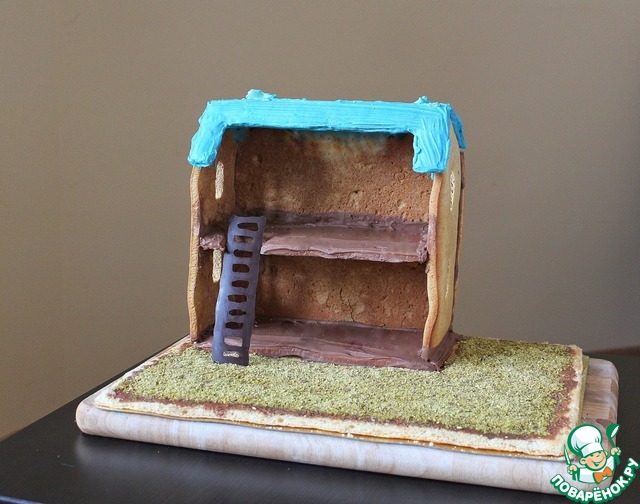
Recently my daughter had a birthday, and I have long puzzled what to think of for a festive table. The joy of a child, as you know, the best gift for mom :) So I decided to make her such a wonderful home for her favorite toys. Helped me with the recipe of a friend is a pastry chef, so the house was unusual and interesting. My daughter and her friends were delighted! After a series of photos everything was gobbled up clean:) the House we did specifically for her favorite toy Village story, but I think that it is possible to put any dolls and animals. In General, if you have kids, you can also take this recipe into service.
Ingredients
-
Butter
280 g
-
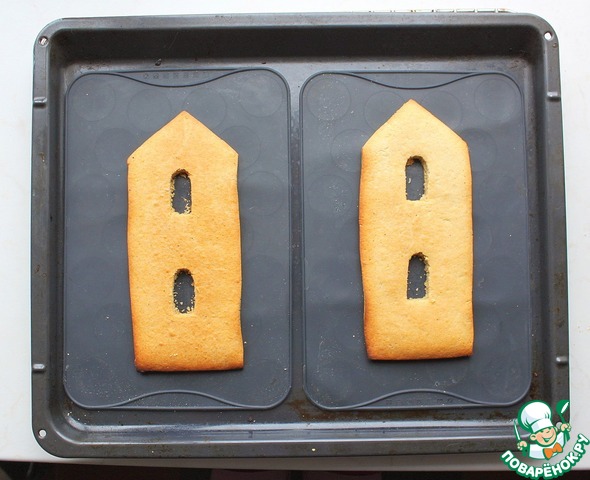
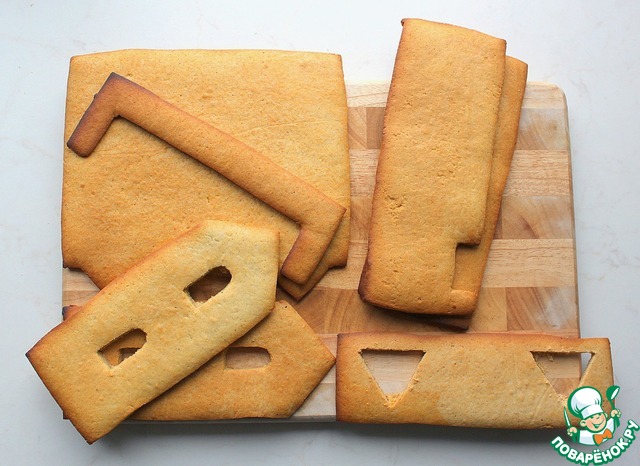
Sugar
160 g
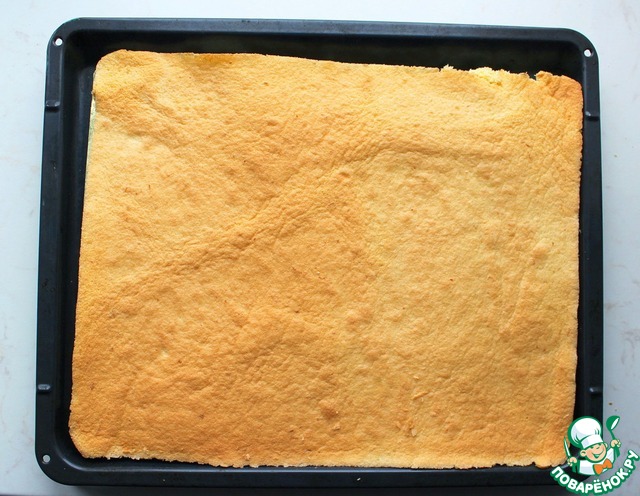
-
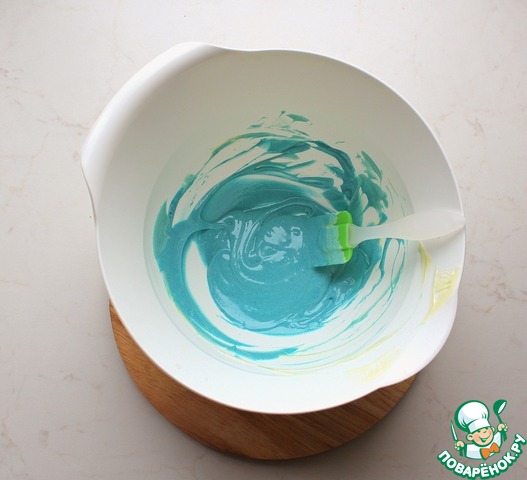
Chicken egg
2 piece
-
Honey
200 ml
-
Soda
10 g
-
Spices
1 Tbsp
-
Flour
900 g
-
Chicken egg
4 piece
-
Vanilla sugar
1 tsp
-
Sugar
100 g
-
Flour
110 g
-
Orange zest
1 piece
-
Pistachios
0.25 cup
-
Dark chocolate
30 g
-
White chocolate
300 g
-
Chocolate milk
300 g
-
The food dye
1 g
-
Cream
200 g
-
Chocolate milk
100 g
Cooking
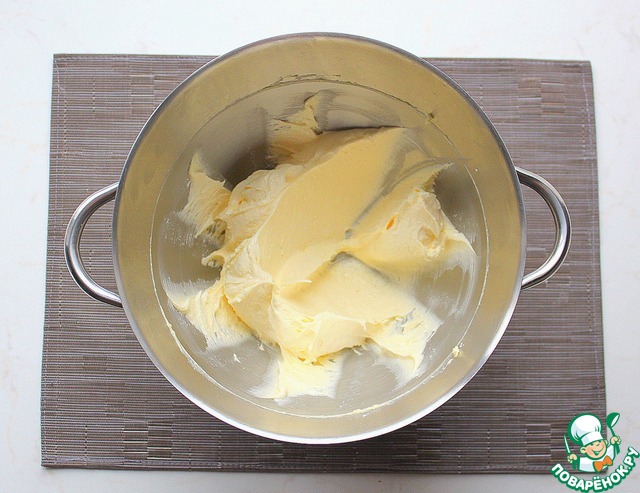
1. For gingerbread house, beat butter with 80 g sugar until fluffy.
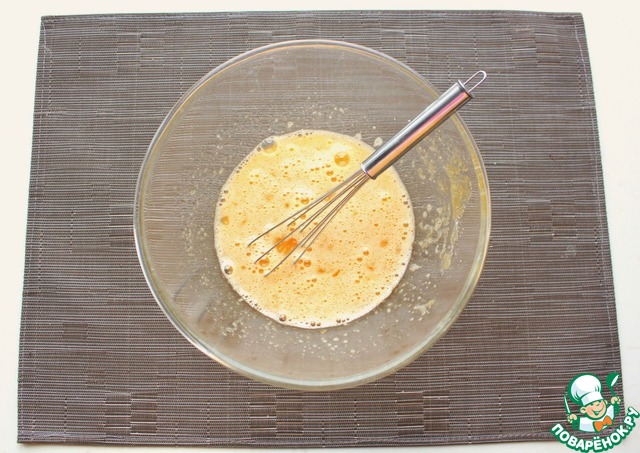
2. In a separate bowl, mash the egg with the remaining sugar.

3. Gradually introduce this mixture into the butter, beat well, then add the honey.
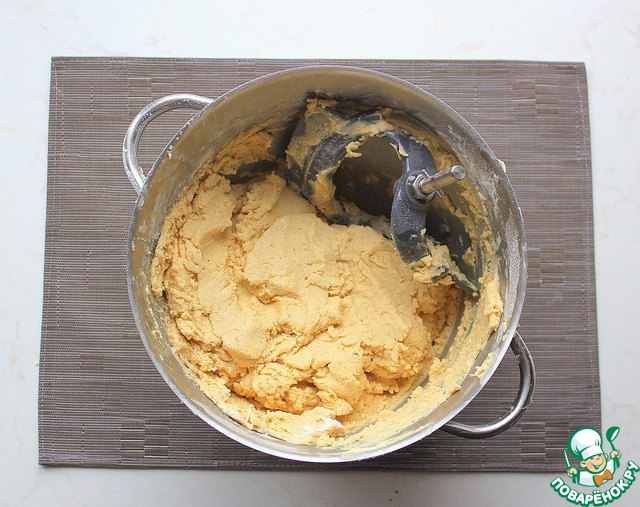
4. Add the sifted flour with soda and spices. Knead the dough.
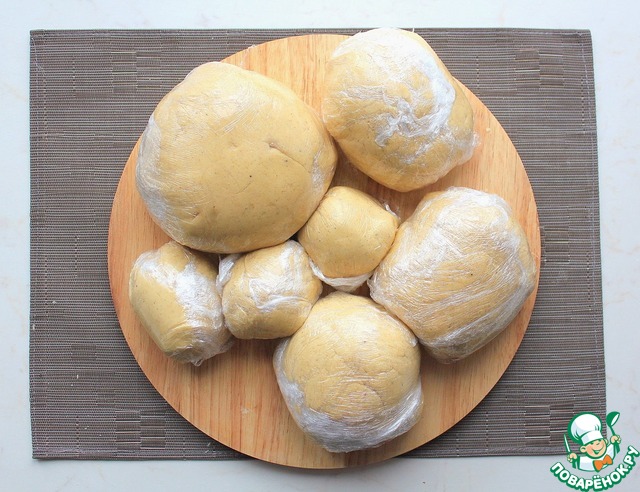
5. Divide the dough into 7 pieces (3 small for the roof and platforms of the second floor, 3 medium for the side walls and the base and 1 large rear wall). Roll each into balls, wrap in clingfilm and put into the refrigerator for half an hour.

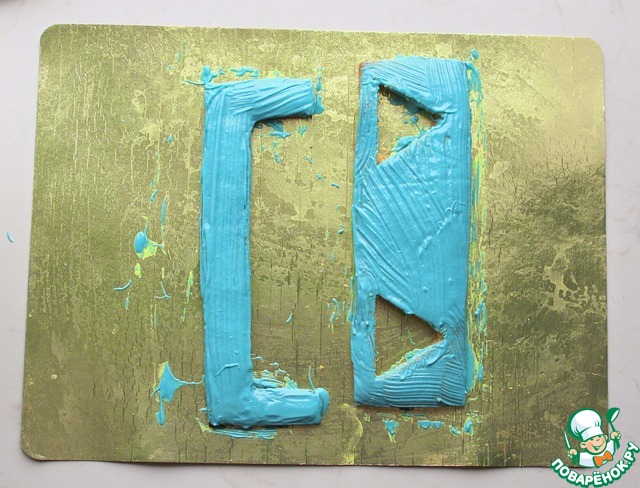
6. While the dough cools, prepare the stencils for the house. I got these:
7. Preheat the oven to 215 C. roll out dough Balls to a thickness of 0.5 cm Using the prepared stencils, cut from the test items for the home. Bake items 7 - 8 minutes until Golden brown. From the warm korikov cut window.
8. Before proceeding, be sure to let the walls completely cool.
9. For the biscuit base preheat the oven to 180C. Beat the eggs with sugar and vanilla sugar until creamy, add the orange zest. With silicone blades to enter the sifted flour. Spread a thin layer on the baking sheet with a sheet of parchment, and bake until tender, about 12 to 15 minutes.
10. Melt in a water bath or in microfche white chocolate. Add the fat-soluble food dye (this is, of course, optional), mix well.
11. Cover the chocolate part of the roof on both sides (the first side has dried faster, you can put it in the fridge). Similarly, a coating of melted milk chocolate to the first floor landing and the base of the house.
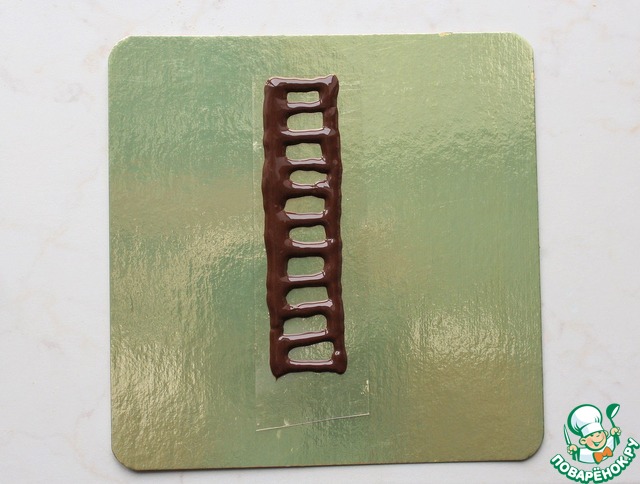
12. Melt in a water bath or in microwave oven dark chocolate. Pour it into a pastry bag (no self-made "corner" out of baking paper) and draw them on parchment ladder:
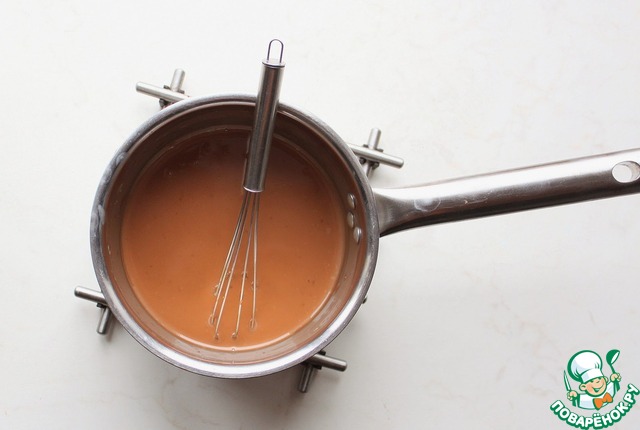
13. Then chocolate ganache: chop the chocolate into small pieces and add to the bowl. The cream is heated, pour in the chocolate. Stir with a spatula or a small whisk until chocolate is completely dissolved.
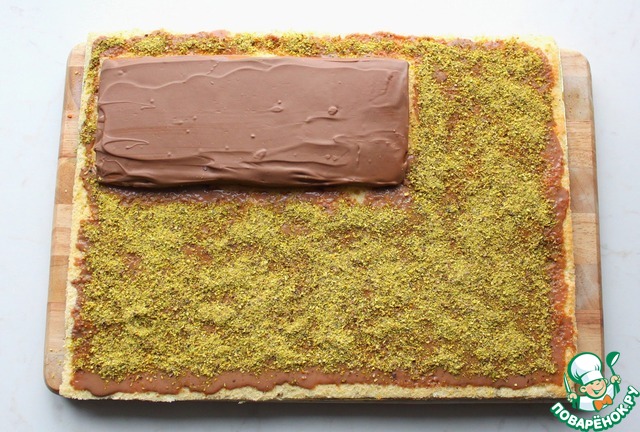
14. Sponge cake cut to the size of the stand, on which to stand the house. Spread the cooled ganache in a thin layer on cake, sprinkle top with pistachios. Begin Assembly and installed the first detail of the home - base!
15. Further, the fastening parts of the house using the remaining bowls of white and milk chocolate. If chocolate during this time is frozen, you can re-heat it. After installing each part, the entire structure is better to put in the fridge to speed up the process of hardening.
16. And the final touch - inhabited house toys :) we went there to live with a family of polar bears Village story, and to visit them came grey pussy and neighbor brown bear :)))

Leave a comment or a recipe review
Leave comments can only registered users.
Register, or Login if you are already registered.