Description

Beautiful and healthy rye-wheat sourdough bread. Recently got into baking, first baking in the bread machine, then used the recipes to bake in the oven. I loved to bake bread and I decided to raise the level - raised sourdough for baking unleavened bread. Every weekend now I'm looking for new recipes and my house fills with the smell of fresh bread. This recipe I found in the blog Anna973 apparently it is some famous character in the environment of bakers. I'm not too experienced Baker, but since I found this recipe, not the Cook, I decided to photograph the cooking process and add the recipe! Sorry for such a looong preamble, let's get finally to the preparation of bread!
Ingredients
-
Rye flour
160 g
-
Water
160 ml
-
Sourdough
30 g
-
Sourdough
300 g
-
Seeds
-
Rye flour
200 g
-
Wholegrain wheat flour
240 g
-
Salt
13 g
-
Carrots
130 g
-
Water
225 ml
-
Sesame
20 g
-
Pumpkin seeds
20 g
-
Flax seeds
40 g
-
Sunflower seeds
40 g
Cooking
The first step begins 12-16-20 hours before kneading bread. While there, the first step begins even earlier, it starts with creating a leaven. How to make sourdough written in detail on many resources, the principle is about the same everywhere, my pure sourdough rye. Preparation of the ferment will take 4-6 days. I was prepared by the method of Gavrila and Tatiana Zhdanovykh (rye flour, water, honey). For making sourdough bread requires the so-called "starter", is a small part from the finished ferment. Get the starter out of the fridge and leave for a couple of hours at room temperature. In a large bowl, mix 160 ml of warm water with 30 g of starter and 160 g of rye flour, tighten the wrap or cover with a lid and leave for 12-15-20 hours in a warm place. The amount of time depends on the age of your yeast, if it only recently made, it will take more time if it's already "seasoned", some less. I usually ferment leave for the night.
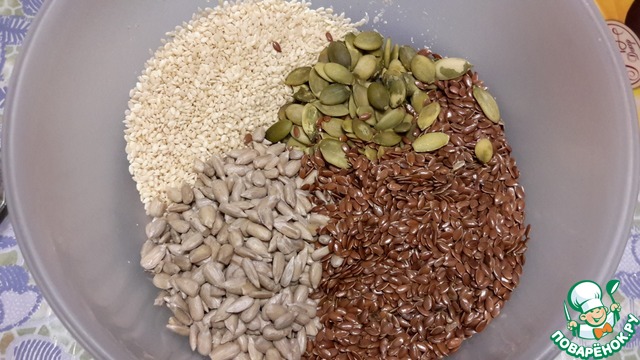
Measure out the required amount of seeds. In the original version of the recipe for pumpkin seeds was missing, I added them while in 2 times reducing the number of sesame seeds.
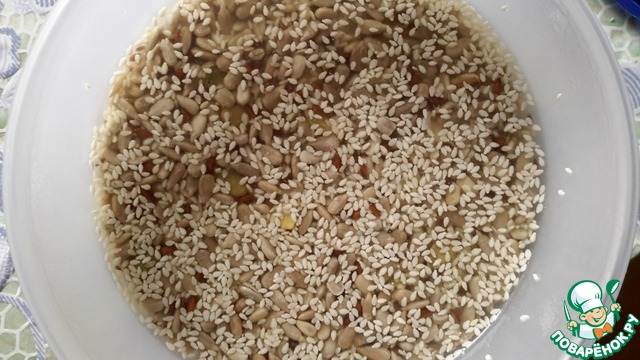
Pour the seeds with hot water so that they were completely covered. The author of the original recipe recommends to soak for 4 hours or more. I forgot to preset the seeds, so I soaked them for half an hour.
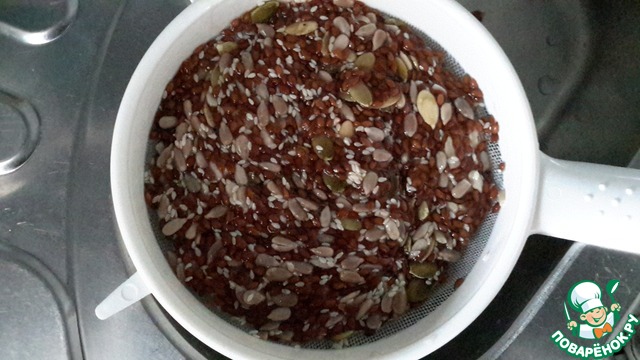
Over time, unfold the seeds in a colander and drain the water.
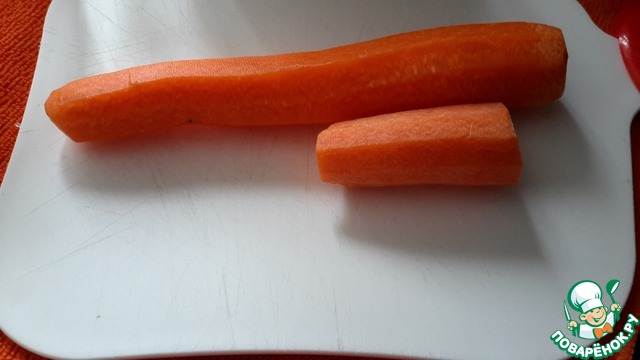
Clean the carrots.

RUB the carrots on a fine grater.
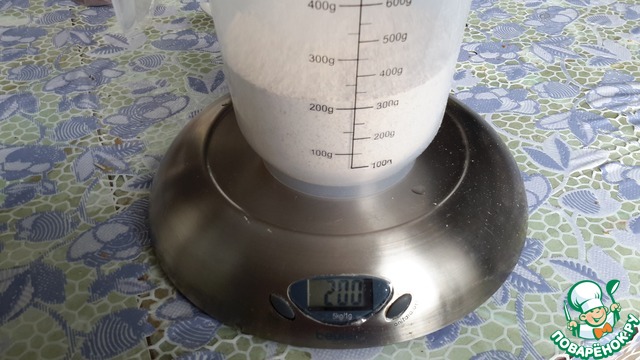
Measure out the required amount of rye flour.
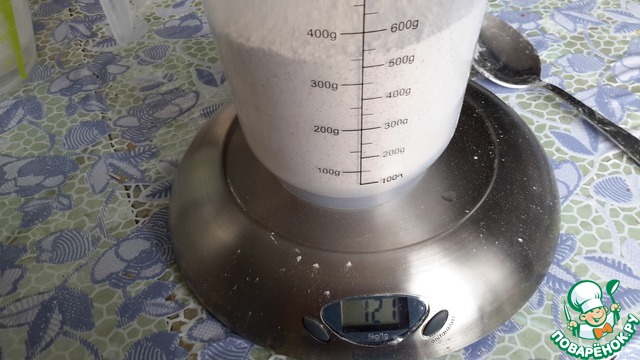
In the original recipe advised to take either whole wheat flour or flour of 1 grade. Since I have both, I decided to take 120 grams whole wheat flour...
... and 120 grams of wheat flour 1 grade. I measure in the same container, you can see how different the flour to color.
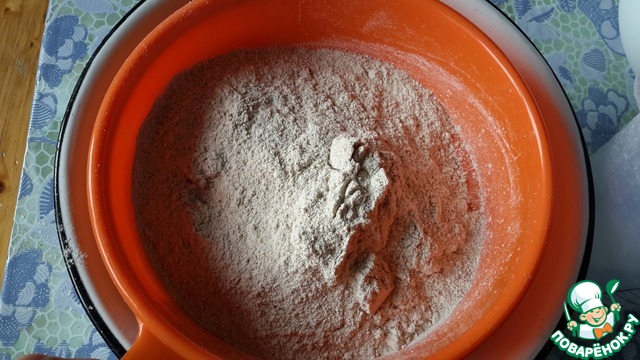
Sift flour enrichment with oxygen. Particles of grains are not emitted are sent back into the flour.
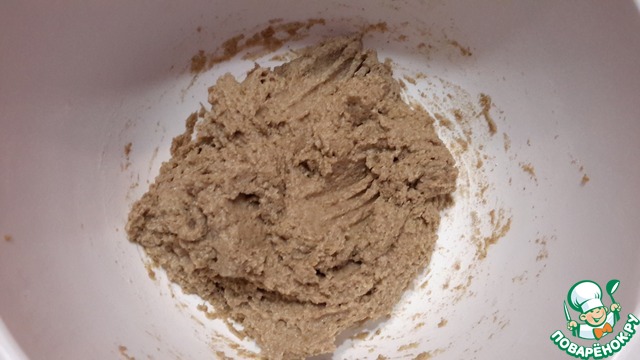
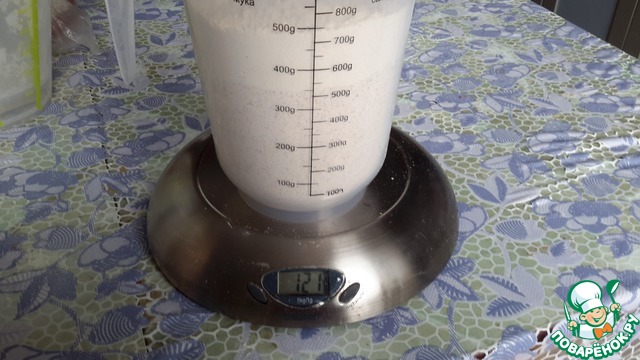
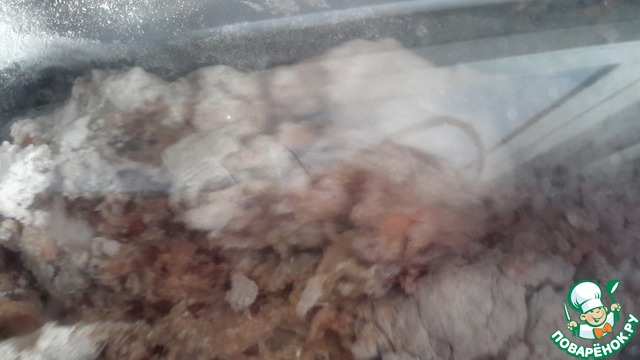
It is time to return to our starter, we'll see how it increased in size, has a pleasant smell and thick consistency.
Measure out 300 grams of the finished leaven.
What is left put it in a jar and in the fridge, that's our starter for the next bread.
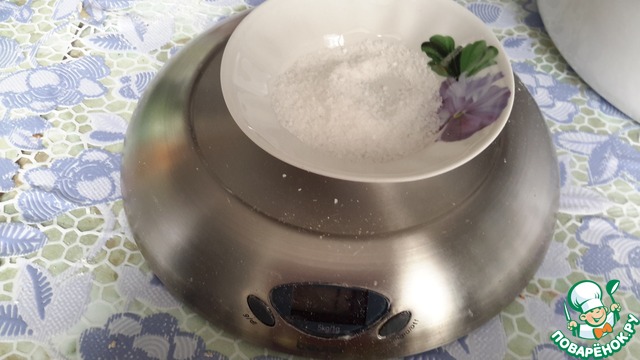
Measure out the required amount of salt.
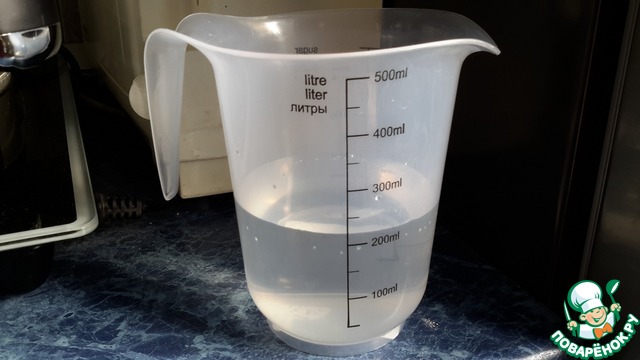
Measure out the required amount of warm water.
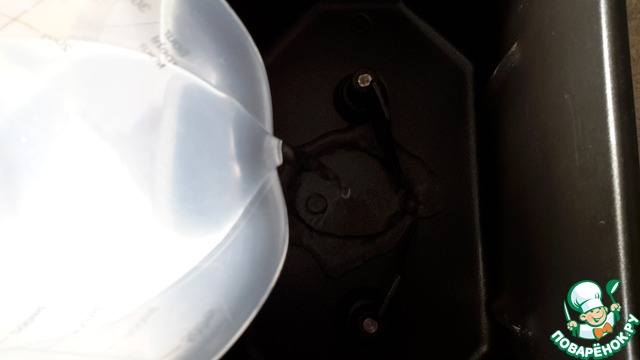
Since I don't have a powerful processor for dough kneading, I knead either by hand or in the bread maker on the "dough". Today, my choice fell on a batch in the bread maker. In my model breadmaker (Redmond), you must first lay the wet ingredients, then dry. Act in accordance with the user manual to your device\or use harvester\manual kneading. Experienced bakers suggest adding water to the dough gradually, achieving the required consistency of the dough may need more or less water. When I knead by hand, I stick to that rule when mixing in the breadmaker, I don't always stick to this and sometimes pour all the liquid at once and, if necessary, in the kneading process to add more. Pour the warm water.
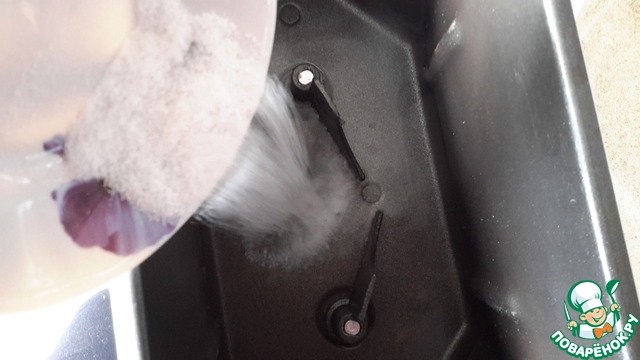
Fall asleep salt.
Add the leaven.
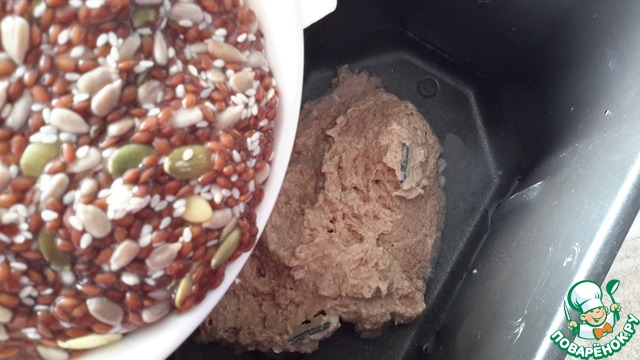
Add grain.
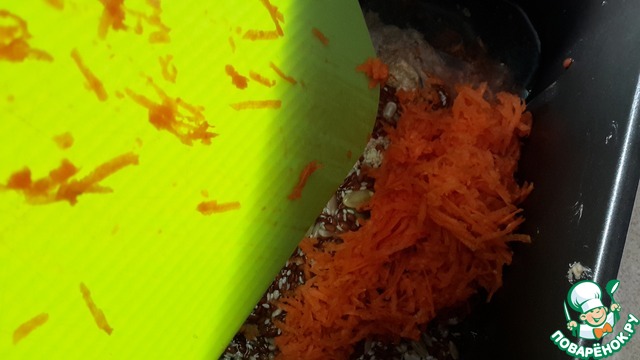
Add the grated carrots.

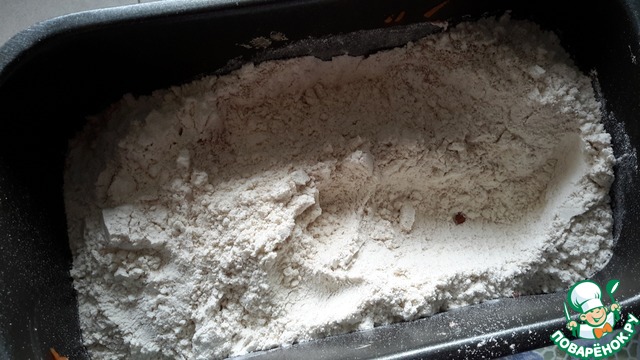
Add flour. The amount of flour is not regulated, add more or less not worth it, then the principle of how water doesn't work :)
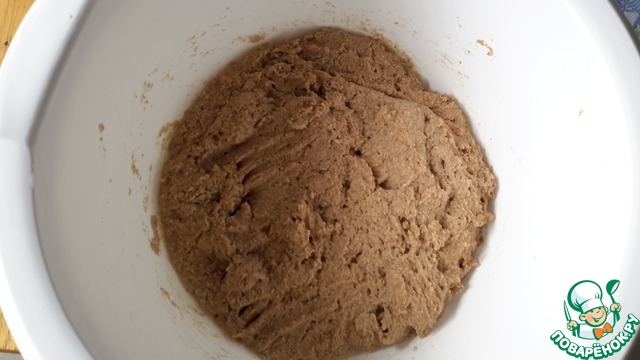
Ready! Turn on the miracle machine and start the dough mode. Here are very carefully watching the test, I'm not advocating that you start the dough mode and go to sleep for the entire period of operation.
The batch in my breadmaker takes about 15-10 minutes (although the built-in program for an hour and a half), all the while watching the consistency, if necessary add some water. Purpose use this mode, just everything is very well mixed. When she reached the stop mode.
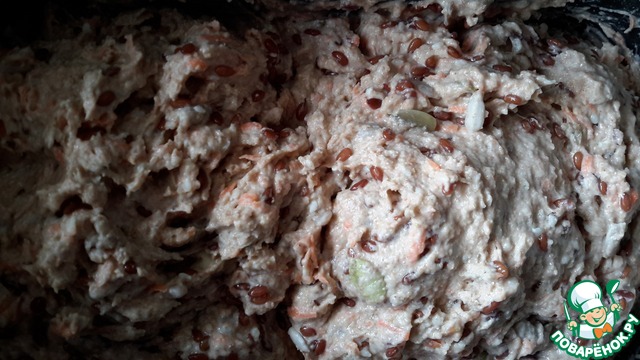
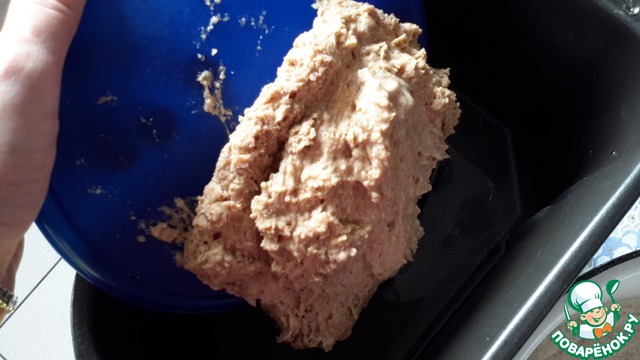
Here's what I turned out the dough after 15 minutes of kneading in the bread maker. The dough should not be tight or very humid.
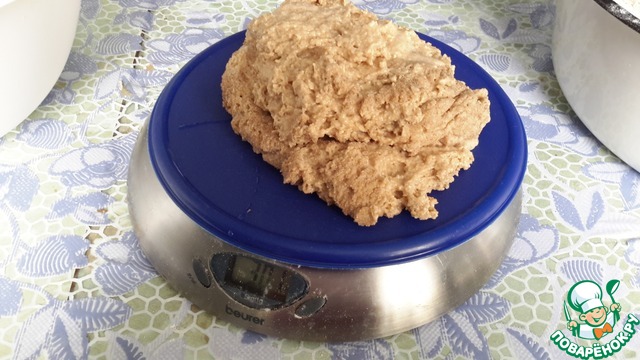
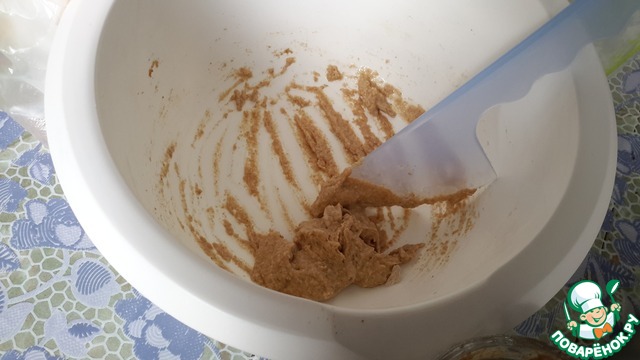
Cover the bowl of dough with a towel and leave to rest for 20-30 minutes.
Work surface sprinkled with flour.
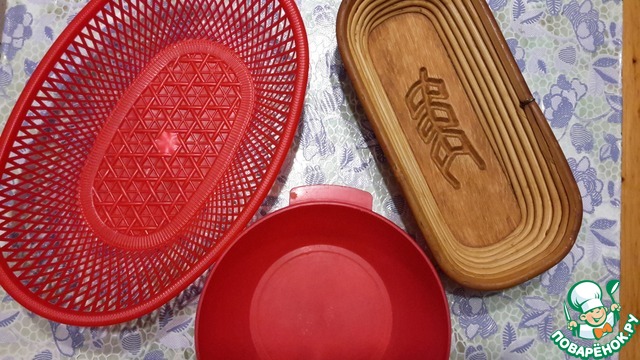
To prepare containers for proofing dough. It can be as special proofing baskets (pictured right) and just bowls or baskets of fruit (my basket in the photo to the left is a bit large for the amount of dough in this carrot bread). The main advantage of proofing in the tank, not just on the baking sheet - processing does not spread and grows upwards.
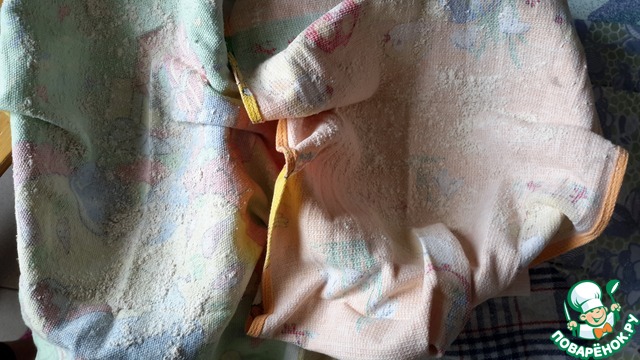
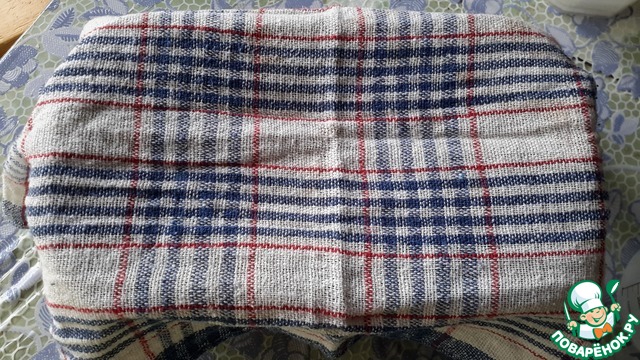
Capacity for proofing cover with a clean kitchen towel and LIBERALLY sprinkle with flour. This time I too was sprinkled, so the dough, which was regret booking in the shopping cart difficult away from the tissue.
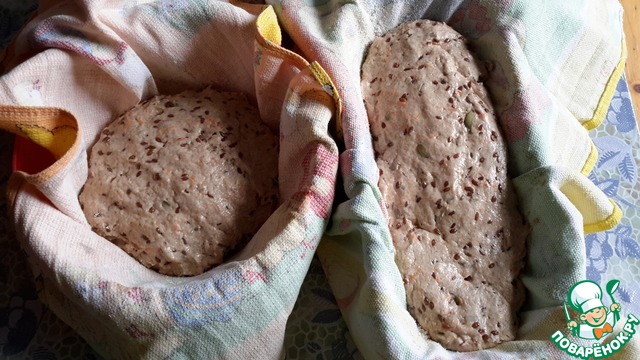
Extract the dough, divide in two, shape our blanks. Draw your attention to the dough is quite sticky. It will be easier to work with it hands moistened with cold water. Put the workpiece in a prepared container for proofing seam side up (on my workpiece no seam there).

Cover and put in warm place for proofing for 2-4 hours, that is what the procurement lead time needs to increase in size 2 times. Check how came the bread in the following way: Lightly press a finger on the pastry and look at the resulting deepening: a) the Batter has not yet come - deepening very quickly rises, b) the Dough was perfect - the recess but not raised in) the Dough perestelo - deepening does not rise, the dough settles (do not despair and most of it in the oven, will not be too high, but delicious)
So, congratulations, our future bread rasstalsya, go to another responsible and the final step of the baking!
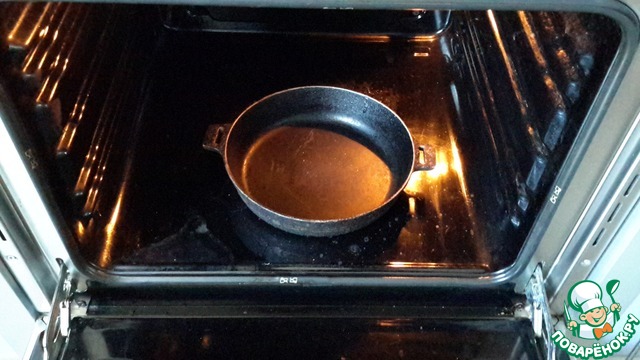
The bread is baked with steam, and this means that we put preheat the oven to 250 degrees, and at its bottom put a dry frying pan or other container (not subject to corrosion as a consequence of high temperatures), in which we will create vapor.
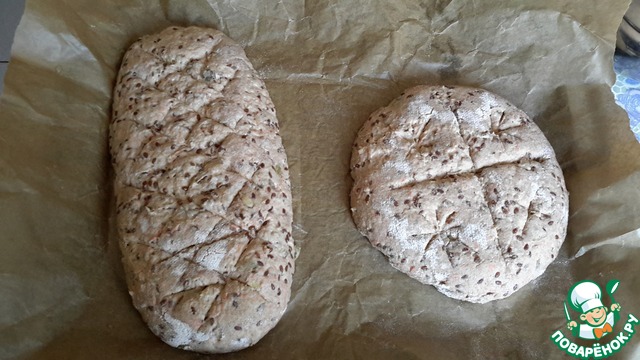
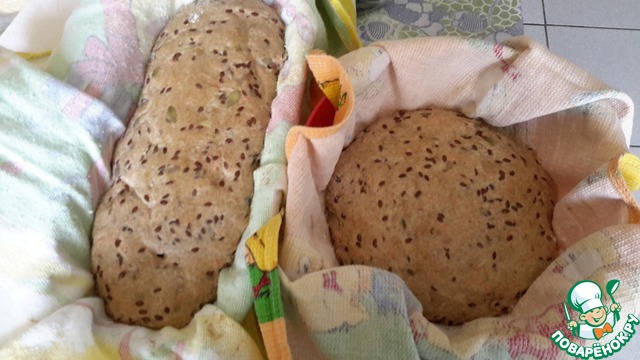
Put on the baking sheet, the laid paper. Just turn over our capacity at the paper upside down and unstick towels. If the top of the workpieces from the peeling of the towels was slightly damaged, smooth it with a wet hand or spatula. Make the incisions. I usually make them much smaller in number today, just was in a mood to experiment.
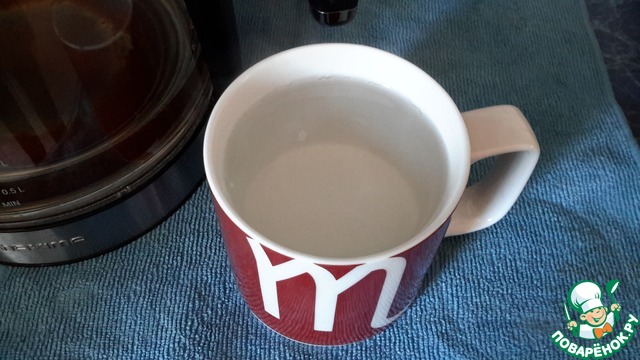
Boil water, pour 1 Cup... and remember on about our already programsuse the oven. We put our preparations on the baking sheet in the oven, quickly and carefully pour a glass of boiling water standing on the floor of the oven pan and quickly close the oven.
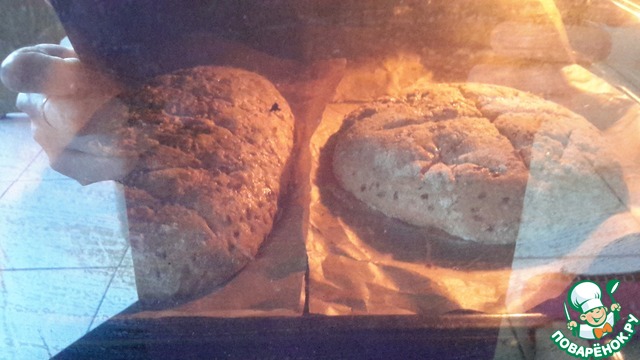
Bake at 250 ° for 15 minutes with steam, then take out the container, standing at the bottom of the oven and bake for another 50-55 minutes at 180 degrees. In the original recipe it was recommended to bake at 200 degrees for 45 minutes, I know my oven temperature is lowered and time increased. If you notice that the bread zarumyanilsya, cover it with a folded twice and soaked in cold water with a paper towel. Or ready-made bread during cooling can be covered with a damp towel.
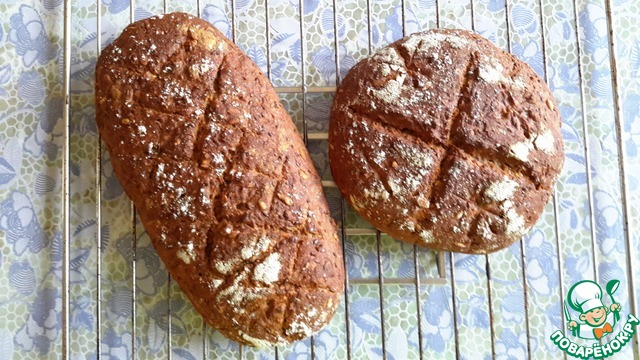
Get our bread from the oven and check the readiness of ready-baked bread has a hollow sound if you knock on the bottom crust. Cool bread prepared on the grill. Not ready, bad-sounding bread - sent in the oven.
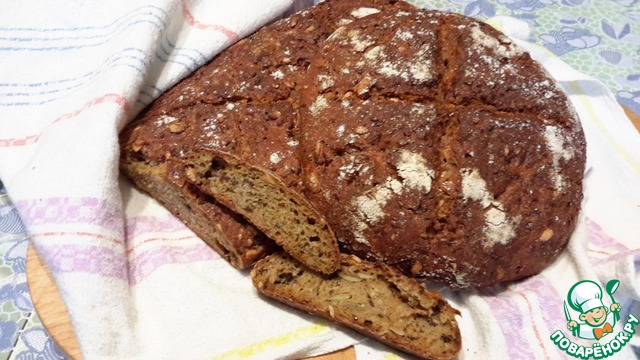
Congratulations, we passed along the way of cooking carrot sourdough bread and that's the beauty of we did it!
Ready the cooled bread wrapped in a clean cloth. I keep the bread in paper or fabric bags. When stored in cellophane, a crust of bread is not so crunchy.


Leave a comment or a recipe review
Leave comments can only registered users.
Register, or Login if you are already registered.