Description
I like the desserts Nina (Nyksja ). It intrigued me a recipe with maple syrup. I combined two recipes and this is what came of it.
Ingredients
-
Yolk egg
4 piece
-
Sugar
125 g
-
Flour
211 g
-
Butter
150 g
-
Leavening agent
7 g
-
Sugar
50 g
-
Raspberry
350 g
-
Gelatin
7 g
-
Cream
150 ml
-
Mascarpone
500 g
-
Maple syrup
211 g
-
Gelatin
8 g
-
Cream
344 ml
-
Yolk egg
98 g
-
Vanilla sugar
1 pack
-
Cream
250 ml
-
Honey
30 g
-
Cocoa butter
20 g
-
White chocolate
50 g
-
Cheese curd
100 g
-
Cocoa butter
60 g
-
White chocolate
40 g
-
The food dye
Cooking
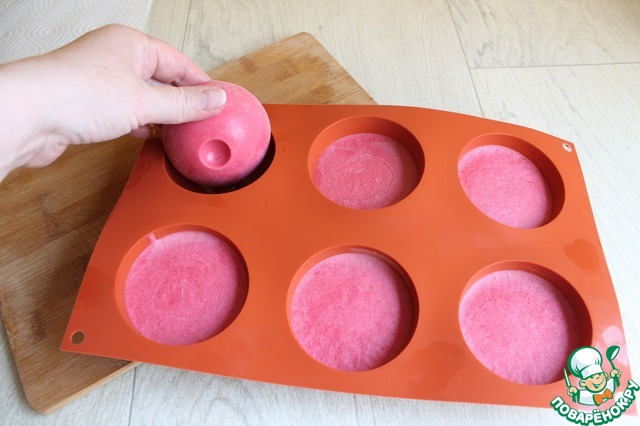
First make the raspberry mousse. To do this we need 150 ml raspberry syrup or juice. Approximately 300 g of frozen raspberries I'm melting on the fire, add sugar, boil and chop in a blender. Filter. Gelatin fill with water in advance and in the hot syrup add the squeezed out gelatine. Allow to cool. Whisk the cream, add vanilla. And mix with the cooled raspberries. Filled all the forms. I have a hemisphere. I poured not quite complete. The main thing that they match we have the final forms. And put into the freezer for at least 4 hours, at night, you can leave. Here they are ready, take them out of their forms and put back into the freezer.
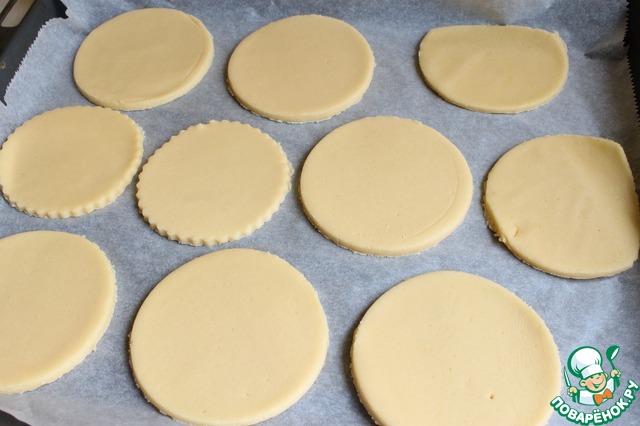
Make shortcrust pastry. How to do I described in this recipe http://www.povarenok .ru/recipes/show/126 693/. So, mix the yolks with the sugar, add the butter, the flour and baking powder. Make dough, roll out and cut out circles and remove them in the freezer overnight.
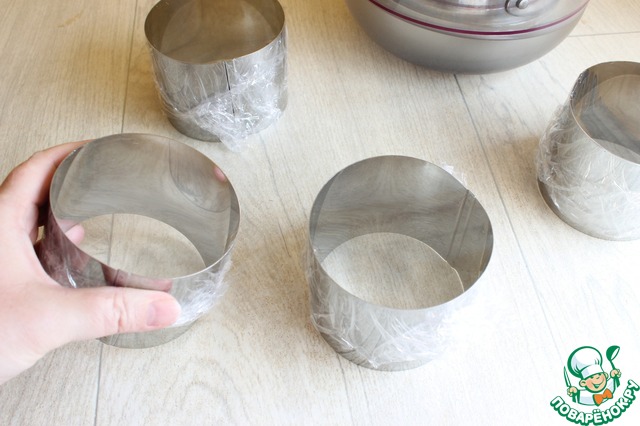
Prepare forms for dessert. You can do the cake. But I have a round shape with a diameter of 9 cm. Wrap them with tape. A little secret from the pros that the film kept hold of the ring on a warm plate. But do not overdo. So obtane well, flip on the Board.
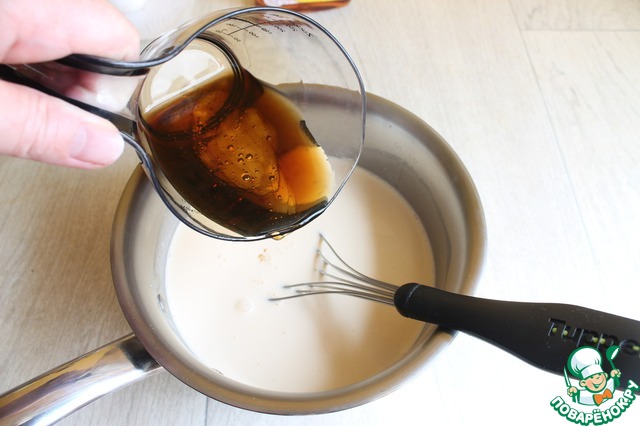
Make the mousse. Gelatin fill with water, pay attention to gelatin 200 bloom ( Bloom). The cream will mix with the yolks, and add maple syrup. Nina was a boiled syrup, but I added a simple. Mix all well, put on fire and stirring, cook to 85 degrees.
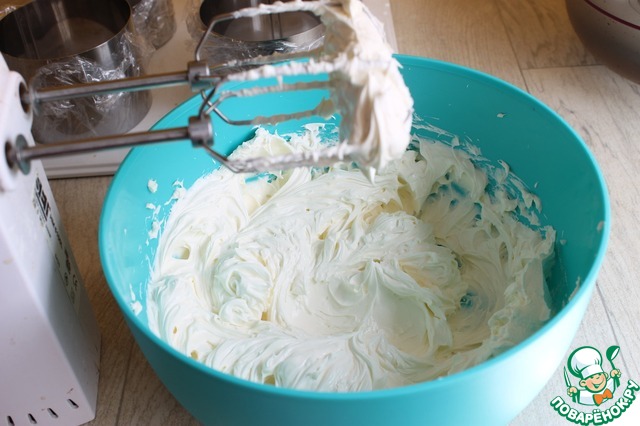
Pour hot cream and immediately add the gelatin, stir and add the mascarpone, whisk all with a mixer. I added more vanilla sugar. If you have vanilla wand, you can heat the cream and then strain. Allow the mass to cool. I even put it in the refrigerator so that it slightly thickens.
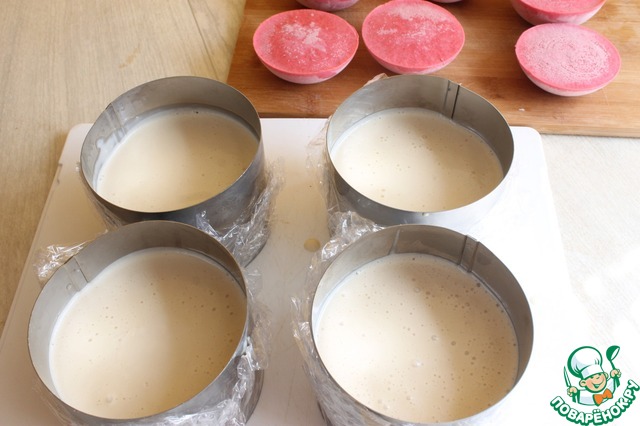
Take our round molds, put them on a Board, pour equal amounts of the mousse. If it is liquid, remove in the cold for 2-3 minutes.
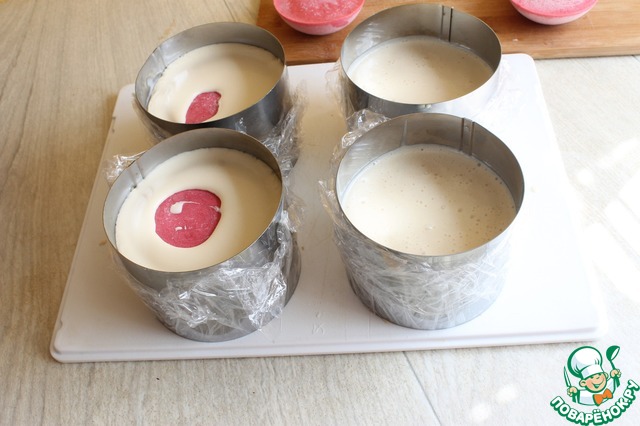
Now put strawberry massovye of the workpiece. Scrolling them slightly, so they drowned. But not to the bottom. Remove for the night in the freezer. Some mousse I poured it into small round molds.
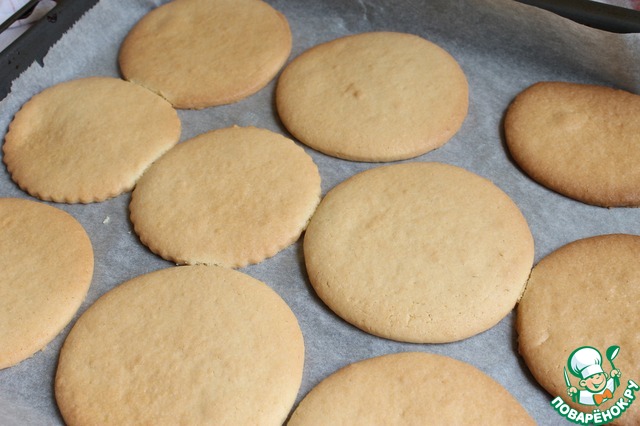
In the morning bake the dough. At 160 deg. 20 minutes until Golden brown.
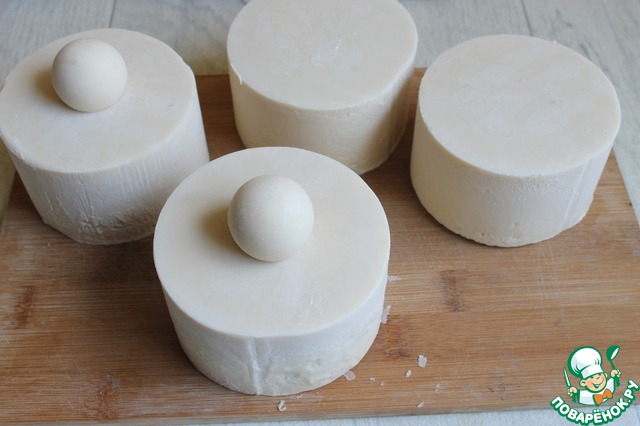
Get our cakes. Emobodies them from film and rings. This will heat the dryer side or the burner cooking. Only do fast and careful not to drip our mousse. Round balls set on top. I made two with balls and two without.
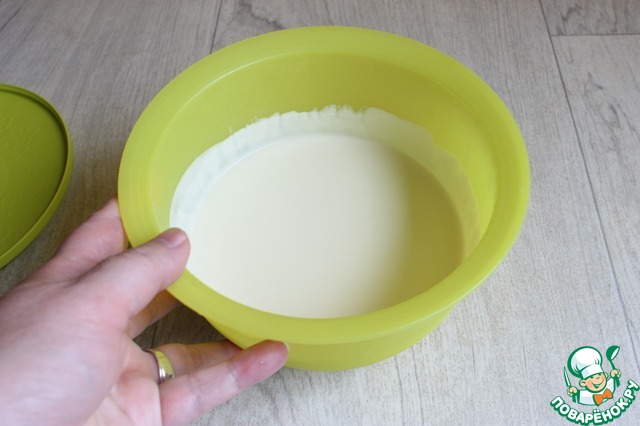
Prescription cakes were decorated with chocolate ganache. I also have tried to do, I liked it. Can someone come in handy. So, before going to mix the cream (150 ml) with honey, let it heat up until hot. The chocolate will melt. Cocoa butter is also melted separately. Now all together and add cottage cheese. Mix everything together and add the cold cream (100 ml). Remove it all overnight in the fridge.
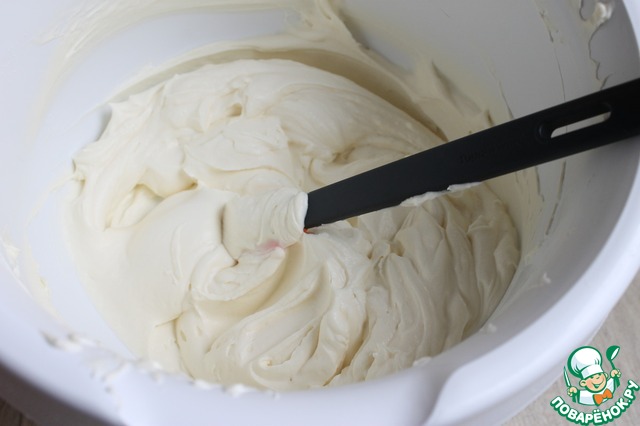
And in the morning beat with a mixer. Look at the consistency. You can interrupt. Very tasty. Type in a cooking bag and decorate. It turned out really a lot.
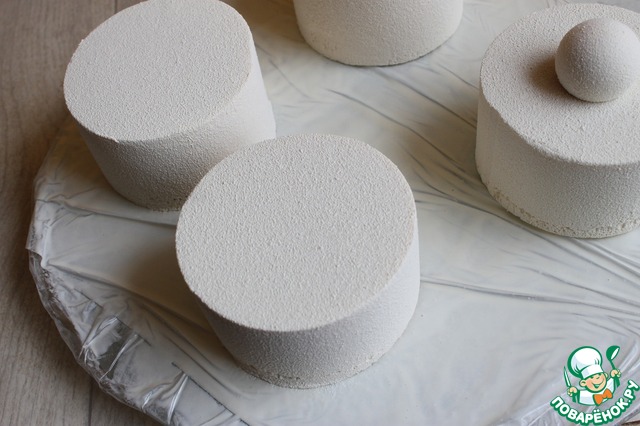
So, cakes I covered it with velour. If anyone is interested, I always take a white chocolate composition. 60 g cocoa butter and 40 gr of white chocolate and a teaspoon of dry white paint for chocolate. (This composition is for white chocolate, to dark 1:1. Here we take more cocoa butter to the velour not cracked). All heated separately, are mixed with paint and punched a blender. Strain through a sieve. Only work with frozen cakes.
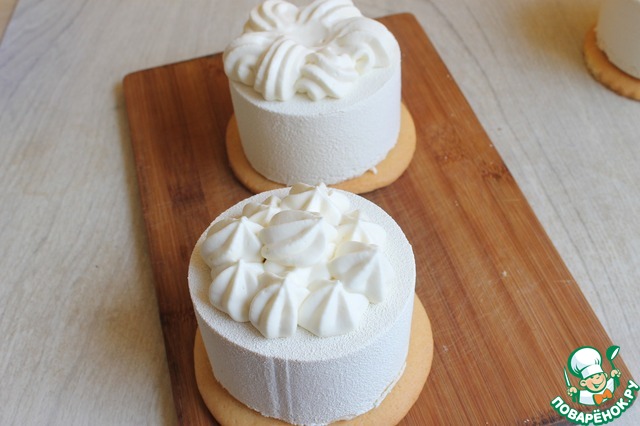
Finished cakes put on a sand base. You could decorate. Or chocolate.
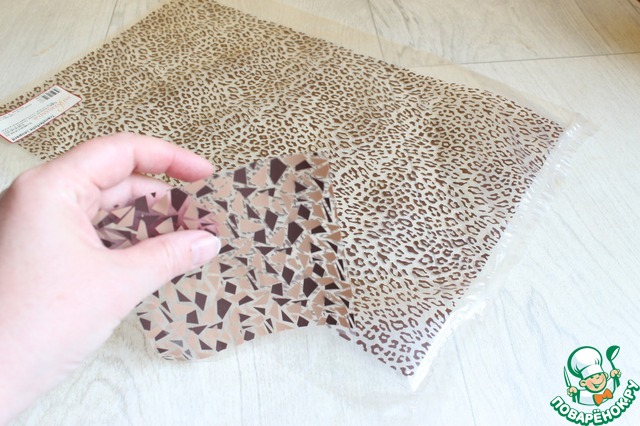
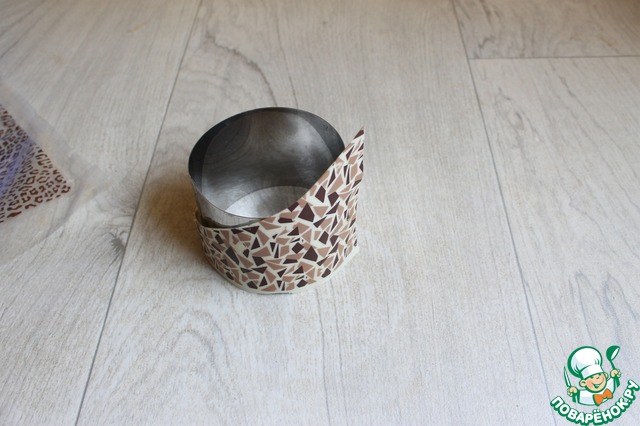
Unfortunately I didn't photograph the process, but you can show around. So I took these sheets of drawing already. Cut off a piece small rectangular. You can just cut the corner. But then the edges will be slightly uneven after the chocolate. I melted the white chocolate, put it on a film print. Gave it a little set. Drew a diagonal line and covered more net wrap, simple wrapped ring. Gave to freeze completely, then removed all the 2 film. Well, that's all. If something is not clear, write!

That's about the way, from the outside you will need to wrap chocolate and place in refrigerator for 5 minutes. The chocolate hardens, take the form of our circle, remove everything carefully, and all we are left with a pattern of chocolate. Bon appetit!
Leave a comment or a recipe review
Leave comments can only registered users.
Register, or Login if you are already registered.