Description
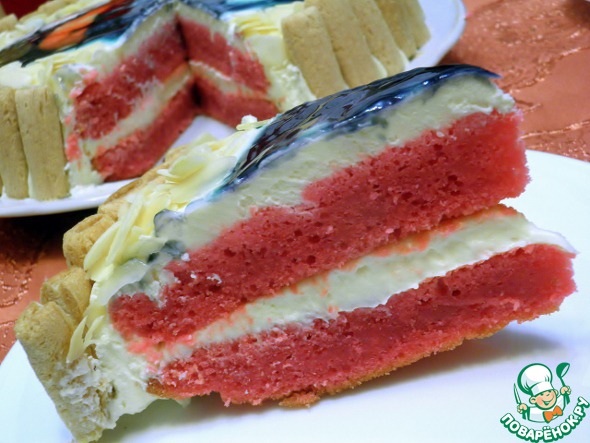
Was getting ready for her husband's birthday, and the menu was all made up, and the recipe for the cake is picked up, but I got a new issue of the journal "Christmas desserts," and all the plans changed dramatically. I just fell in love with a photo of one of the offered cakes. It seemed to me that this is the best way to Express your love and gratitude dear to me. On the website there are two more cake with the same name, but mine is different. I do not pretend to authenticity, but maybe someone and my version will like. Moreover, it is easy to prepare and cope with it even the inexperienced in baking cakes hostess - like me.
Ingredients
-
Flour
2 cup
-
Leavening agent
1 Tbsp
-
Salt
1 tsp
-
Coconut shavings
2 Tbsp
-
Sugar
1 cup
-
Vegetable oil
1 cup
-
Chicken egg
2 piece
-
Yogurt
1 cup
-
Vanilla essence
-
The food dye
-
Coffee natural
0.5 cup
-
Vinegar
1 tsp
-
Cream
2 cup
-
White chocolate
50 g
-
Cream cheese
300 g
-
Powdered sugar
7 Tbsp
-
Cookies
100 g
-
Almonds
50 g
Cooking
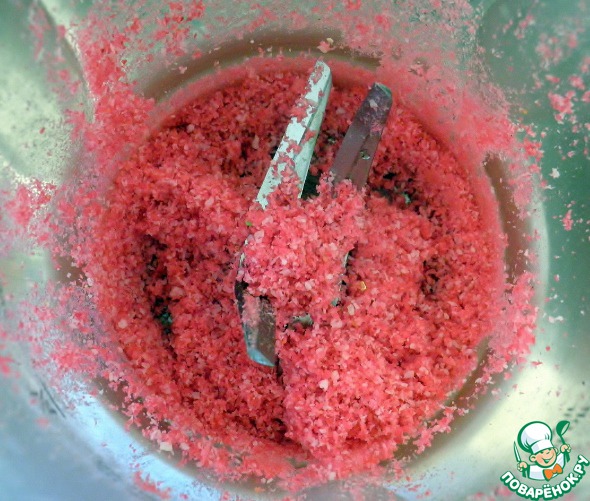
Put to heat up the oven to 180 degrees. Meanwhile, take the paste. Coconut grind in a blender into flour. I took the red with "long-range", but it is safe to take and just white, but not other colors.
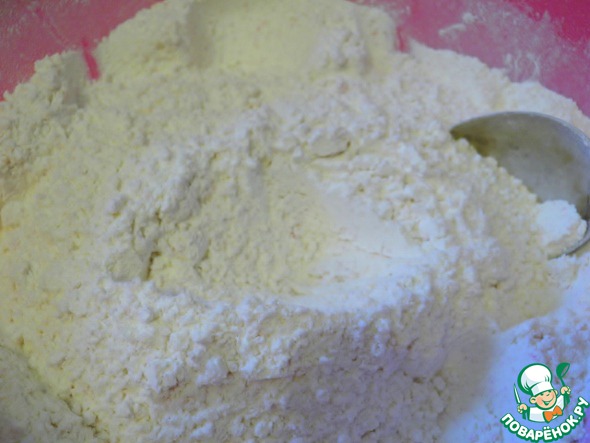
Prepare the dry mixture. For this proseem the flour with the baking powder, add the coconut flour and salt. All is well peremeshaem.
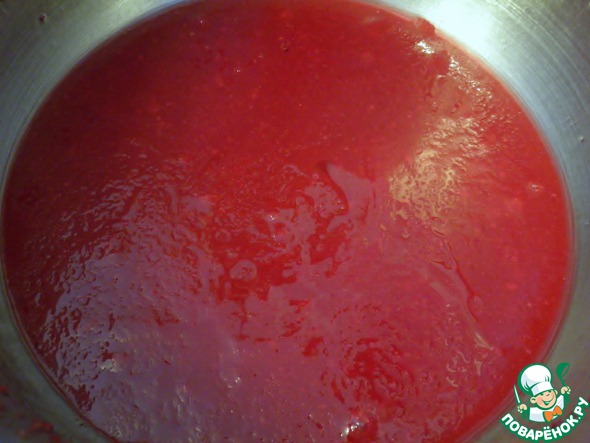
In another bowl, prepare the liquid ingredients. I this stage is entrusted to a processor. So, the sugar is mixed with vegetable oil, there also add red dye. If you dye dry (like me) then pre-dissolve it in few drops of water before stirring.
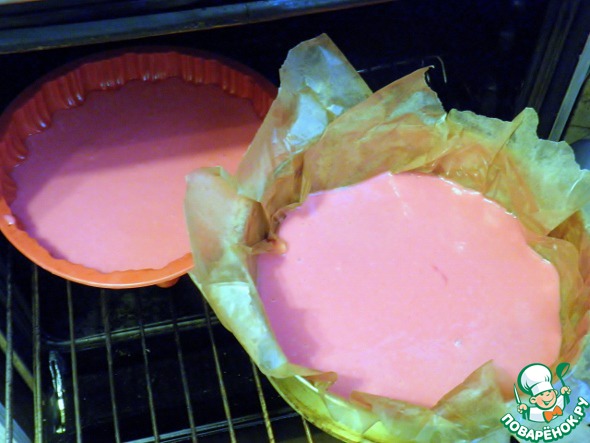
Then add eggs, yogurt, vanilla essence (a few drops), mix, add vinegar and coffee (I took natural steamed, but it's your choice), again all mix well. Now in the liquid part of the small portions pour the dry mixture, stirring well after each addition. Form for baking vystelit parchment and grease well. Cakes will be moist and juicy - can you stick. I have one of the forms was silicone, but I just in case oiled. The dough is divided into two forms and put to bake for 30-40 minutes.
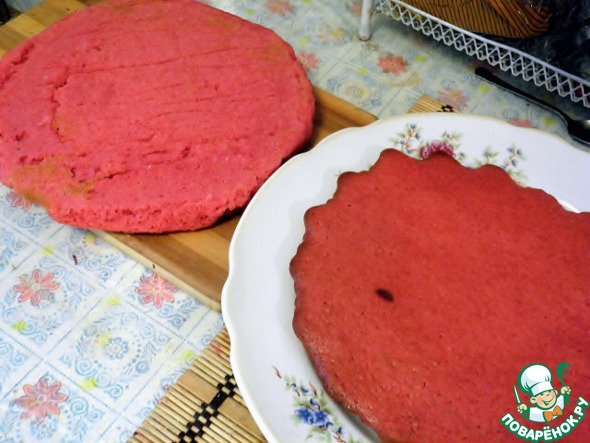
Readiness check with a toothpick: clean and dry - ready. Cakes remove from the oven, give them little to stand in the forms, and then remove and cool completely.
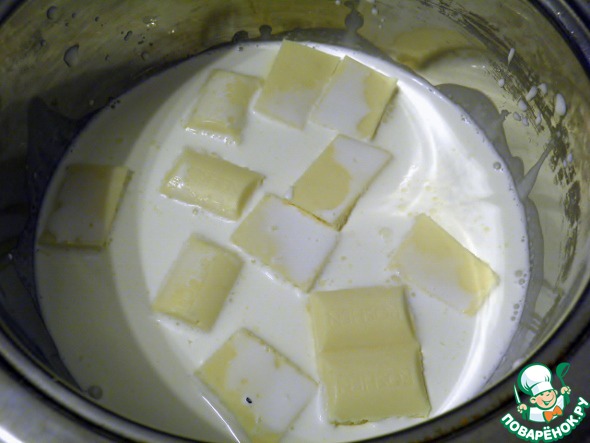
And in the meantime we'll do the cream rather creams as they have two. First you need to finely break the chocolate, mix with cream (1 tbsp.) and heat it, stirring until the chocolate is completely dissolved.
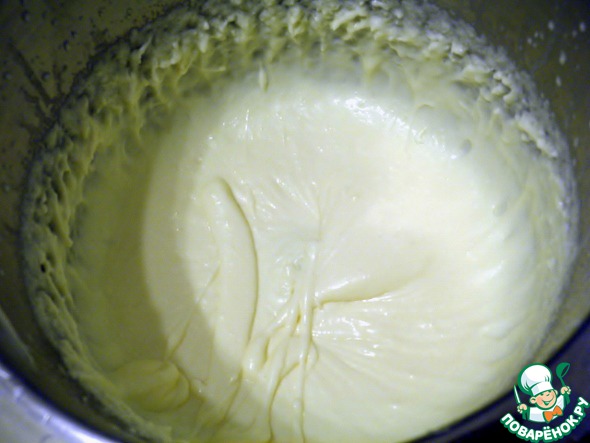
To cool the cream and whip into a thick mass. I have cream was store-bought and a little let down - I had to add thickener cream.
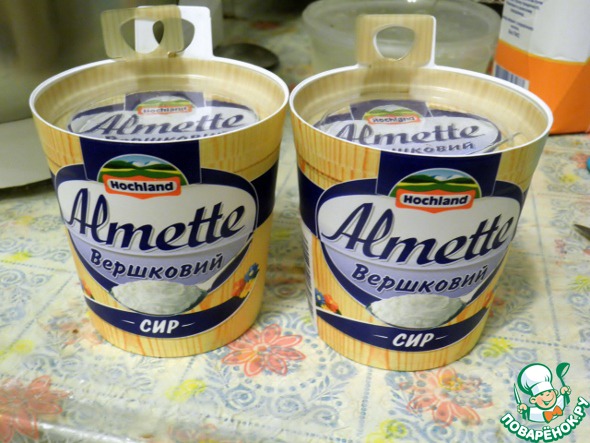
For the second cream we will need, again, cream (1 tbsp.), powdered sugar and cream cheese. I took two cups of cheese Almette.
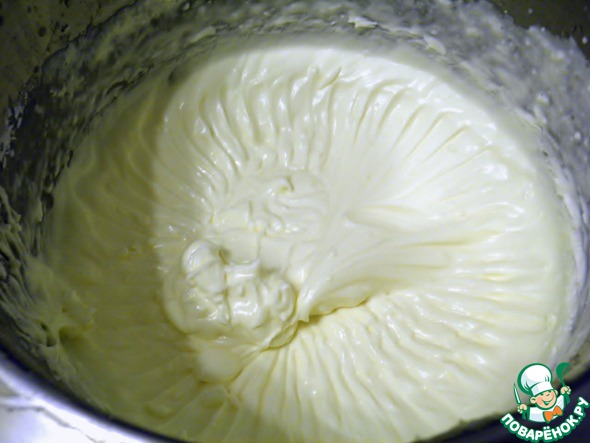
Whisk the cream with the powder until thick and airy. Add cheese and beat again until a homogeneous air mass.
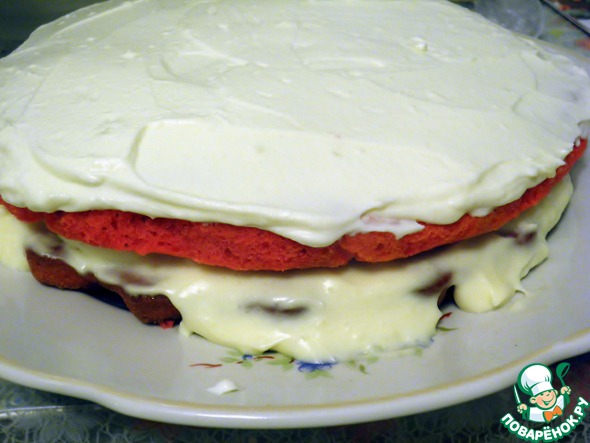
Start assembling the cake. Put one layer on the plate and a fairly thick layer of cream is applied first. If you have it is very gentle (like me), it is possible for 10 minutes to put it in the fridge. If you have a cakes was very high (my height for 2 cm), they may be cut in two. In this case, all the cakes the first coat of cream. Then put the top crust. On top of it apply a second cream. Here is a colorful building, a little similar to a cake, it turned out at this stage :)
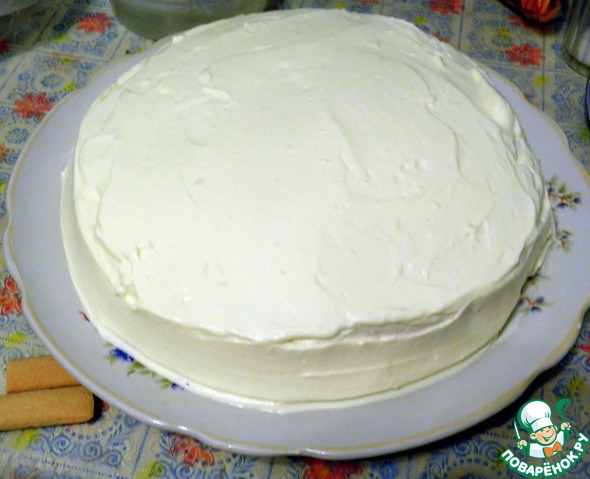
Attach to our cake glitter - daubed Boca cream No. 2 and align the top. Already see progress.. :)
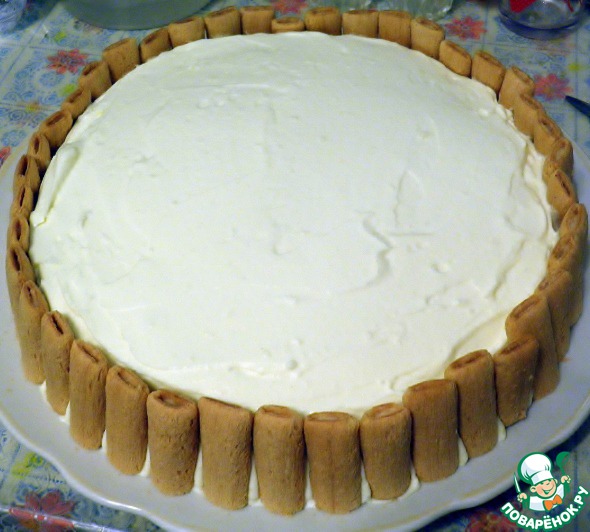
Left the final part design. Honestly say, I am no decorator for the like I offer a simple way of decorating. The sides of the cake I posted as a picket fence, cookie-type "bamboo".

The top was decorated with waffle pattern. Husband recently got the rights and now dreams about the car, so the theme of the pictures was appropriate. To work with such images - a pleasure. All you need to do is apply the cream cake (he's already there), put the image on the surface of the finished cake and gently smooth out to remove air bubbles. In order that the picture was smooth, without cracks and had a more vivid color and finished look, need to cover it konditerski gel or clear jams.
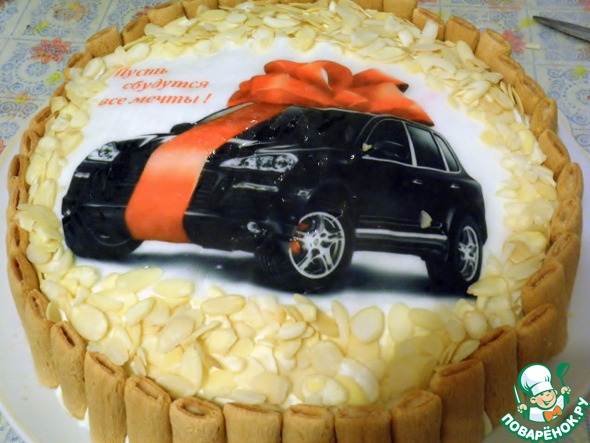
The remaining space sprinkled with almond petals. Banded cake ribbon and he is ready.
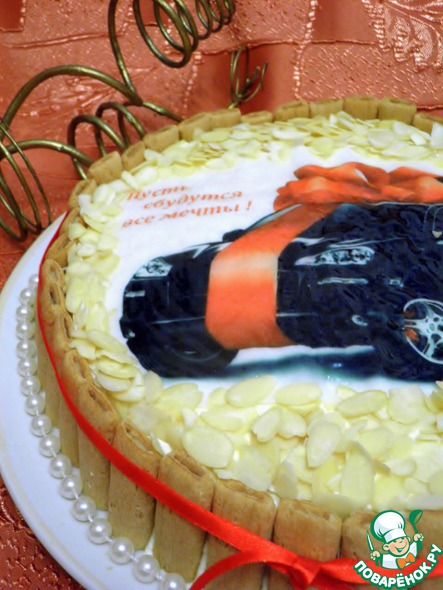
Little bit of advice. The cake can even need to prepare in advance. It is best in the evening and let it soak. But the waffle pattern, if you decorate it, it is better to put max in a few hours. Since wafer paper is the basis of the picture a little soak, and the paint can "flow", that is not the best impact on the appearance of your cake.

The cake turns out very tender, juicy and nutritious. The taste is quite complex, there is a hint of coconut, and vanilla, and slight aroma of coffee. With the unexpected color of the incision will not leave anyone indifferent. Anyway, from her husband, I listened to a sea of compliments for this cake.

Leave a comment or a recipe review
Leave comments can only registered users.
Register, or Login if you are already registered.