Description
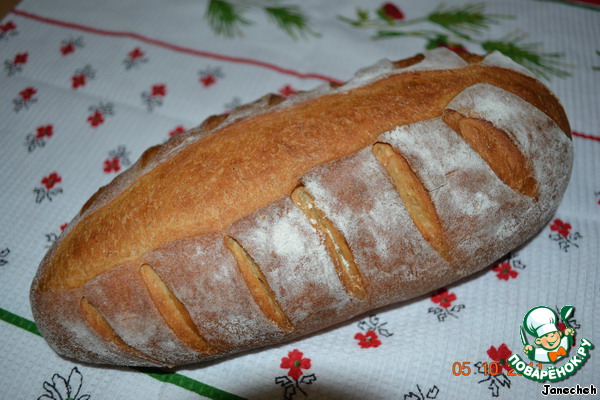
Originally, this bread draws a striking, unusual appearance. Rose, Levi Beranbaum describes it as the easiest banana bread. From freshly baked bread there is a slight hint of banana (fruit and unobtrusive), the next day, the scent of banana is almost not felt, but mostly the taste is sweet and intriguingly subtle. This bread is so fragrant, so tender and soft. The crust it thin-thin, and the crumb melts in your mouth! It is noticed that kids love it.
Ingredients
-
Flour
300 g
-
Water
105 ml
-
Yeast
3 g
-
Honey
20 g
-
Dry milk
20 g
-
Butter
18 g
-
Banana
1 piece
-
Salt
6 g
Cooking
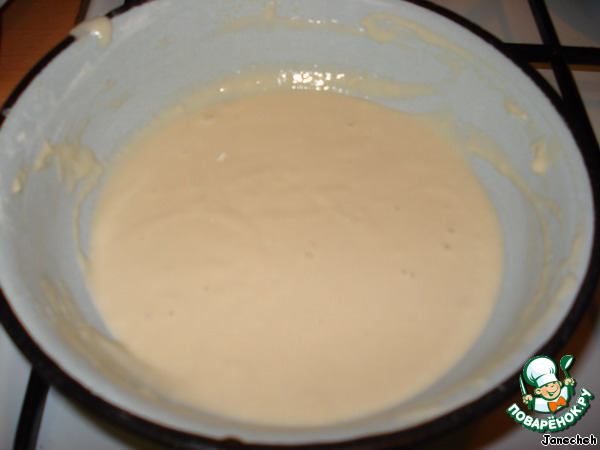
For fermenting in a large bowl, mix the flour - 80 g, water - 105 g honey - 20 g yeast - 1 g, cover with plastic wrap and refrigerate overnight.
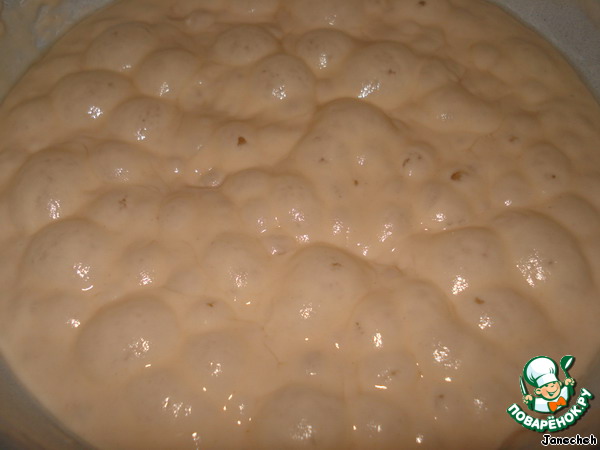
That's how the dough looks in the morning.
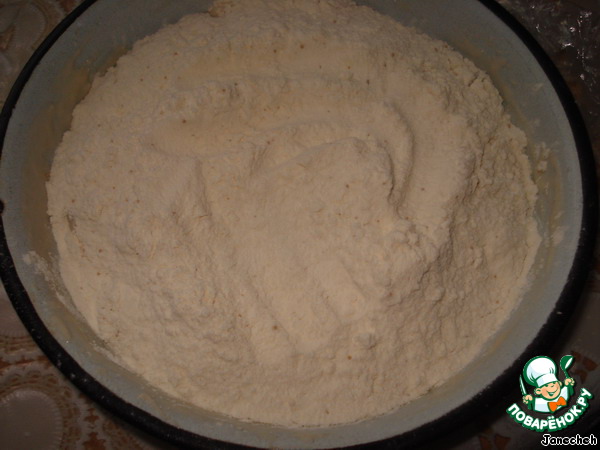
In another bowl, mix the remaining flour - 210 g, yeast 2 g powdered milk - 20 g. Mix all ingredients and pour on top of the dough. Do not stir, leave in a warm place for 1-4 hours.
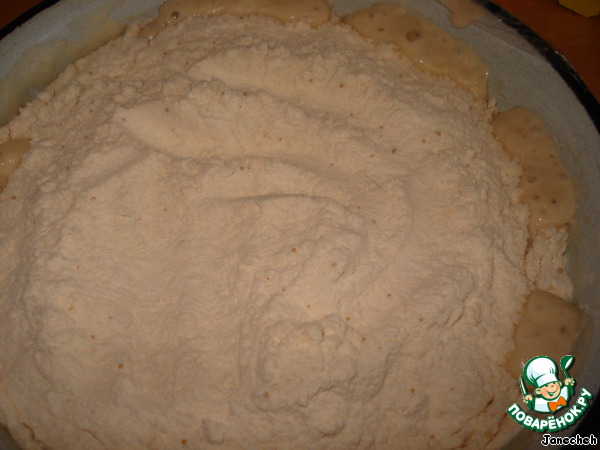
The yeast should begin to activate and will soon break the small volcanoes through the flour mixture on the sides or in the middle. So.
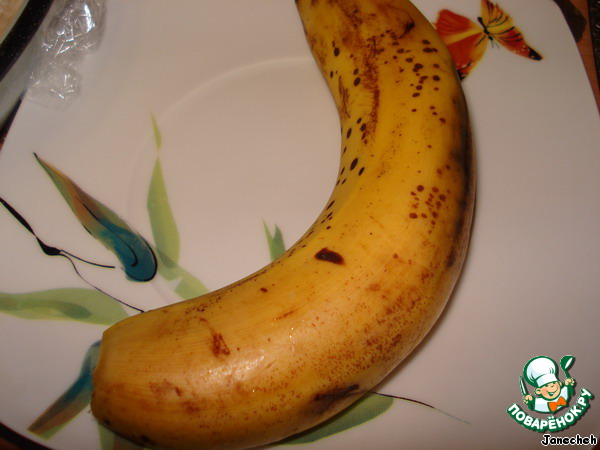
The banana should be ripe.
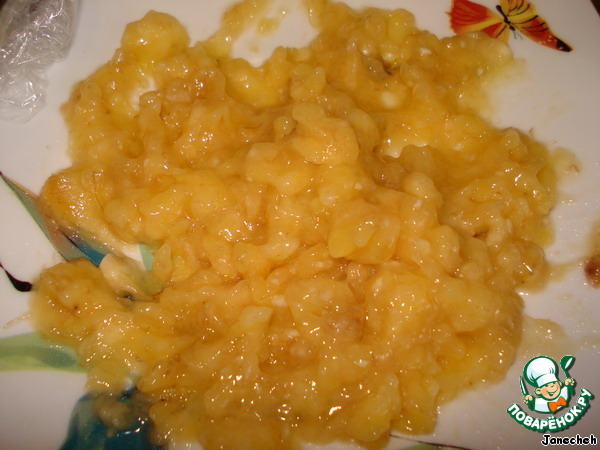
Make him a smoothie.
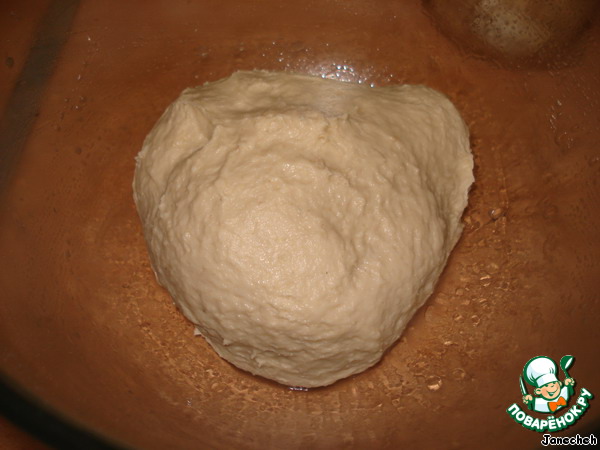
In the bowl with the dough, add the butter - 18 g, salt - 6 g, and mashed banana. Make dough, it is elastic and almost does not stick to hands, but not steep. If too sticky, add flour. The consistency of the dough depends on the humidity of the banana. Can the dough be kneaded in the bread maker or in a food processor. Drove the finished dough into a ball and place in oiled bowl, cover with polyethylene. Put in a warm place until increase in 2 times.
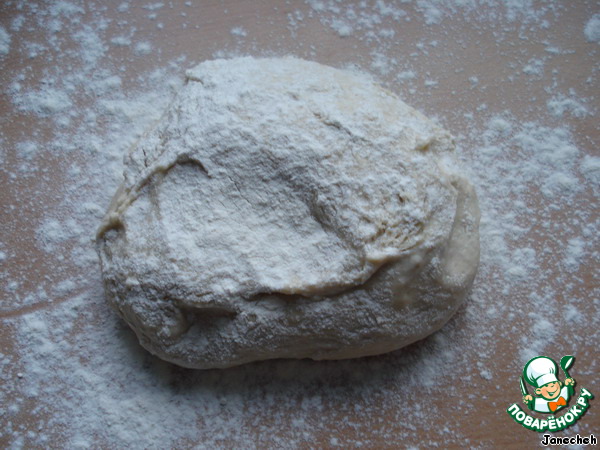
Then coming up the dough fold "stretch & fold". Put the dough on poured flour on the table and stretch it into a quadrangle.
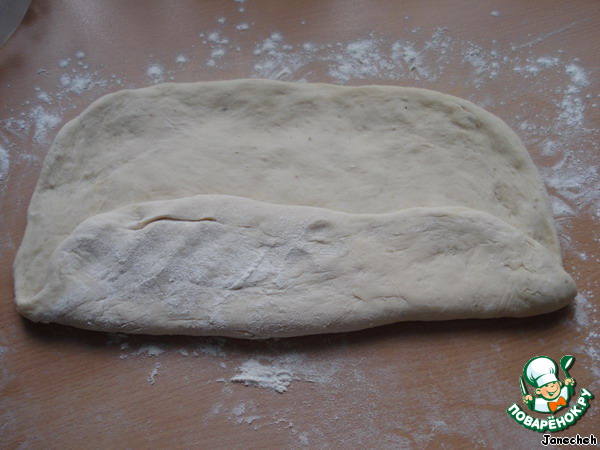
Now take one side and sipping bend it to the middle.
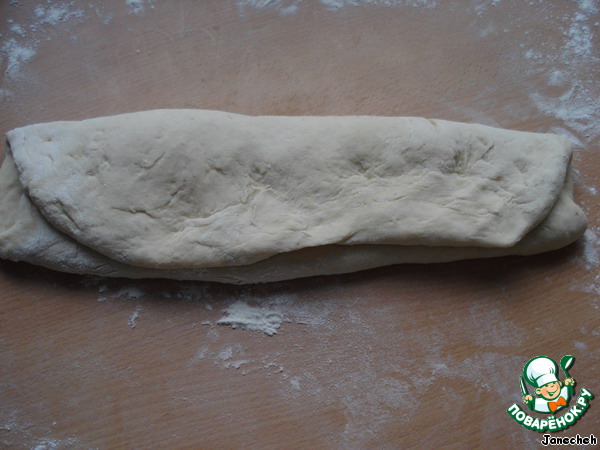
The other side of the cover on top.
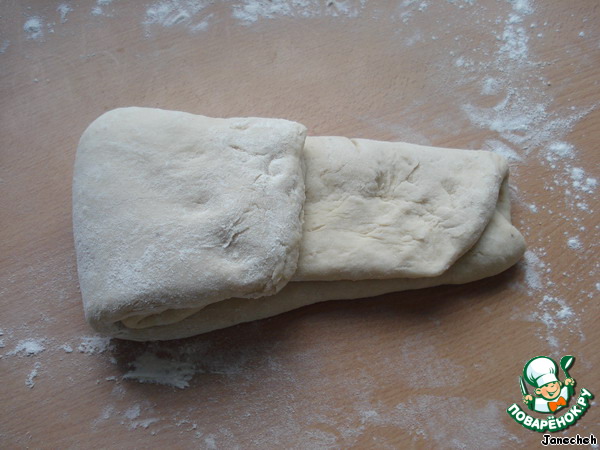
Now take one end and stretch a little, bend it to the middle.
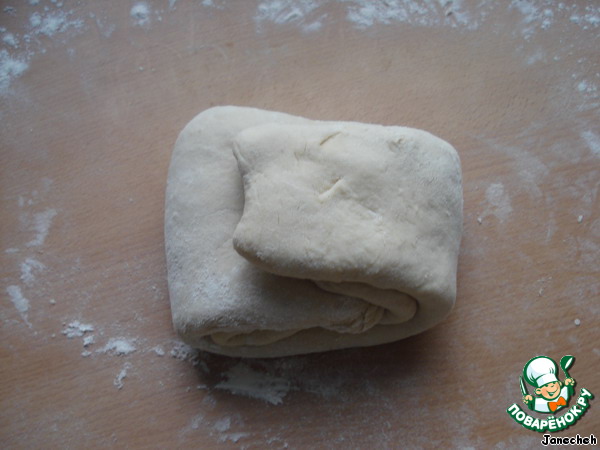
Similarly, the other end.
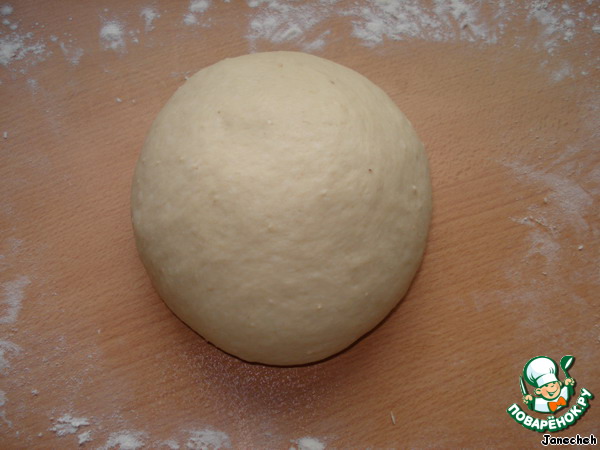
Put the dough seam side down on the table and clapping hands on the sides, give it a ball shape and put back into the Cup. During the Stretch and fold develops the gluten and even very soft and sticky dough becomes manageable and pleasant. Test miracles happen! Again put the dough in the bowl for another 1.5 - 2 hours - until then, until it will increase in two times.
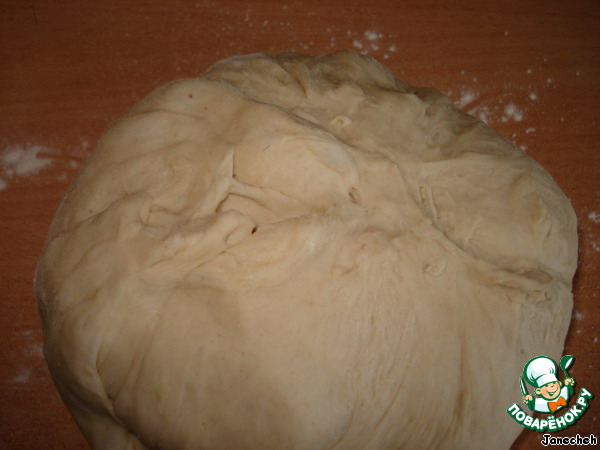
Then the dough is spread on a table and form a loaf. I apologize in advance for the photo. Wrap the edge to the center of the test and well get.
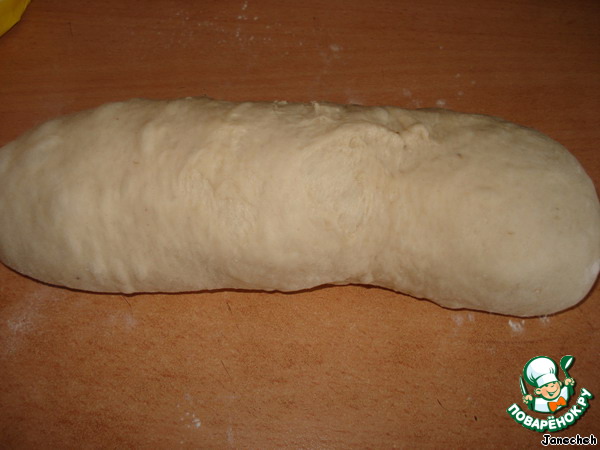
Then, as you roll, turn the dough.
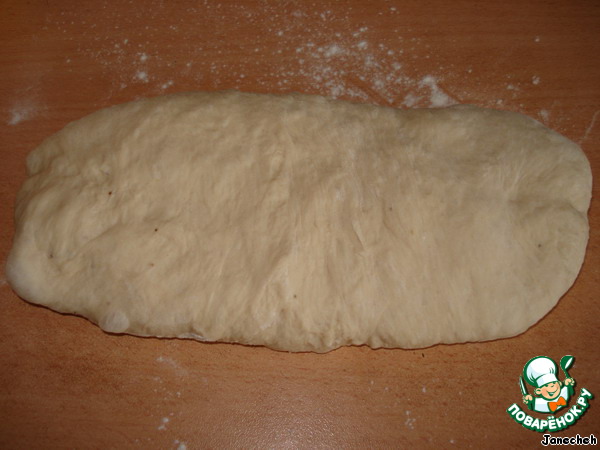
Purpose we will flatten out the dough into a rectangle.
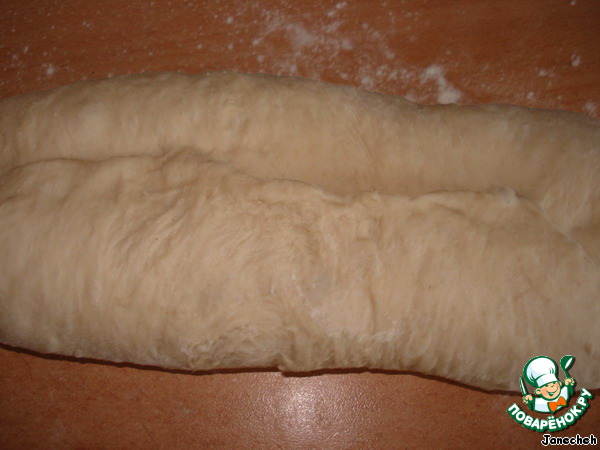
Wrap one of the sides of the dough to the middle and seal up the fold with your finger or palm edge.
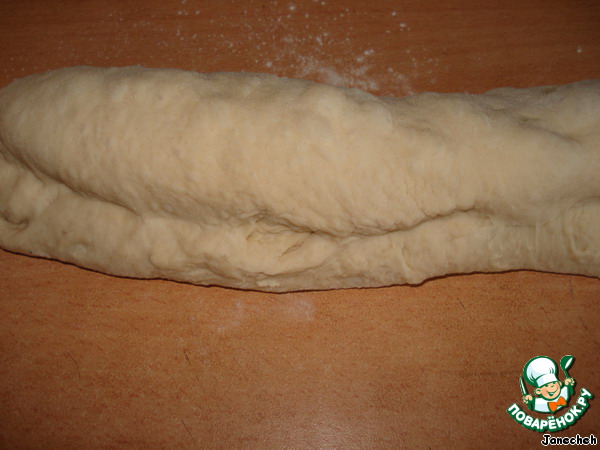
Then turn and seal the top and opposite side. After that the dough fold in half, you get an oblong piece of wood.
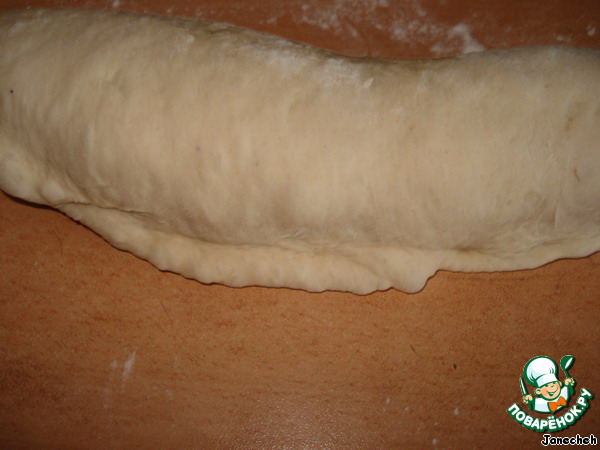
Seal the edge of his hand it on the long edge. Put the seam side down. Podocyte the dough with your hands to form the cushion.
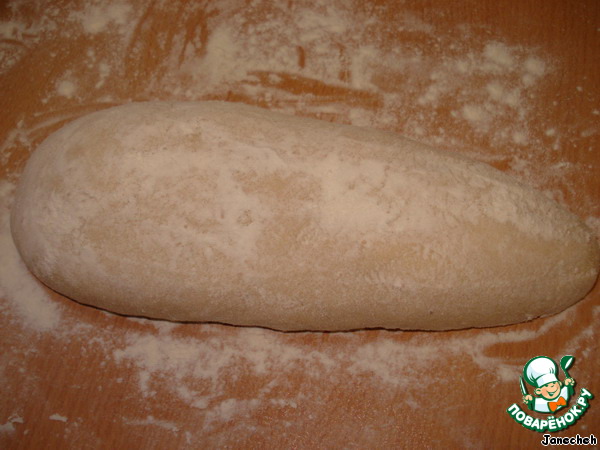
Hands give the dough the form of a pen.
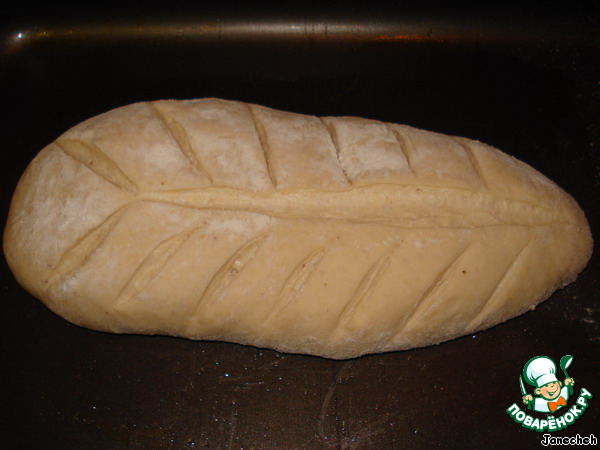
Formed and sprinkled the top with flour a loaf stacked on the delay - again, to increase twice. Then make cuts on the surface of the loaf in the form of a drawing "pen".

Preheat the oven to 250°C. set the temperature to 230 C and bake for 10 minutes, then 200 and 20 minutes.



Leave a comment or a recipe review
Leave comments can only registered users.
Register, or Login if you are already registered.